Installation Overview
Using Quick Assist
Octel 50 Installation Guide
12-11
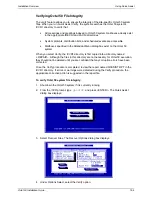
To rebuild all Octel 50 system mailboxes:
1. Shut down the Octel 50 system if it is currently running.
2. From the \CVR prompt, type
QASSIST
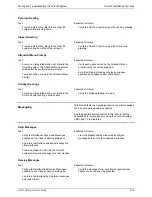
and press <ENTER>. The Quick Assist
dialog box displays.
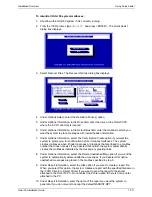
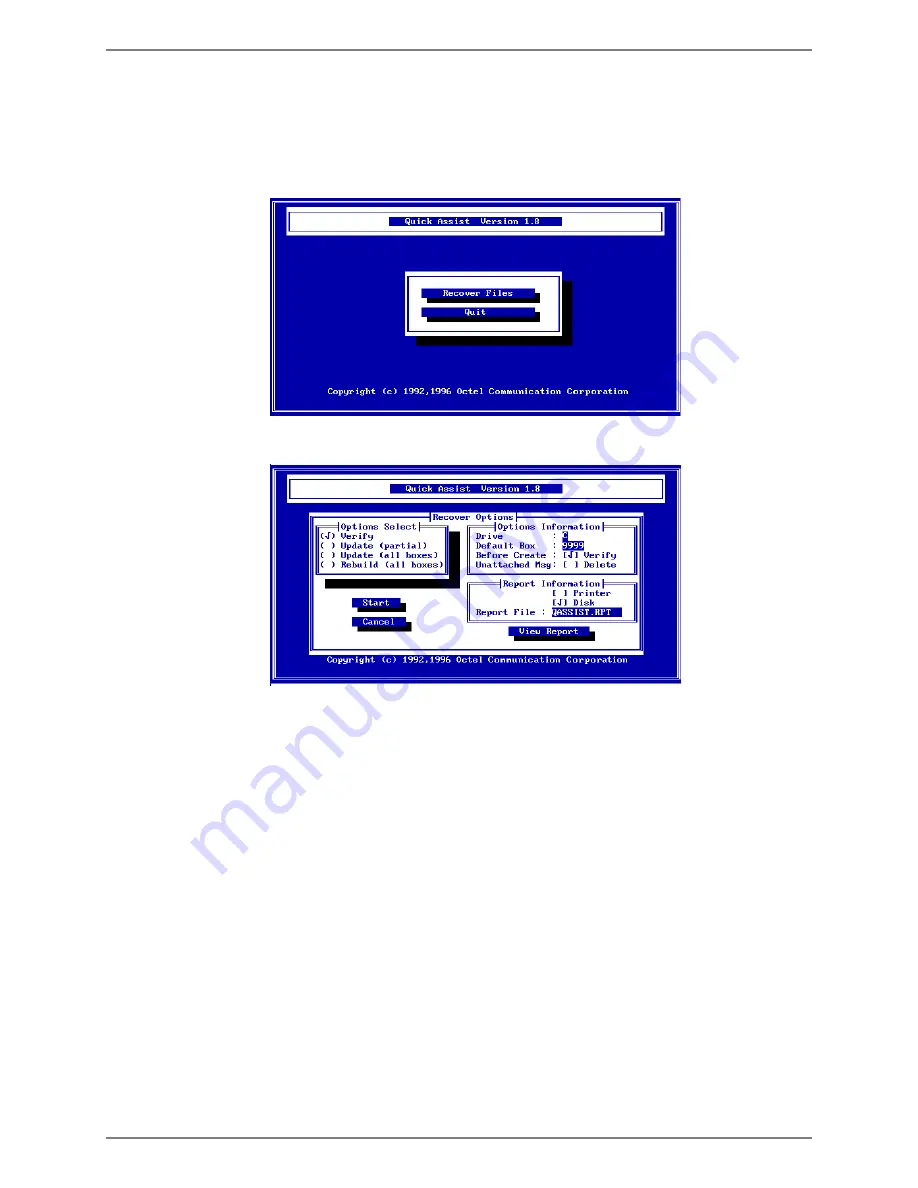
3. Select Recover Files. The Recover Options dialog box displays.
4. Under Options Select, select the Rebuild (all boxes) option.
5. Under Options Information, in the Drive field, enter the drive on the Octel 50 PC
where the \CVR1 directory is located.
6. Under Options Information, in the Default Box field, enter the mailbox in which you
want the system to place messages with invalid header information.
7. Under Options Information, select the Verify Before Create option if you want the
system to prompt you for confirmation before it creates mailboxes. The system
creates mailboxes when it finds messages or greetings that are linked to a mailbox
number that does not exist. If you deselect this option, the system automatically
creates the mailboxes indicated by the message or greeting links.
8. Under Options Information, select the Delete Unattached Msg option if you want the
system to automatically delete unattached messages. If you deselect this option,
unattached messages are placed in the mailbox specified in step 6.
9. Under Report Information, select the Disk option if you want to create a report file.
When you select this option, the system creates a report with the specified filename in
the \CVR1 directory. Select Printer if you want to send the report to the printer
attached to the Octel 50 PC. Do not select the Printer option if there is not a printer
attached to the PC.
10. Under Report Information, enter the name of the report you want the system to
generate, if you do not want to accept the default QASSIST.RPT.


