Using Navigator
54
© 2005 ... Directions Ltd
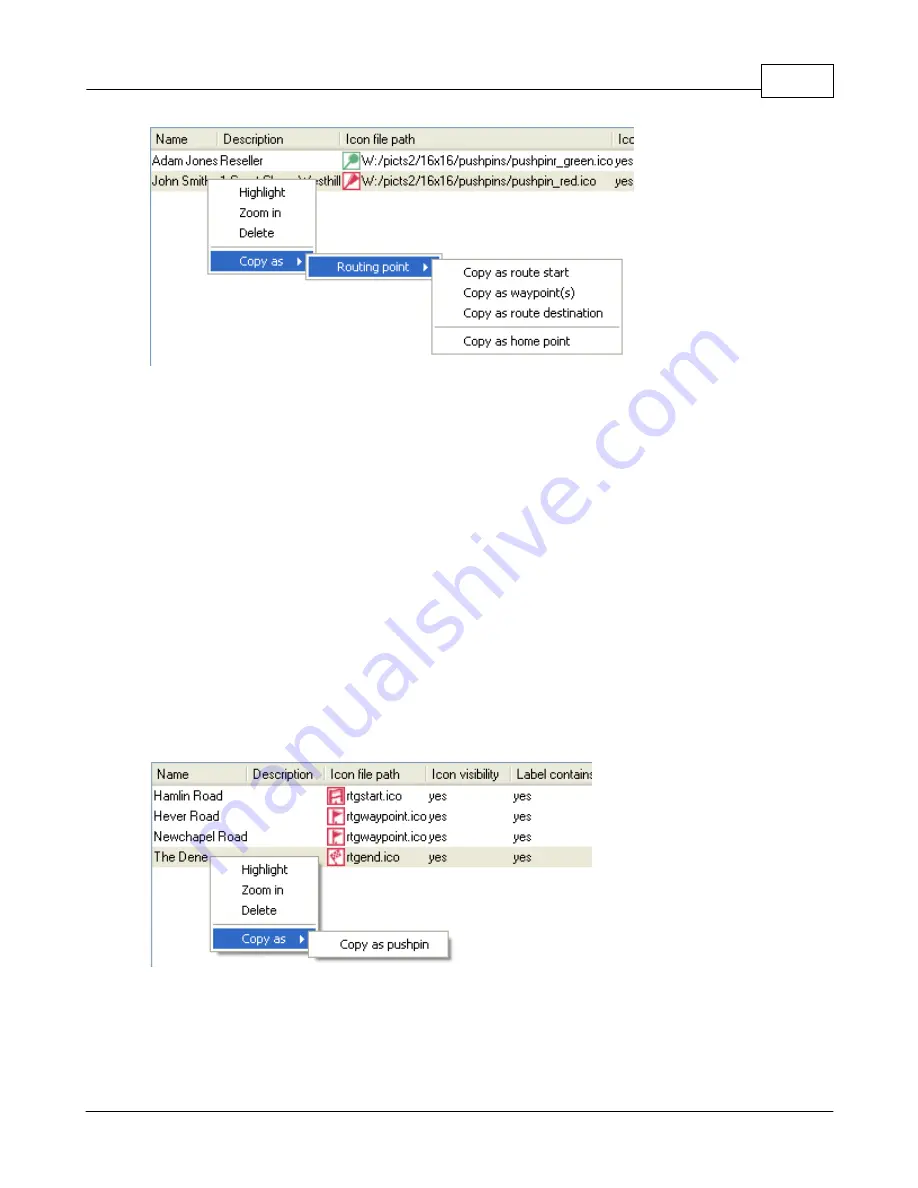
Click
Highlight
to zoom in on the pushpin and highlight it.
Click
Zoom in
to show the pushpin on the map.
Click
Delete
to remove the pushpin from the list and the map.
Moving the mouse pointer over
Copy as
will reveal a
Routing point
sub menu, which in turn reveals
options to set the current user pushpin as a point in a route or a home point.
To change a pushpin name or description double click it in the list. One you have amended the text
press Enter.
To select a different icon for the pushpin simply click the entry in the
Icon file path
column. This will
bring the standard Windows
Open
dialog where you can select an alternative icon.
The last three columns let you toggle visibility on the map. Only two settings are possible here - yes
and no.
Icon visibility
- show/hide the pushpin and label from the map.
Label contains name
- show/hide the name in a text label under the pushpin.
Label contains description
- show/hide the description in a text label under the pushpin.
Routing points
All routing points are listed here.
Right click on a point in the list to see the a menu with the following options.
Click
Highlight
to zoom in on the route point and highlight it.
Click
Zoom in
to show the route point on the map.
Summary of Contents for NAVIGATOR 4.3
Page 1: ... 2005 Directions Ltd Navigator Manual version 4 ...
Page 5: ...Part I ...
Page 9: ...Part II ...
Page 63: ...Part III ...
Page 76: ...Part IV ...
Page 93: ...Part V ...
Page 105: ...Part VI ...
Page 107: ...Navigator CE Professional 106 2005 Directions Ltd Note opening a large map may take time ...
Page 122: ...Part VII ...
Page 127: ...Part VIII ...
Page 129: ...Part IX ...
Page 132: ...Navigator 4 4 Help 131 2005 Directions Ltd General ...
Page 154: ...Part X ...


