92
3D Systems, Inc
.
Gap Verification
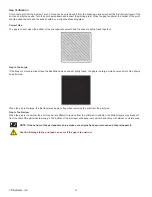
Print a test print from the System 1 menu. Once you have removed it from the print pad, visually inspect the first (bottom) layer of the
print and verify the quality . Turn the print upside down and inspect the printing grain . When the gap is optimal, the bottom of the print
should appear smooth and the lines should be very light and fused together .
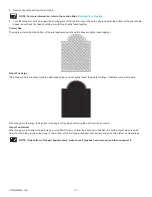
Correct Gap
The gap is correct when the bottom of the print appears smooth and the lines are tightly fused together .
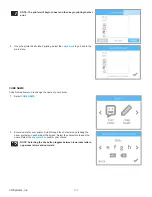
Gap Is Too Large
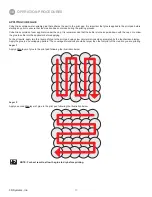
If the lines are more prominent (see the illustration below) and not tightly fused, the gap is too large . Auto Level and Auto Gap should
be performed .
When the gap is too large, the first layer may begin to fray when removing the print from the print pad.
Gap Is Too Narrow
When the gap is too narrow, the part may be very difficult to remove from the print pad. In addition, the bottom layers may break off
from the rest of the part while removing it. The bottom of the first layer will appear very smooth and shiny with almost no visible lines.
NOTE: If the bottom of the part appears shiny, make sure all glue has been removed and then reinspect it .
Caution: Damage to the print pad can occur if the gap is too narrow .
Summary of Contents for CUBE
Page 1: ...Cube Personal 3D Printer User Guide Original Instructions 3rd Generation ...
Page 59: ...55 3D Systems Inc Information Select Information A to view the printer status A ...
Page 72: ...68 3D Systems Inc Change Views Select Change Views and then select the camera viewing angle ...
Page 78: ...74 3D Systems Inc 1 Select an item from My Shelf 2 Select Print Now ...


