21
3D Systems, Inc
.
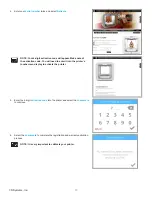
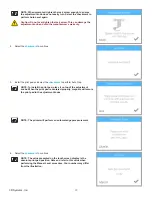
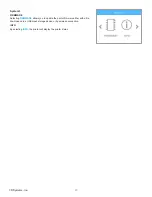
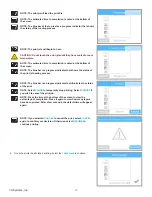
NOTE: If Auto Gap is not successful, it is recommended that you
perform Auto Level and Auto Gap again . Select
AUTO LEVEL
to
continue .
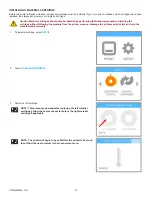
NOTE: If Auto Gap is not successful the second time, select
PLATE
MAINTENANCE
. For more information, refer to the section titled
Print Pad Maintenance . Once the Plate Maintenance procedure has
been performed, perform Auto Level and Auto Gap .
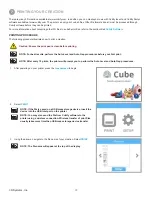
NOTE: If Auto Gap is still not successful, select
MANUAL GAP
ADJUSTMENT
. Refer to the section titled Manual Gap Adjustment for
more information . Once the Manual Gap Adjustment procedure has
been performed, note the final reading for future reference.
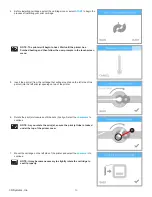
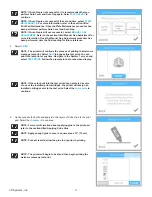
4 . Select
.
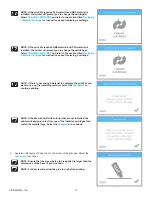
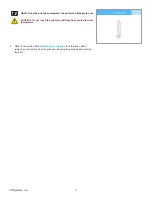
NOTE: The printer will continue the process of printing the welcome
message test print . Select
SKIP
to bypass this test print . You can
print this test print at any time . Navigate to the System 1 screen and
select
TEST PRINT
. Follow the prompts in the touchscreen display .
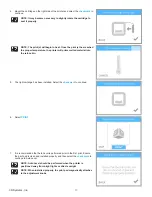
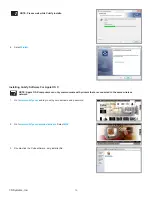
NOTE: If the color built into the test print does not match a color
of one of the installed print cartridges, the printer will assign an
installed cartridge color to the test print . Select the
checkmark
to
continue .
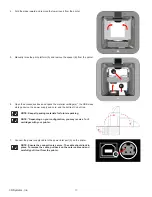
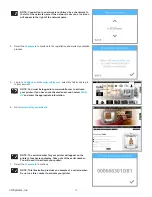
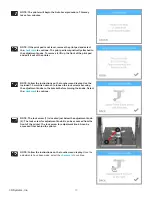
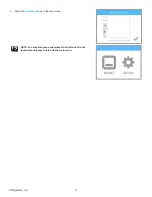
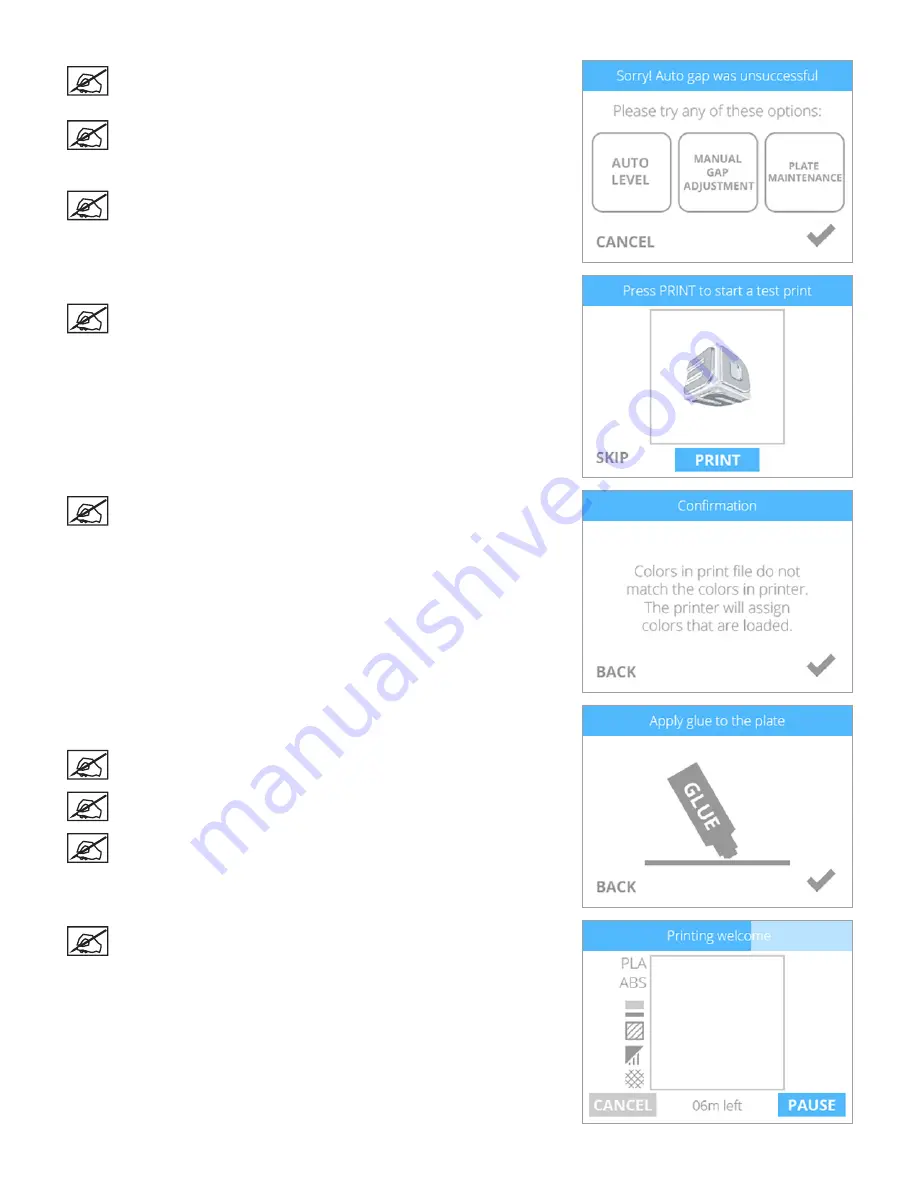
5 . Gently squeeze the bottle and apply two thin layers of Cube Glue to the print
pad . Select the
checkmark
to continue .
NOTE: For more information about applying glue to the print pad,
refer to the section titled Applying Cube Glue .
NOTE: Apply enough glue to cover a square area of 5” (15 cm) .
NOTE: For best results, allow the glue to dry prior to printing .
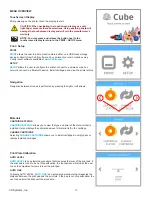
NOTE: The printer will begin to heat and then begin printing the
welcome message test print .
Summary of Contents for CUBE
Page 1: ...Cube Personal 3D Printer User Guide Original Instructions 3rd Generation ...
Page 59: ...55 3D Systems Inc Information Select Information A to view the printer status A ...
Page 72: ...68 3D Systems Inc Change Views Select Change Views and then select the camera viewing angle ...
Page 78: ...74 3D Systems Inc 1 Select an item from My Shelf 2 Select Print Now ...

