12
3D Systems, Inc
.
INITIAL SETUP OF THE CUBE
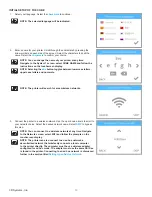
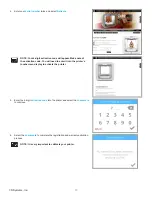
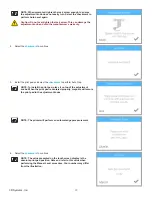
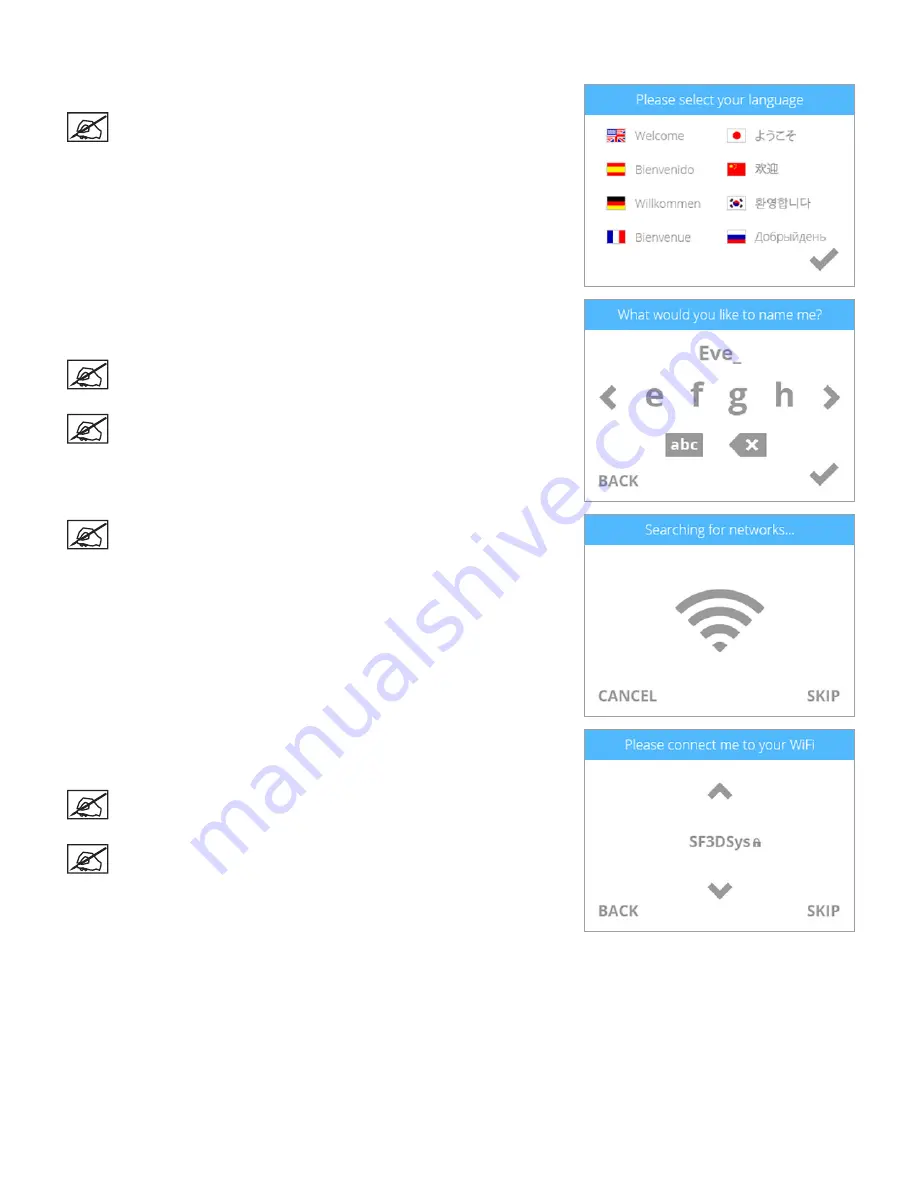
1 . Select your language . Select the
checkmark
to continue .
NOTE: The selected language will be indicated .
2 . Enter a name for your printer . Scroll through the characters by pressing the
arrow symbols on each side of the screen . Select the characters to spell the
name . Select the
checkmark
to confirm your choice.
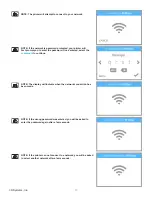
NOTE: You can change the name of your printer at any time .
Navigate to the System 1 screen, select CUBE NAME and follow the
instructions on the touchscreen display .
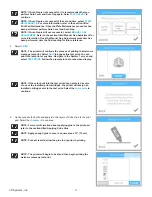
NOTE: Selecting the
abc
button toggles between lowercase letters,
uppercase letters and numerals .
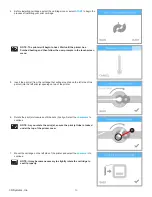
NOTE: The printer will search for area wireless networks .
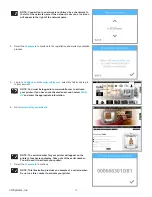
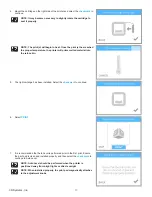
3 . Connect the printer to a wireless network . Use the up or down arrows to scroll to
your network choice . Select the desired network name . Select
SKIP
to bypass
this step .
NOTE: You can connect to a wireless network at any time . Navigate
to the Network screen, select WIFI and follow the prompts on the
touchscreen display .
NOTE: The printer can also connect to an ad hoc network, a
decentralized network that wirelessly connects a local computer
to the printer directly . The computer must have a wireless adapter
configured for ad hoc mode. The adapter must use the same SSID as
is found in the printer . Connecting to an ad hoc network is discussed
further in the section titled
Setting Up an Ad Hoc Network
.
Summary of Contents for CUBE
Page 1: ...Cube Personal 3D Printer User Guide Original Instructions 3rd Generation ...
Page 59: ...55 3D Systems Inc Information Select Information A to view the printer status A ...
Page 72: ...68 3D Systems Inc Change Views Select Change Views and then select the camera viewing angle ...
Page 78: ...74 3D Systems Inc 1 Select an item from My Shelf 2 Select Print Now ...

