UAD‑2 Live Rack Manual
Chapter 4: Live Rack Application
96
Reassign Insert
1. Single‑click any populated insert button in any View screen to switch into Channel
view and select the insert. The PLUG‑IN tab is selected and the plug‑in interface
is displayed.
2. Single‑click the ASSIGN tab. The CATEGORY button of the current plug‑in is
selected, along with the PRESET column (and SUB‑FOLDER column, if any).
3. Single‑click any CATEGORY button to select it. The plug‑ins within the category
are displayed in the PLUG‑IN column. Use the vertical scroll bar to view all the
plug‑ins if necessary.
4. Single‑click any plug‑in the PLUG‑IN column to assign it to the insert. The old
plug‑in is replaced by the new plug‑in with its default preset, and the PRESETS
column (and SUB‑FOLDER column, if any) are displayed.
5. If desired, single‑click any preset in the PRESETS column (or SUB‑FOLDER
column, if any) to load the preset. Use the vertical scroll bar to view all the
presets and/or sub‑folders if necessary.
Done. Exit assign mode by pressing enter or clicking a different element. Click the
PLUG‑IN tab to view the plug‑in’s interface and edit parameters.
De-assign Insert
Tip: Plug-in de-assignment in Inserts View via the Remove function can be much
quicker, especially when removing numerous plug-ins.
1. Single‑click any populated insert button in any View screen to switch into Channel
view and select the insert. The PLUG‑IN tab is selected and the plug‑in interface
is displayed.
2. Single‑click the ASSIGN tab. The CATEGORY button of the current plug‑in is
selected, along with the PRESET column (and SUB‑FOLDER column, if any).
3. Single‑click the NONE category button. The plug‑in is removed from the insert
and UAD resources used by the plug‑in are released.
Done. Exit assign mode by pressing enter or clicking a different element.
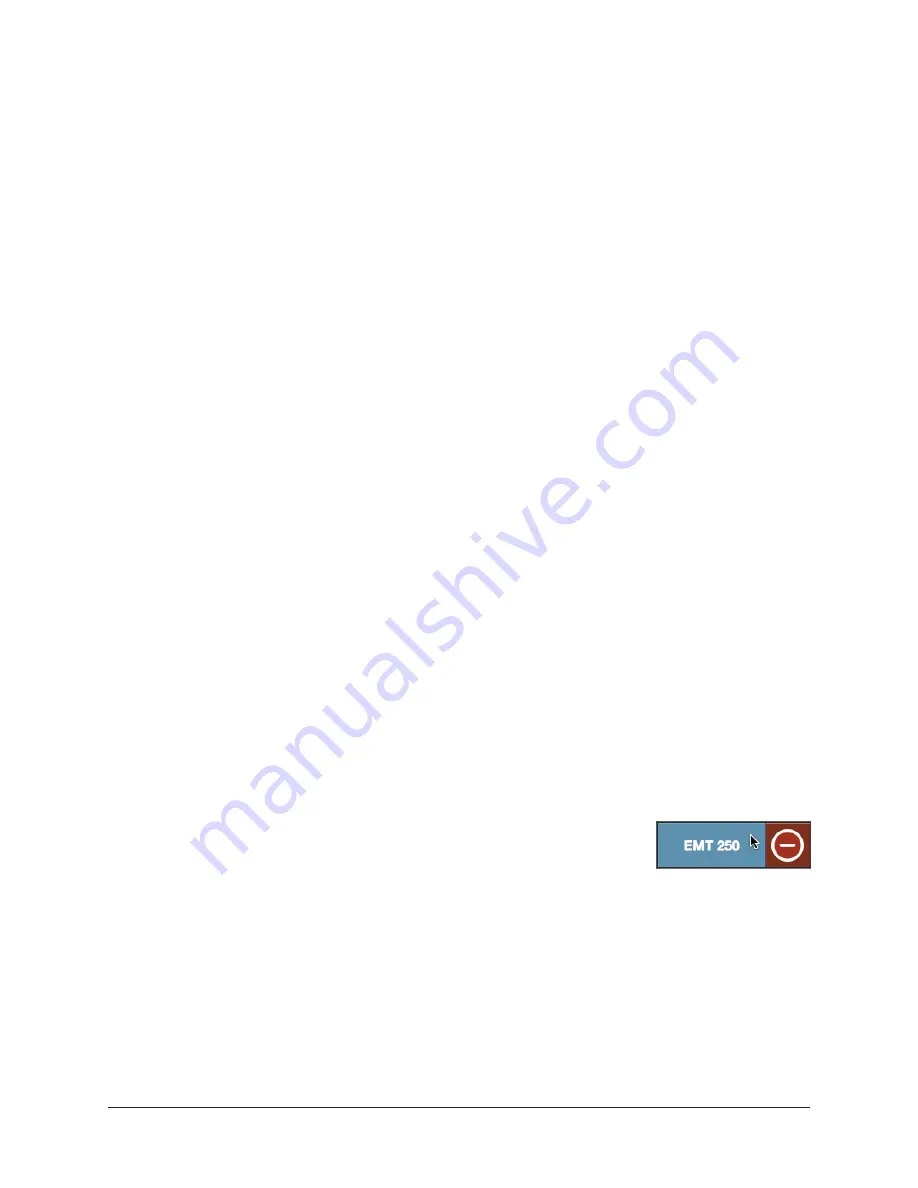
Tip: Plug-ins can also be de-assigned using the drag-to-left
shortcut on the insert buttons (shown at right). For details, see
.


