UAD‑2 Live Rack Manual
Chapter 3: System Setup
34
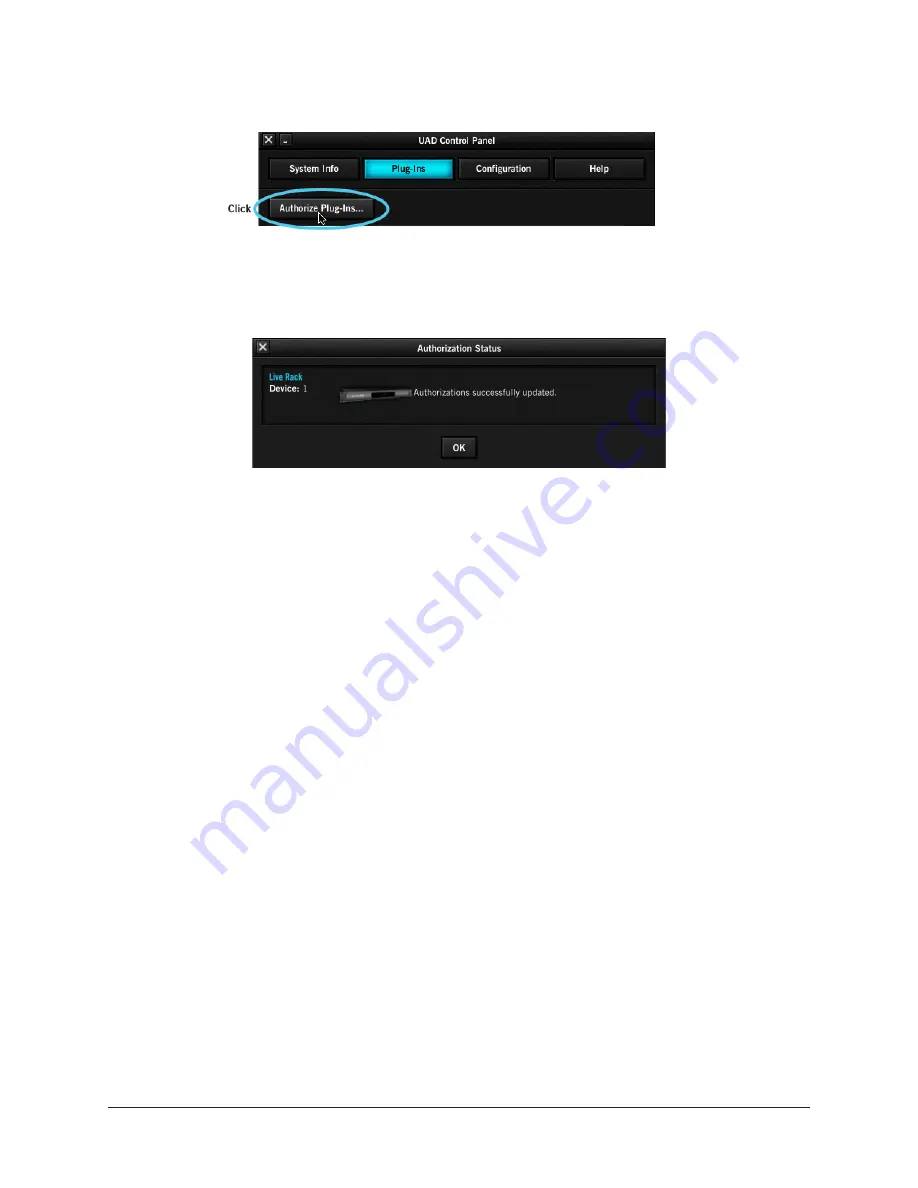
3. Click the “Authorize Plug‑Ins…” button in the Plug‑Ins panel. The software
connects to the Universal Audio authorization servers.
4. After a few moments, the Authorization Status window appears and
"Authorizations successfully updated" is displayed. Click OK to close the window.
5. System authorization is complete. Proceed to
Offline Authorization Procedure
If the UAD‑2 Live Rack computer is not connected to the Internet, you will need to
manually transfer the registration URL into the browser of a web‑enabled computer,
download the authorization file on the web computer, then transfer the authorization file
back to the UAD‑2 Live Rack computer.
Important:
If the UAD-2 Live Rack computer is not connected to the internet,
you must manually transfer the
exact registration URL into the browser of a web-
enabled computer.
To authorize a system that is not connected to the Internet:
1. Install the UAD‑2 Live Rack software and hardware using the procedures detailed
earlier in this chapter. The UAD‑2 Live Rack hardware must be powered on and
the system must be communicating properly.
2. Launch the UAD Meter & Control Panel application, open the Plug‑Ins Panel,
and click the "Authorize Plug‑Ins" button by following step numbers 1, 2, and
3 on
. The default web browser opens with the registration URL in
the address bar, along with an error that the computer is not connected to the
Internet.
(continued)


