Thursday, May 14, 2009
47
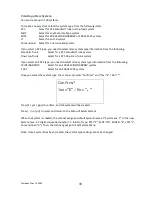
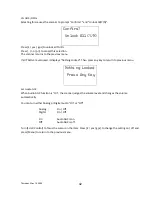
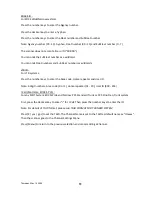
If you enter less than “125Hz”, the scanner prompts “Out of Range" and "Set Min? (Y/N)”. Press [E / yes /
gps] to set the minimum spacing frequency (125Hz). Or, press [. / no / pri] to return to editing state.
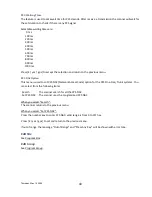
If you enter over “128.0kHz”, the scanner prompts "Out of Range" and "Set Max? (Y/N)". Press [E / yes /
gps] to set the maximum spacing frequency (128.0kHz). Or, press [. / no / pri] to return to editing state.
Note: The scanner displays “
n:---------/----
“ (n : Band Plan number) in Select Plan when the base frequency
is “0MHz”. It means the number is not used.
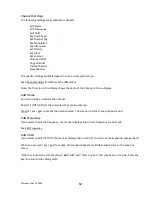
Edit Band Plan (Mot)
This menu is shown when the selected system is a MOT type system.
You can select one of three kinds of band plans:
800/900 Standard
800 Splinter
Custom
To properly track Motorola VHF and UHF systems and rebanded 800 MHz systems, you should select
“Custom” and enter what is known as the base frequencies (Lower and Upper), the spacing frequencies
and channel offsets for each System.
To select the custom Band Plan number, turn the [Scroll Control] to select its number from 1 to 6.
Band Plan 1
Band Plan 2
Band Plan 3
Band Plan 4
Band Plan 5
Band Plan 6
Then press[E / yes / gps] is pressed. You are then prompted to set the detailed information of band plan.
Set Base Freq
Set Offset
Set Spacing
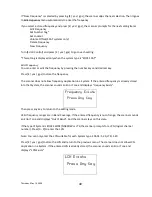
When you select “Set Base Freq”, you are then prompted to “Input Lower” then “Input Upper”. Use the
number keys and decimal key to input frequencies. Press [E / yes / gps] to set the frequency. If the entered
frequency is out of band, “Out of Band” will be shown with an error tone. Press any key to go back to
editing the base frequency.
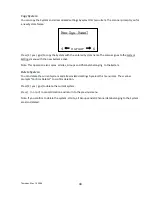
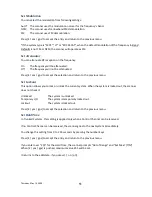
When you select “Set Offset”, you can set the channel offset for the band plan entry. You can set the
Offset from -1023 to +1023. Enter the absolute value using the number keys. If you input a value over
1023, “Out of Range” and “Set Max? (Y/N)” will be shown. Press [. / no / pri] to return to editing state.
Press [E / yes / gps] to set the value to maximum number (1023) and you will be prompted to “Select
Polarity”. Select “+ Polarity” or “- Polarity”, then press [E / yes / gps] to confirm the setting.
Содержание BC346XT
Страница 515: ...266 ...
Страница 516: ...267 ...
Страница 517: ...268 ...
Страница 518: ...269 ...
Страница 519: ...270 ...
Страница 520: ...271 Character pattern of 8 x 8 dot This character pattern is Small Font ...
Страница 521: ...272 ...
Страница 522: ...273 ...
Страница 814: ...256 ...
Страница 815: ...257 ...
Страница 816: ...258 ...
Страница 817: ...259 ...
Страница 818: ...260 ...
Страница 819: ...261 Character pattern of 8 x 8 dot This character pattern is Small Font ...
Страница 820: ...262 ...
Страница 821: ...263 ...
Страница 831: ......

