30
Ulead COOL 3D 3.0
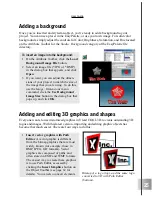
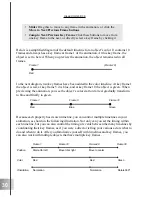
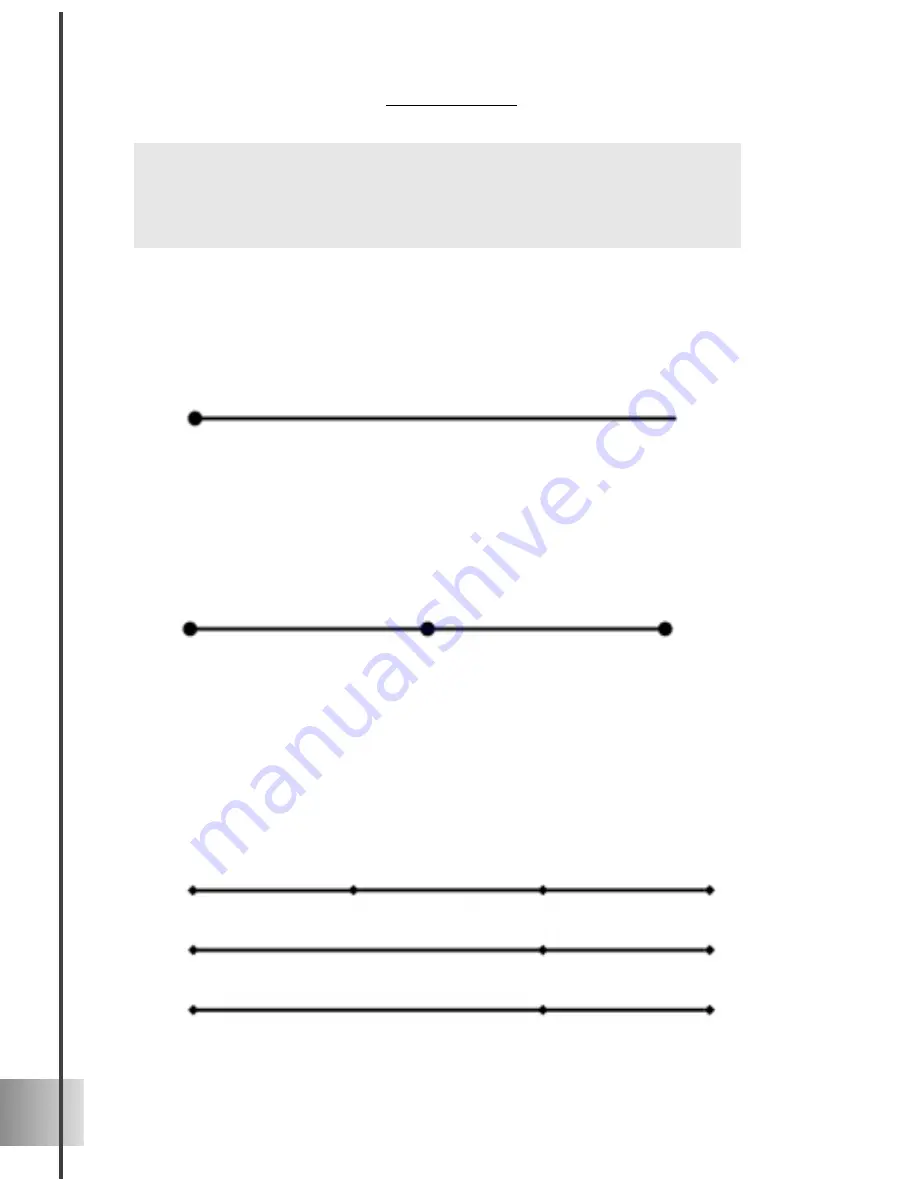
In the next diagram, two key frames have been added to the color timeline. At key frame 1
the object is red, at key frame 5 it is blue, and at key frame 10 the object is green. When
previewing the animation, you see the object’s color start out at red, gradually transform
to blue and finally to green.
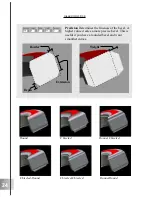
Below is a simplified diagram of the default timeline for an object’s color. It contains 10
frames and always has a key frame at frame 1 of the animation. At this key frame, the
object is set to be red. When you preview the animation, the object remains red in all
frames.
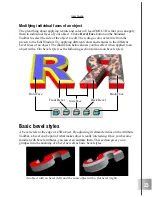
Because each property has its own timeline, you can control multiple timelines in your
animation, as shown in the following illustration. Not only can you set the timing within
each timeline, but you can also control the timing of events between the many timelines by
coordinating their key frames, as if you were a director telling your various actors what to
do and when to do it. After you familiarize yourself with timelines and key frames, you
can also work with multiple objects that have multiple key frames.
Frame 1
Frame 10
Frame 30
Frame 20
Start at far left
Move to far right
Move to center
Red
Red
Green
No rotation
No rotation
Rotate 360º
Position
Orientation
Color
Frame 1
(Frame 10)
Red
Frame 1
Frame 5
Frame 10
Red
Blue
Green
•
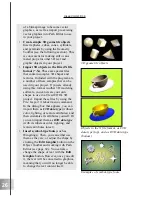
Slider Drag this to move to any frame in the animation, or click the
Move to Next/Previous Frame buttons.
•
Jump to Next/Previous Key Frame Click these buttons to move from
one key frame to the next, or directly select a key frame by clicking it.
Содержание COOL 3D 3.0
Страница 1: ... title ...


