70
Ulead COOL 3D 3.0
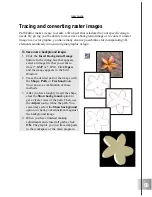
To convert raster graphics to vector
graphics:
1
Click the Convert to Vector button. In
the dialog box that appears, select an
image file that you want to convert, then
click Open.
2
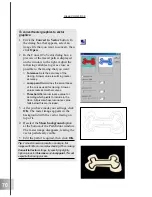
In the Convert To Vector dialog box, a
preview of the traced path is displayed
on the window to the right. Adjust the
following variables to get as close as
possible to the tracing that you want:
¡
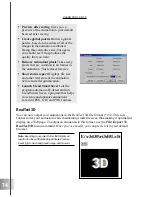
Tolerance Sets the accuracy of the
tracing. A lower value results in greater
accuracy.
¡
Jump point Determines the smoothness
of the curves used for tracing. A lower
value creates smoother curves.
¡
Threshold Sets a luminance value for
deciding which pixels to include in the
trace. All pixels whose luminance value
falls below this are included.
3
After you have made your settings, click
OK. The raster image appears in the
background with the vector tracing on
top of it.
4
Deselect the Show background option
at the bottom of the Path Editor window.
The raster image disappears, leaving the
vector path clearly visible.
5
Edit the path if required, then click OK.
Tip: For best conversion results, use simple, flat
images with little or no complex shading. When making
Convert to Vector settings, try specifying slightly
higher values for Tolerance and Jump point. This will
expedite the tracing process.
Содержание COOL 3D 3.0
Страница 1: ... title ...


