67
User Guide
Adjusting paths
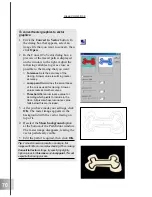
Whenever you create an object, its shape is defined by the path you draw. Once created,
you always edit it using the Adjust tool.
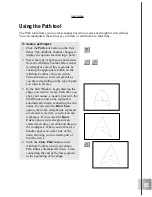
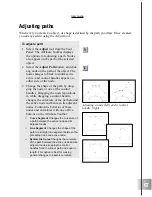
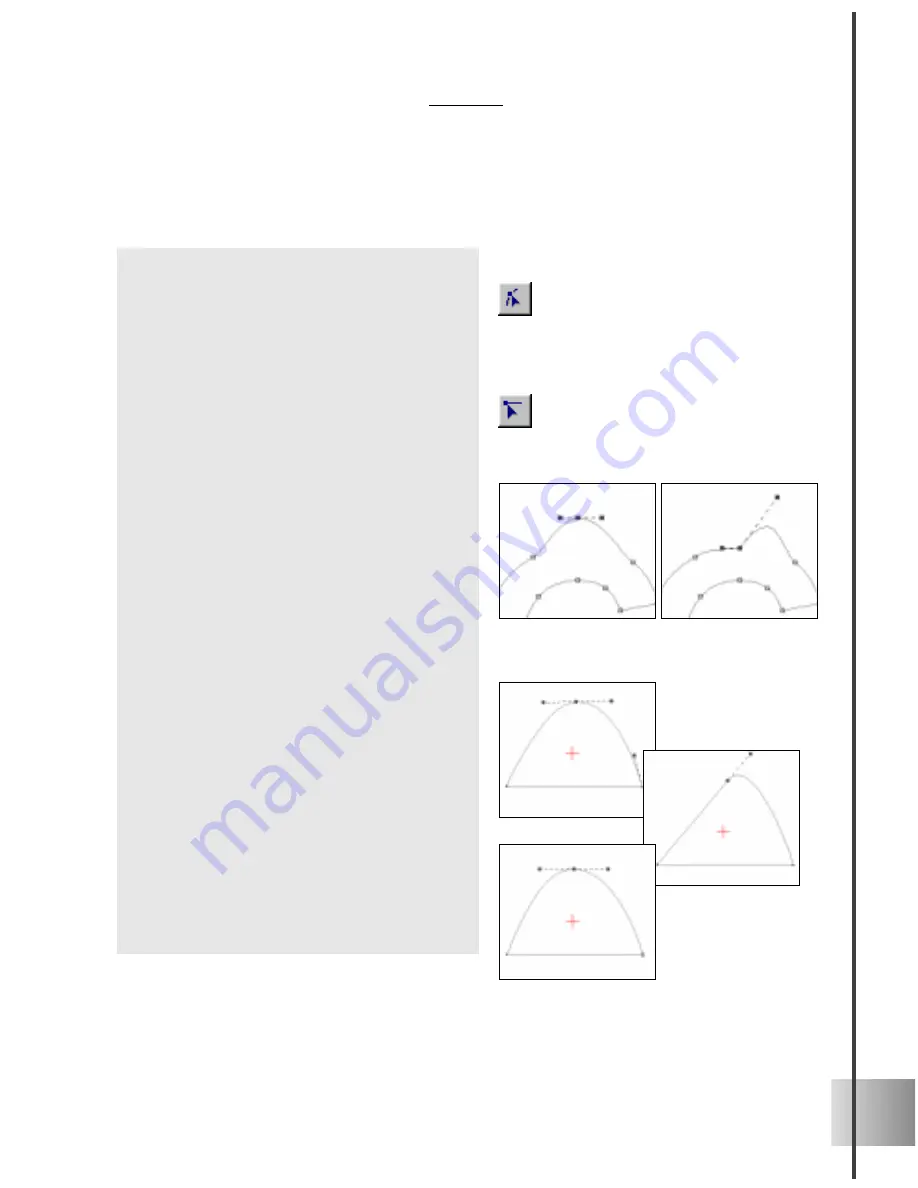
Adjusting a node (left) and a control
handle (right)
To adjust a path:
1
Select the Adjust tool from the Tool
Panel. The Attribute Toolbar displays
the options for adjusting a path. Nodes
also appear on the path of the selected
object.
2
Select the Adjust Path button, and click
any node on the path of the object. The
node changes to black to indicate it is
active, and control handles appear on
either side of the node.
3
Change the shape of the path by drag-
ging the node or one of the control
handles. Dragging the node repositions
it, while dragging a control handle
changes the curvature of the path around
the active node and between its adjacent
nodes. Control the behavior of these
nodes and curvatures with one of five
buttons on the Attribute Toolbar:
¡
Curve Segment Changes the curvature of
a path between the active node and its
adjacent nodes.
¡
Line Segment Changes the shape of the
path to a straight line segment between the
preceding node and active node.
¡
Symmetric Curve Changes the curvature
of the path between the active node and its
adjacent nodes, keeping the control
handles fixed in a linear path and equal in
length. This option is best for making
general changes to a path’s curvature.
Содержание COOL 3D 3.0
Страница 1: ... title ...


