29
ULEAD COOL 3D 3.0
Working with key frames and timelines
When you start to create an animation, you begin with a timeline. The timeline represents
a number of frames in the animation. In Ulead COOL 3D, you use the Timeline Control
to edit the attributes of timelines. Many properties of the 3D object (such as size, position,
color, and any plug-in effects) have individual timelines that you can edit independently.
These are listed in the Properties Menu.
Key frames let you choreograph your animation sequence as you work with the timeline.
By adding key frames and editing attributes in those key frames, you can, for instance, set
your object to move from left to right, and then rotate. Any adjustments you make to your
object at a given key frame determines the state of the object at that frame of the anima-
tion (for example, the position, size, color, etc.). The following describes some basic
controls of the Timeline Control:
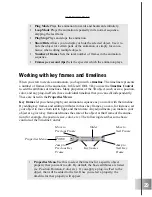
•
Ping Mode Plays the animation forwards and backwards infinitely.
•
Loop Mode Plays the animation repeatedly in its normal sequence,
skipping the last frame.
•
Play/Stop Plays and stops the animation.
•
Show/Hide Allows you to display or hide the selected object. Use it to
hide the object for certain parts of the animation or simply for conve-
nience when editing multiple objects.
•
Number of frames Sets the total number of frames in the animation
sequence.
•
Frames per second (fps) Sets the speed at which the animation plays.
•
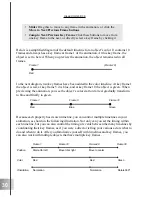
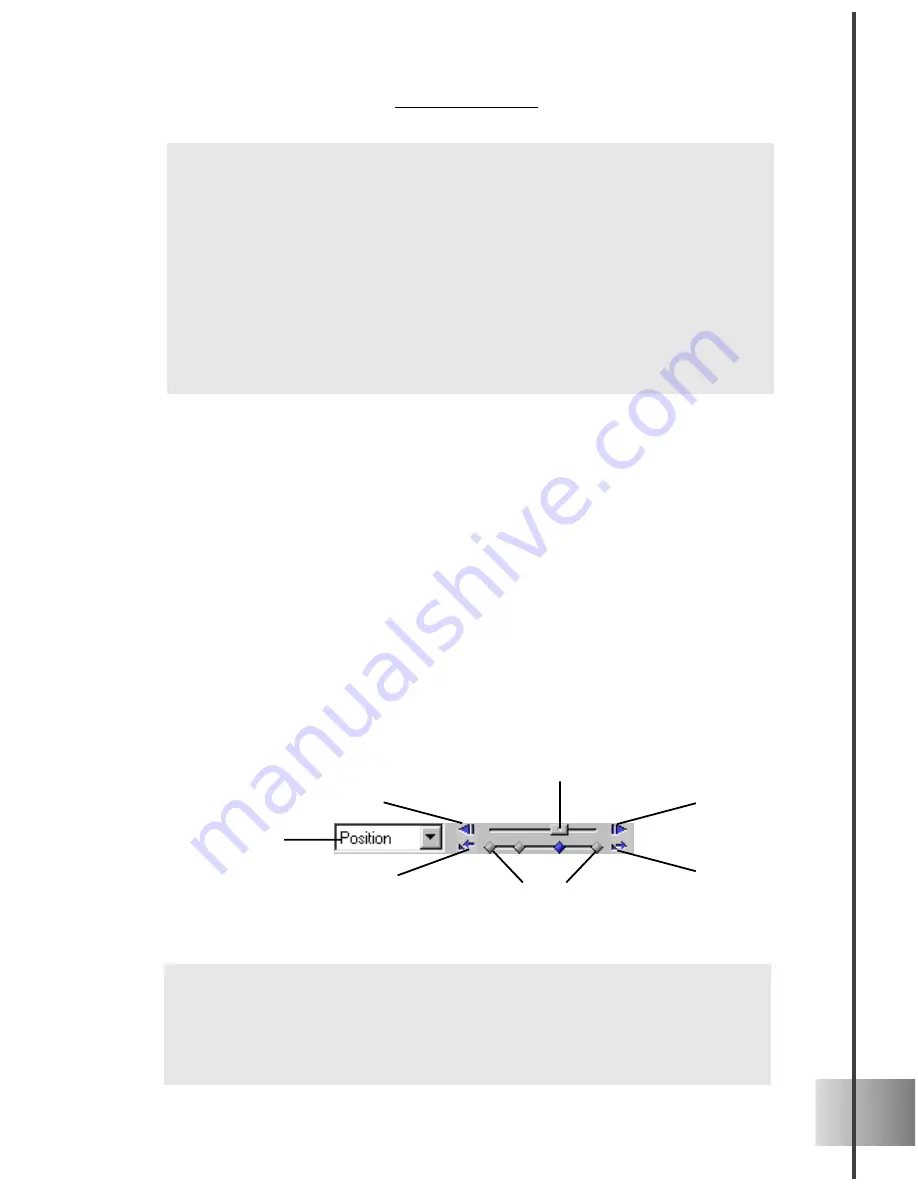
Properties Menu Use this to select the timeline for a specific object
property that you want to edit. By default, the basic attributes are listed
(i.e. Position, Rotation, Color, etc.). If you apply a plug-in effect to the
object, that will be added to the list. Once you select a property, the
timeline for that property will appear.
Properties Menu
Slider
Move to
Next Frame
Move to
Previous Frame
Jump to
Next Key
Frame
Jump to
Previous Key
Frame
Key frames
Содержание COOL 3D 3.0
Страница 1: ... title ...


