6
D
11
10
9.
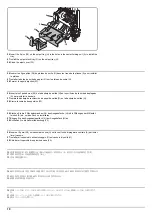
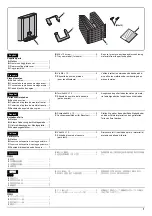
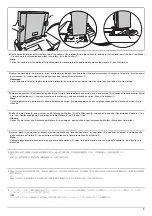
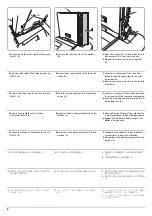
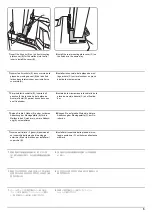
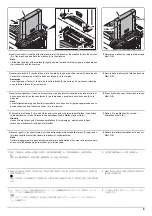
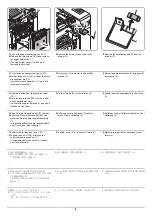
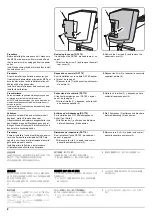
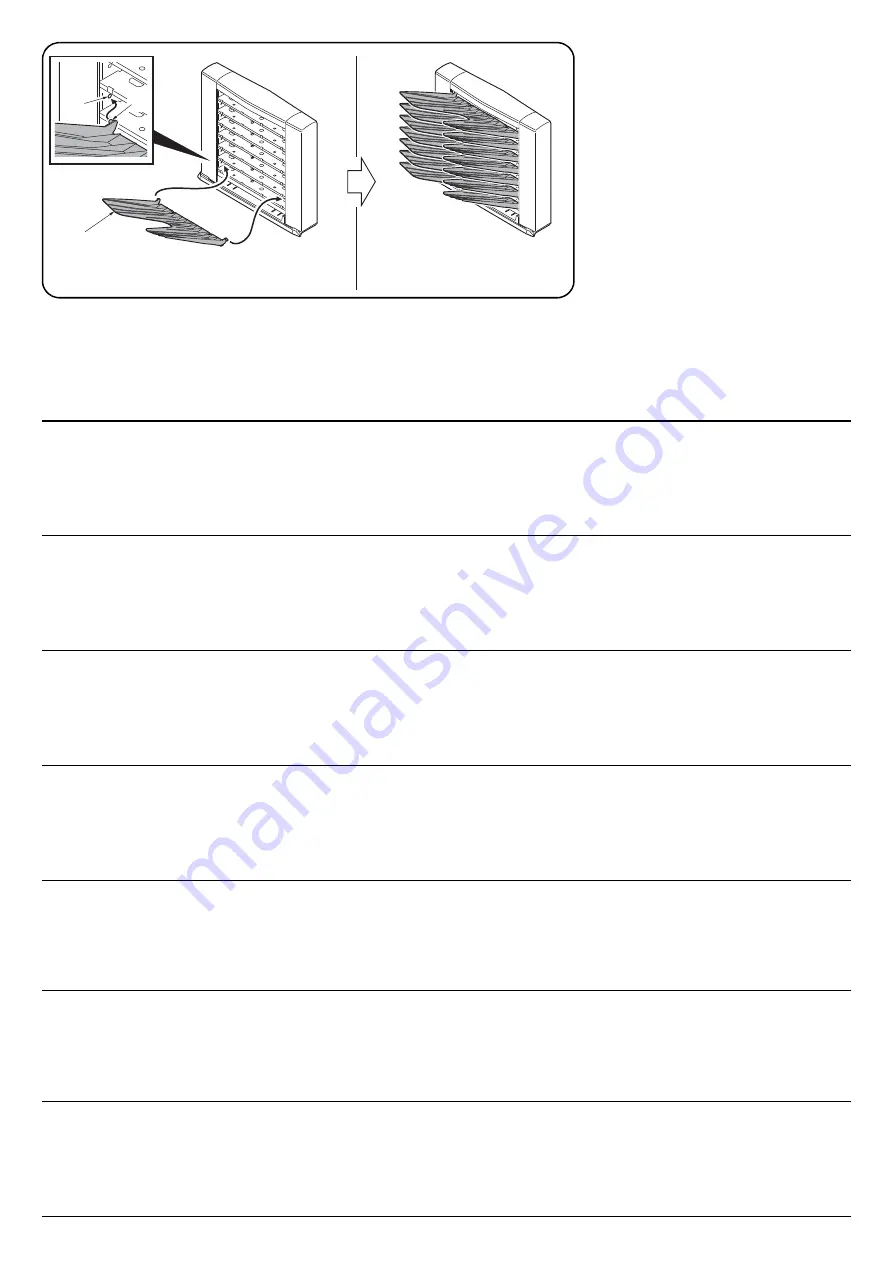
Fit the seven copy eject bins (D) to the ejection section of the mailbox (A) from the lowest bin to
the highest.
Press both ends of each copy eject bin (D) to bend it a little, then fit the bin by inserting the front
and rear pins (10) into the round holes (11) at the front and rear of the mailbox.
10.
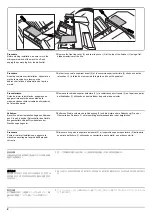
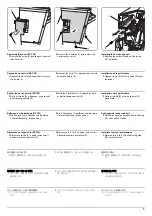
Insert the power plug from the machine into
the outlet, turn the main power switch on,
and verify the machine operates normally.
9.
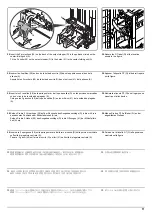
Fixer les sept cases d’éjection de copies (D) sur la section d’éjection de la boîte à lettres (A), en
procédant de la case située tout en bas à celle située tout en haut.
Appuyer sur les deux extrémités de chaque case d'éjection des copies (D) pour cintrer légère-
ment cette pièce, puis monter la case en insérant les broches avant et arrière (10) dans les trous
ronds (11) à l'avant et à l'arrière de la boîte à lettres.
10.
Insérer la fiche d’alimentation de la machine
dans la prise et mettre la machine sous ten-
sion, puis vérifier qu'elle fonctionne correcte-
ment.
9.
Presione ambos extremos de cada bandeja de expulsión de copias (D) para doblarlas un poco;
después, coloque la bandeja insertando los pasadores delantero y trasero (10) en los orificios
redondos (11) en la parte frontal y posterior del buzón de correo.
10.
Enchufe el cable de alimentación de la
máquina en la toma de corriente y encienda
el interruptor principal para comprobar que
la máquina funciona correctamente.
9.
Setzen Sie die sieben Kopienausgabefächer (D) in die Ausgabeöffnungen der Mailbox (A) ein,
beginnend vom untersten Fach zum höchsten.
Drücken Sie beide Enden jedes Kopienausgabefachs (D) zusammen, um es etwas zu biegen.
Setzen Sie das Fach ein, indem Sie die vorderen und hinteren Stifte (10) in die Rundlöcher (11)
vorne und hinten an der Mailbox einsetzen.
10.
Stecken Sie den Netzstecker des Geräts in
eine Steckdose und schalten Sie den
Hauptschalter des Geräts ein, um den
Betrieb zu prüfen.
9.
Installare i sette scomparti di espulsione delle copie (D) nella sezione di espulsione della mailbox
(A), iniziando dallo scomparto più in basso fino a quello più in alto.
Premere le due estremità di ciascuno scomparto di espulsione delle copie (D) in modo da pie-
garlo leggermente, quindi installare lo scomparto inserendo i perni anteriore e posteriore (10) nei
fori rotondi (11) presenti sul fronte e sul retro della mailbox.
10.
Inserire la spina nella presa di corrente,
accendere la macchina e controllare che
funzioni correttamente.
9.
排出ビン (D)7 枚をメールボックス (A) の排出部に下から順番に取り付ける。
排出ビン (D) の左右を押し少したわませ、前後のピン (10) をメールボックスの前後の丸穴 (11)
に挿入する。
10.
機械本体の電源プラグをコンセントに差し
込み、
主電源スイッチを ON にして動作を確
認する。
9.
从邮箱 (A) 的排出部下面起按顺序安装 7 个接纸盘 (D)。
按住接纸盘 (D) 的左右两侧并使其稍稍下垂,通过将前后的销钉 (10) 插入邮箱前后的圆孔 (11)
中来安装接纸盘。
10.
将机器的电源插头插入插座,然后打开主电
源开关并确认机器能否正常操作。
9.
배출핀 (D) 7 개를 메일박스 (A) 의 배출부에 밑에서부터 순서대로 장착합니다 .
배출핀 (D) 의 좌우를 밀어 조금 휘게해 앞뒤의 핀 (10) 을 메일박스의 앞뒤의 둥근 구멍 (11) 에
삽입합니다 .
10.
기기본체의 전원 플러그를 콘센트에 꼽고 주
전원 스위치를 ON 으로 해서 동작을 확인 합
니다 .
Содержание UTAX AK 730
Страница 5: ...This page is intentionally left blank ...
Страница 11: ...This page is intentionally left blank ...
Страница 15: ...3NB 3ND 3N0 3NK This page is intentionally left blank ...
Страница 25: ...3NB 3ND 3N0 3NK 1 1 10 This page is intentionally left blank ...
Страница 43: ...3NB 3ND 3N0 3NK 1 2 18 3 Remove tape and pad Figure 1 2 23 Tape Pad ...
Страница 45: ...3NB 3ND 3N0 3NK 1 2 20 This page is intentionally left blank ...
Страница 81: ...3NB 3ND 3N0 3NK 1 3 36 This page is intentionally left blank ...
Страница 157: ...3NB 3ND 3N0 3NK 1 4 76 This page is intentionally left blank ...
Страница 169: ...3NB 3ND 3N0 3NK 1 5 12 This page is intentionally left blank ...
Страница 206: ...3NB 3ND 3N0 3NK 2 2 11 This page is intentionally left blank ...
Страница 246: ...1 1 INSTALLATION GUIDE INSTALLATION GUIDE FOR 4000 SHEETS FINISHER ...
Страница 269: ...INSTALLATION GUIDE FOR FINISHER ATTACHMENT KIT MFP A ...
Страница 283: ...INSTALLATION GUIDE FOR FINISHER ATTACHMENT KIT MFP B ...
Страница 284: ...E F A H G I J B D C ...
Страница 291: ...INSTALLATION GUIDE FOR FINISHER ATTACHMENT KIT PRINTER ...
Страница 295: ...INSTALLATION GUIDE FOR CENTER FOLDING UNIT ...
Страница 312: ...INSTALLATION GUIDE FOR MULTI TRAY ...
Страница 326: ...INSTALLATION GUIDE FOR MULTI TRAY ATTACHMENT KIT PRINTER ...
Страница 330: ...INSTALLATION GUIDE FOR PUNCH UNIT ...

