3NB/3ND/3N0/3NK-2
1-4-41
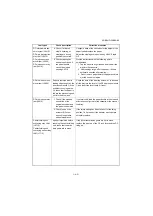
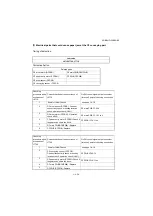
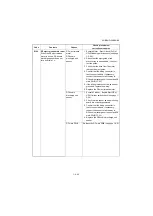
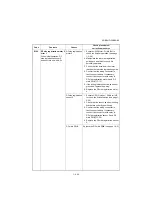
8020
Punch motor 2 error
Home position is not obtained
in 3 s after home position is
initialized or in standby.
Punch motor
1. Execute U240 Motor - Punch to check
the finisher operation (see page 1-3-24).
2. Manipulate the punch up and down to
check it can smoothly move up and
down.
3. Check that the drive from the motor
reaches the punch cam.
4. Confirm that the wiring connector is
firmly connected and, if necessary,
connect the connector all the way in.
Punch motor and Punch PWB (YC4)
5. If the wiring is disconnected, shorted or
grounded, replace the wiring.
6. Replace the punch motor.
Punch PWB
1. Confirm that the wiring connector is
firmly connected and, if necessary,
connect the connector all the way in.
Punch PWB (YC1) and DF main PWB
(YC7)
2. Replace the punch PWB.
DF main PWB
Replace the DF main PWB (see page 1-5-2).
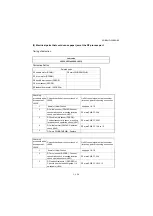
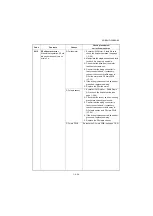
8030
Punch motor 3 error
Home position does not turn
from On to Off in 50 ms after
home position has been ini-
tialized.
Punch motor
1. Execute U240 Motor - Punch to check
the finisher operation (see page 1-3-24).
2. Manipulate the punch up and down to
check it can smoothly move up and
down.
3. Check that the drive from the motor
reaches the punch cam.
4. Confirm that the wiring connector is
firmly connected and, if necessary,
connect the connector all the way in.
Punch motor and Punch PWB (YC4)
5. If the wiring is disconnected, shorted or
grounded, replace the wiring.
6. Replace the punch motor.
Punch PWB
1. Confirm that the wiring connector is
firmly connected and, if necessary,
connect the connector all the way in.
Punch PWB (YC1) and DF main PWB
(YC7)
2. Replace the punch PWB.
DF main PWB
Replace the DF main PWB (see page 1-5-2).
Code
Contents
Causes
Check procedures/
corrective measures
Содержание UTAX AK 730
Страница 5: ...This page is intentionally left blank ...
Страница 11: ...This page is intentionally left blank ...
Страница 15: ...3NB 3ND 3N0 3NK This page is intentionally left blank ...
Страница 25: ...3NB 3ND 3N0 3NK 1 1 10 This page is intentionally left blank ...
Страница 43: ...3NB 3ND 3N0 3NK 1 2 18 3 Remove tape and pad Figure 1 2 23 Tape Pad ...
Страница 45: ...3NB 3ND 3N0 3NK 1 2 20 This page is intentionally left blank ...
Страница 81: ...3NB 3ND 3N0 3NK 1 3 36 This page is intentionally left blank ...
Страница 157: ...3NB 3ND 3N0 3NK 1 4 76 This page is intentionally left blank ...
Страница 169: ...3NB 3ND 3N0 3NK 1 5 12 This page is intentionally left blank ...
Страница 206: ...3NB 3ND 3N0 3NK 2 2 11 This page is intentionally left blank ...
Страница 246: ...1 1 INSTALLATION GUIDE INSTALLATION GUIDE FOR 4000 SHEETS FINISHER ...
Страница 269: ...INSTALLATION GUIDE FOR FINISHER ATTACHMENT KIT MFP A ...
Страница 283: ...INSTALLATION GUIDE FOR FINISHER ATTACHMENT KIT MFP B ...
Страница 284: ...E F A H G I J B D C ...
Страница 291: ...INSTALLATION GUIDE FOR FINISHER ATTACHMENT KIT PRINTER ...
Страница 295: ...INSTALLATION GUIDE FOR CENTER FOLDING UNIT ...
Страница 312: ...INSTALLATION GUIDE FOR MULTI TRAY ...
Страница 326: ...INSTALLATION GUIDE FOR MULTI TRAY ATTACHMENT KIT PRINTER ...
Страница 330: ...INSTALLATION GUIDE FOR PUNCH UNIT ...

