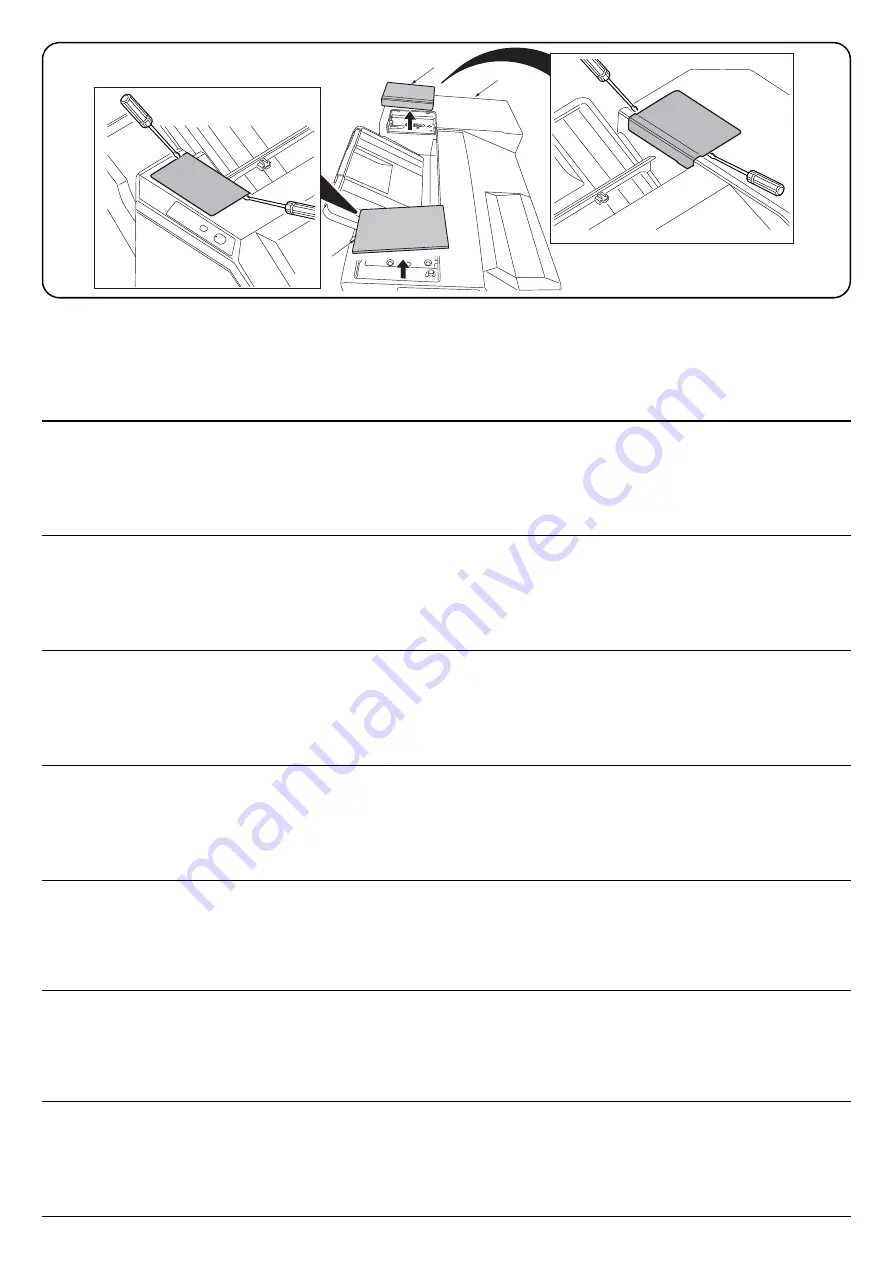
2
3
2
1
Procedure
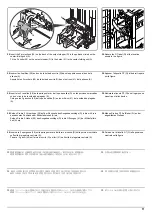
Before starting installation, be sure to turn the
main power switch of the machine off, and
unplug the power plug from the wall outlet.
1.
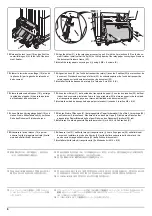
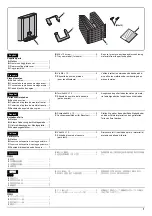
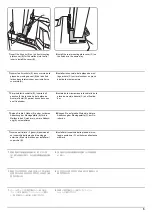
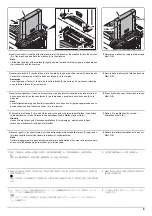
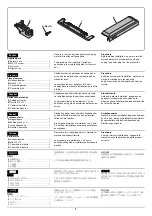
Remove the front top cover (2) and rear top cover (3) at the top of the finisher (1) using a flat-
blade screwdriver or the like.
Procédure
Avant de commencer l'installation, s'assurer de
mettre la machine hors tension et de
débrancher la fiche d'alimentation de la prise
murale.
1.
Retirer le couvercle supérieur avant (2) et le couvercle supérieur arrière (3) situés en haut du
retoucheur (1) à l’aide d’un tournevis à tête plate ou d’un outil équivalent.
Procedimiento
Antes de iniciar la instalación, asegúrese de
apagar el interruptor de encendido de la
máquina y desenchufar el cable de alimentación
de la toma de pared.
1.
Remueva la cubierta superior delantera (2) y la cubierta superior trasera (3) en la parte superior
del finalizador (1) utilizando un destornillador de punta plana o similar.
Verfahren
Bevor Sie mit der Installation beginnen überzeu-
gen Sie sich, dass der Netzschalter des Geräts
ausgeschaltet und das Stromkabel aus der
Steckdose gezogen ist.
1.
Entfernen Sie die vordere obere Abdeckung (2) und die hintere obere Abdeckung (3) an der
Oberseite des Finishers (1) mit einem Klingenschraubendreher oder dergleichen.
Procedura
Prima di iniziare l'installazione, spegnere la
macchina e scollegare la spina dalla presa di
corrente.
1.
Rimuovere il coperchio superiore anteriore (2) e il coperchio superiore posteriore (3) dalla parte
superiore del finitore (1) utilizzando un cacciavite a punta piatta, o un attrezzo simile.
取付手順
必ず機械本体の主電源スイッチを OFF にし、機
械本体の電源プラグを抜いてから作業するこ
と。
1.
フィニッシャー (1) 上部の天カバー前フタ (2) 、
天カバー後フタ (3) をマイナスドライバーな
どで取り外す。
安装步骤
安装前务必关闭机器的主电源开关,并从墙壁插
座拔下电源插头。
1.
用一字形螺丝刀拆下装订器 (1) 上部的顶罩前盖板 (2) 和顶罩后盖板 (3)。
설치순서
설치를 시작하기 전에 반드시 본체의 주 전원 스
위치를 끄고 벽 콘센트에서 전원 플러그를 분리
하십시오 .
1.
피니셔 (1) 상부의 윗커버 앞 덮개 (2), 윗커버 뒤 덮개 (3) 를 마이너스 드라이버 등으로 제거합니
다 .
Содержание UTAX AK 730
Страница 5: ...This page is intentionally left blank ...
Страница 11: ...This page is intentionally left blank ...
Страница 15: ...3NB 3ND 3N0 3NK This page is intentionally left blank ...
Страница 25: ...3NB 3ND 3N0 3NK 1 1 10 This page is intentionally left blank ...
Страница 43: ...3NB 3ND 3N0 3NK 1 2 18 3 Remove tape and pad Figure 1 2 23 Tape Pad ...
Страница 45: ...3NB 3ND 3N0 3NK 1 2 20 This page is intentionally left blank ...
Страница 81: ...3NB 3ND 3N0 3NK 1 3 36 This page is intentionally left blank ...
Страница 157: ...3NB 3ND 3N0 3NK 1 4 76 This page is intentionally left blank ...
Страница 169: ...3NB 3ND 3N0 3NK 1 5 12 This page is intentionally left blank ...
Страница 206: ...3NB 3ND 3N0 3NK 2 2 11 This page is intentionally left blank ...
Страница 246: ...1 1 INSTALLATION GUIDE INSTALLATION GUIDE FOR 4000 SHEETS FINISHER ...
Страница 269: ...INSTALLATION GUIDE FOR FINISHER ATTACHMENT KIT MFP A ...
Страница 283: ...INSTALLATION GUIDE FOR FINISHER ATTACHMENT KIT MFP B ...
Страница 284: ...E F A H G I J B D C ...
Страница 291: ...INSTALLATION GUIDE FOR FINISHER ATTACHMENT KIT PRINTER ...
Страница 295: ...INSTALLATION GUIDE FOR CENTER FOLDING UNIT ...
Страница 312: ...INSTALLATION GUIDE FOR MULTI TRAY ...
Страница 326: ...INSTALLATION GUIDE FOR MULTI TRAY ATTACHMENT KIT PRINTER ...
Страница 330: ...INSTALLATION GUIDE FOR PUNCH UNIT ...

