3.PRINT FUNCTIONS (Windows)
98 Printing With Best Functions for Your Needs
5
If you want to add a margin space between facing pages, enter a width in the [Center] box, and if
you want to add a margin on the outside edge, enter a width in the [Outer] box.
You can change the unit of the margin at the [Units].
The center margin can be set from 0.00 mm to 12.70 mm in units of 0.10 mm when the unit is mm, and from
0.00 inch to 0.50 inches in units of 0.01 inch when the unit is inches.
The printed images will be reduced according to the margin setting.
The outer margin can be set from 0.00 mm to 25.40 mm in units of 0.10 mm when the unit is mm, and from 0.00
inch to 1.00 inches in units of 0.01 inch when the unit is inches.
The printed images will be reduced according to the margin setting.
6
Click [OK] to close the [Booklet Details] dialog box.
7
Set any other print options you require and click [OK].
8
Click [OK] or [Print] to send the print job.
The print job is printed as a booklet.
Printing several pages on one sheet
Prints several pages of a document on one sheet of paper (N-up feature). This feature is very useful for browsing a
large number of pages for appearance or page order.
For example, to check the navigation path of a number of web pages or review the narrative of a slide presentation,
using N-up is not only convenient but conserves paper as well.
Printing multiple pages per sheet
1
Display the [Finishing] tab menu.
2
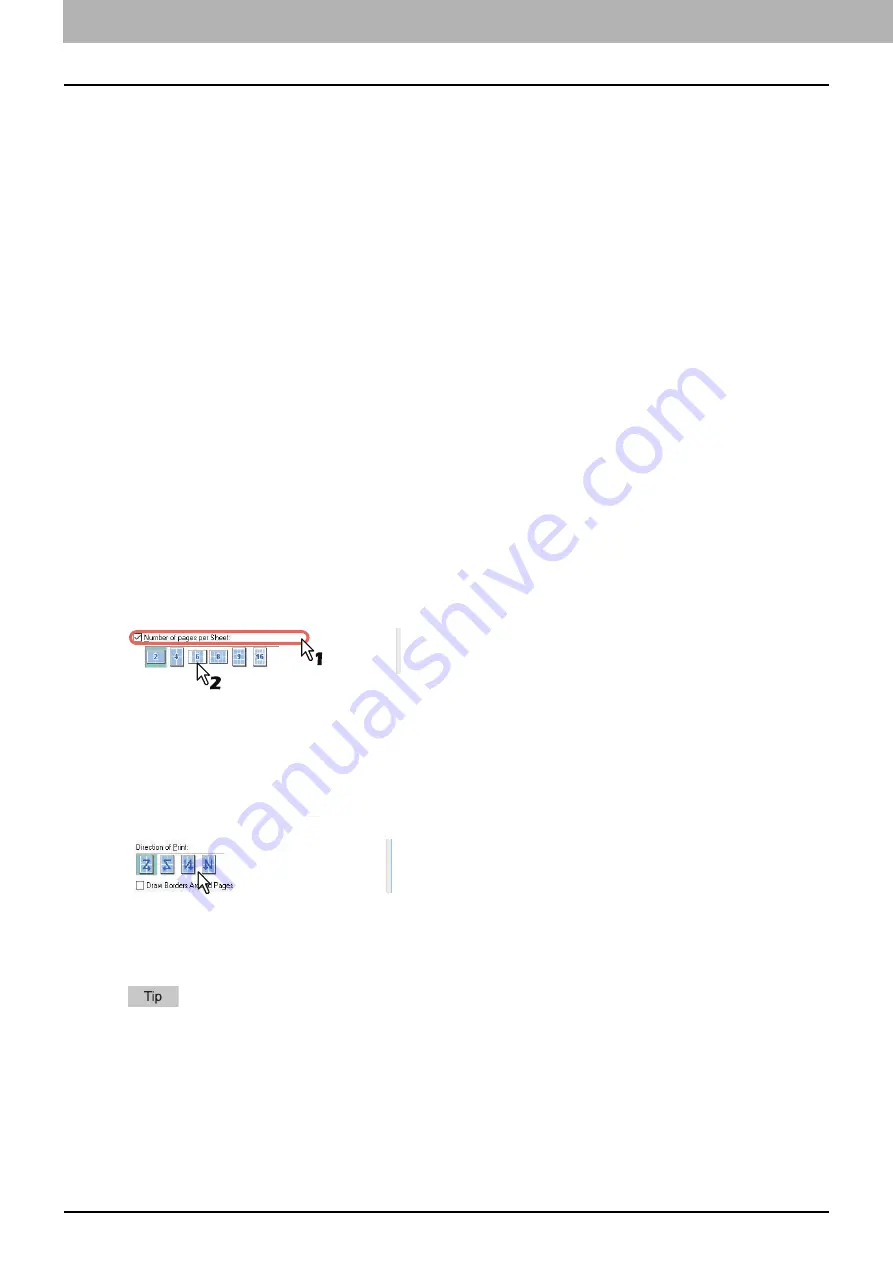
Select how many pages you want to print on a single sheet at the [Number of pages per Sheet]
box.
2 pages
— Prints images from 2 pages arranged on one sheet.
4 pages
— Prints images from 4 pages arranged on one sheet.
6 pages
— Prints images from 6 pages arranged on one sheet.
8 pages
— Prints images from 8 pages arranged on one sheet.
9 pages
— Prints images from 9 pages arranged on one sheet.
16 pages
— Prints images from 16 pages arranged on one sheet.
3
Select how the pages are arranged on one sheet in the [Direction of Print] option.
Left to Right
— Arranges pages horizontally from the left and printed top to bottom on one sheet.
Right to Left
— Arranges pages horizontally from the right and printed top to bottom on one sheet.
Left to Right by column
— Arranges pages vertically from the top and printed left to right on one sheet.
Right to Left by column
— Arranges pages vertically from the top and printed right to left on one sheet.
Items that can be selected in [Direction of Print] may vary depending on the number of pages selected at the
[Number of pages per Sheet] box.
4
If you want to draw a line around each page, select the [Draw Borders Around Pages] check box.
5
Set any other print options and click [OK].
6
Click [OK] or [Print] to send the print job.
Содержание e-studio 2822AF
Страница 1: ...MULTIFUNCTIONAL DIGITAL SYSTEMS User s Guide ...
Страница 30: ...1 PREPARATION 30 Preparation 3 Registering Paper Size and Type ...
Страница 64: ...2 COPY FUNCTIONS 64 Using Templates Copy ...
Страница 102: ...3 PRINT FUNCTIONS Windows 102 Printing With Best Functions for Your Needs ...
Страница 116: ...4 PRINT FUNCTIONS macOS 116 Setting up Print Options ...
Страница 162: ...5 SCAN FUNCTIONS 162 Using Templates Scan ...
Страница 204: ...7 TROUBLESHOOTING 204 Before Calling Service Technician ...
Страница 205: ...8 MAINTENANCE AND INSPECTION Regular Cleaning 206 Cleaning charger 207 ...
Страница 208: ...8 MAINTENANCE AND INSPECTION 208 Cleaning charger ...
Страница 216: ...9 APPENDIX 216 Copying Function Combination Matrix ...
Страница 221: ...e STUDIO2822AM 2822AF ...


