TANDBERG 2000 MXP
14
2.4 System Configuration
The system must be configured for each installation. Configuration settings can be made via the
system menu.
Navigate through the menu system using the arrow keys and OK. Remember to press the Save
button on the bottom of each menu to save the changes. Press Cancel (x) to return to the
previous Menu. See
General Use
for more information about how to use the menus and the
remote control.
General configuration:
1.
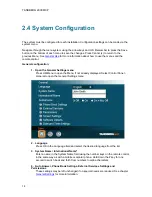
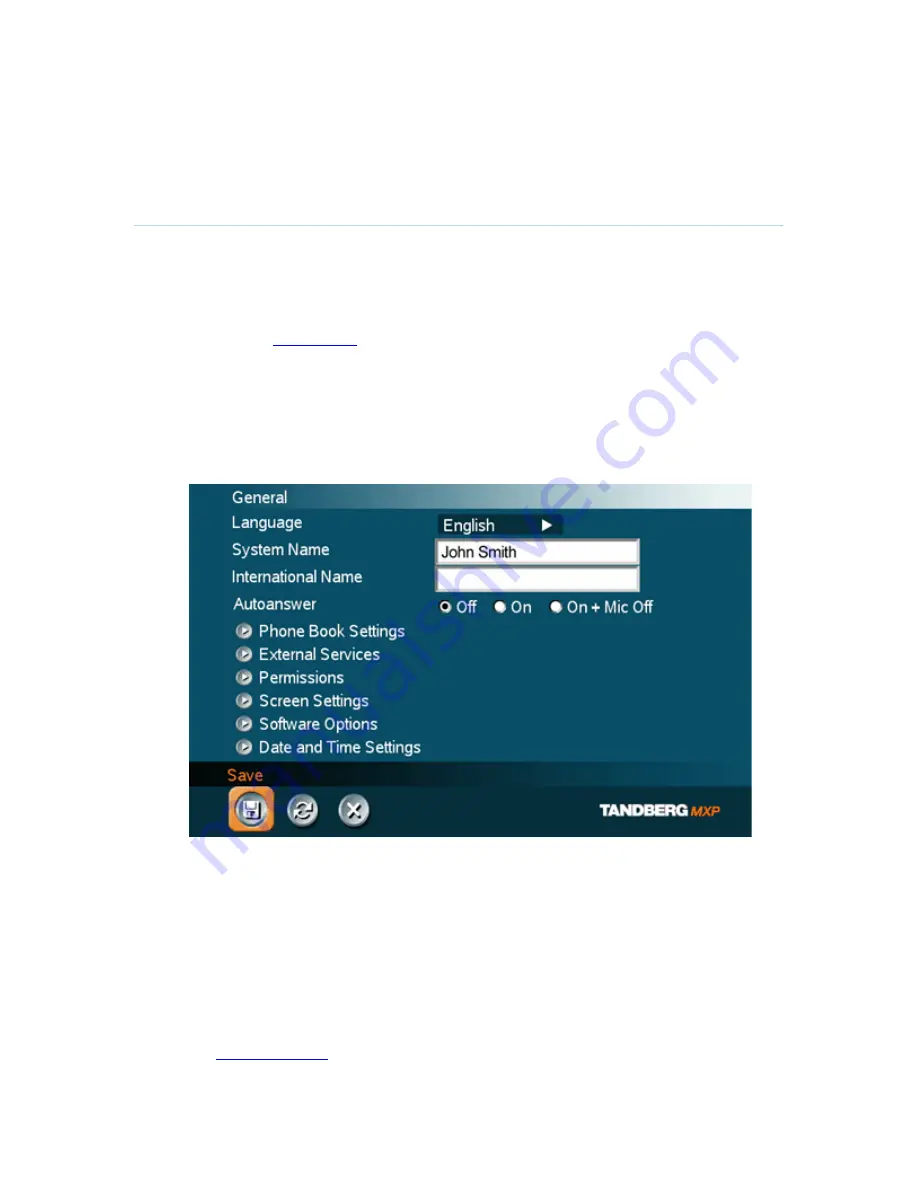
Open the
General Settings menu
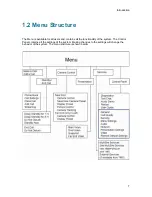
Press OK/Menu to open the Menu, if not already displayed. Select Control Panel -
General to open the General Settings menu.
2. Language
Press OK in the Language field and select the desired language from the list.
3.
System Name / International Name*
Enter a name in the System Name field using the number keys on the remote control,
in the same way as with a mobile or cellular phone. Hold down the # key for one
second to switch back and forth from numbers to alpha characters.
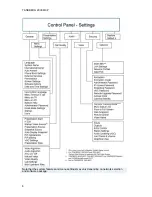
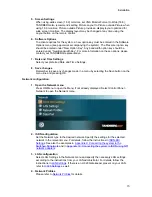
4. Auto Answer, Phone Book Settings, External Services Settings and
Permissions
These settings may be left unchanged if no special needs are required. See chapter
General Settings
for more information.
Содержание 2000 MXP
Страница 14: ......
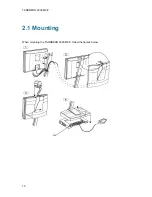
Страница 24: ...TANDBERG 2000 MXP 10 2 1 Mounting When mounting the TANDBERG 2000 MXP follow the figures below ...
Страница 195: ...Administrator Settings 181 Voice Switched mode ...
Страница 202: ...TANDBERG 2000 MXP 188 5 8 Network The network menu contain ISDN BRI Settings LAN Settings Network Profiles Data Port ...
Страница 247: ...Peripheral Equipment 233 ...
Страница 249: ...Peripheral Equipment 235 6 9 Dual Monitor Note that this requires a system with dual monitor video output ...
Страница 273: ...Appendices 259 ...
Страница 277: ...Appendices 263 Top view ...
Страница 279: ...Appendices 265 Pin 5 GND Pin 4 RXD in Pin 3 TXD out Pin 2 Presence 12V in daisy chain Pin 1 GND ...
Страница 280: ...TANDBERG 2000 MXP 266 Dimensions Front view Side view Rear view Underside view ...
Страница 288: ...TANDBERG 2000 MXP 274 Figure 1 3 Enter the Release key in the Release Key field and press the Install Software button ...


