1-16
BBBB
V
a
rious
pla
yb
ac
k
63
Playing back the still
images in order
(SLIDE SHOW)
This function is useful for checking the
recorded images or for presentations,
etc.
To cancel the slide show
Select [CANCEL] in step
2
or
3
.
To skip to the next/previous
image during the slide show
Select
\b
/
B\
at the lower-left on the
LCD screen or on the finder.
Note
The interval setting time may vary
depending on the image size.
1
Set the PLAY/STILL/MOVIE
selector to PLAY.
2
Select [FILE] and then [SLIDE
SHOW] from the menu.
Set the following items.
INTERVAL
You can select from 1 min (one
minute), 30 sec (30 seconds),
10 sec (10 seconds), 5 sec
(5 seconds), or 3 sec (3 seconds).
REPEAT
ON: Plays back images in a
continuous loop (When using the
floppy disk, the slide show stops
approximately 20 minutes*) until
[RETURN] is selected.
OFF: After all images have been
played back, the slide show ends.
∗
The slide show does not end until all
the images are played back, even if it
takes more than 20 minutes.
3
Select [START].
The slide show begins.
2, 3
1
64
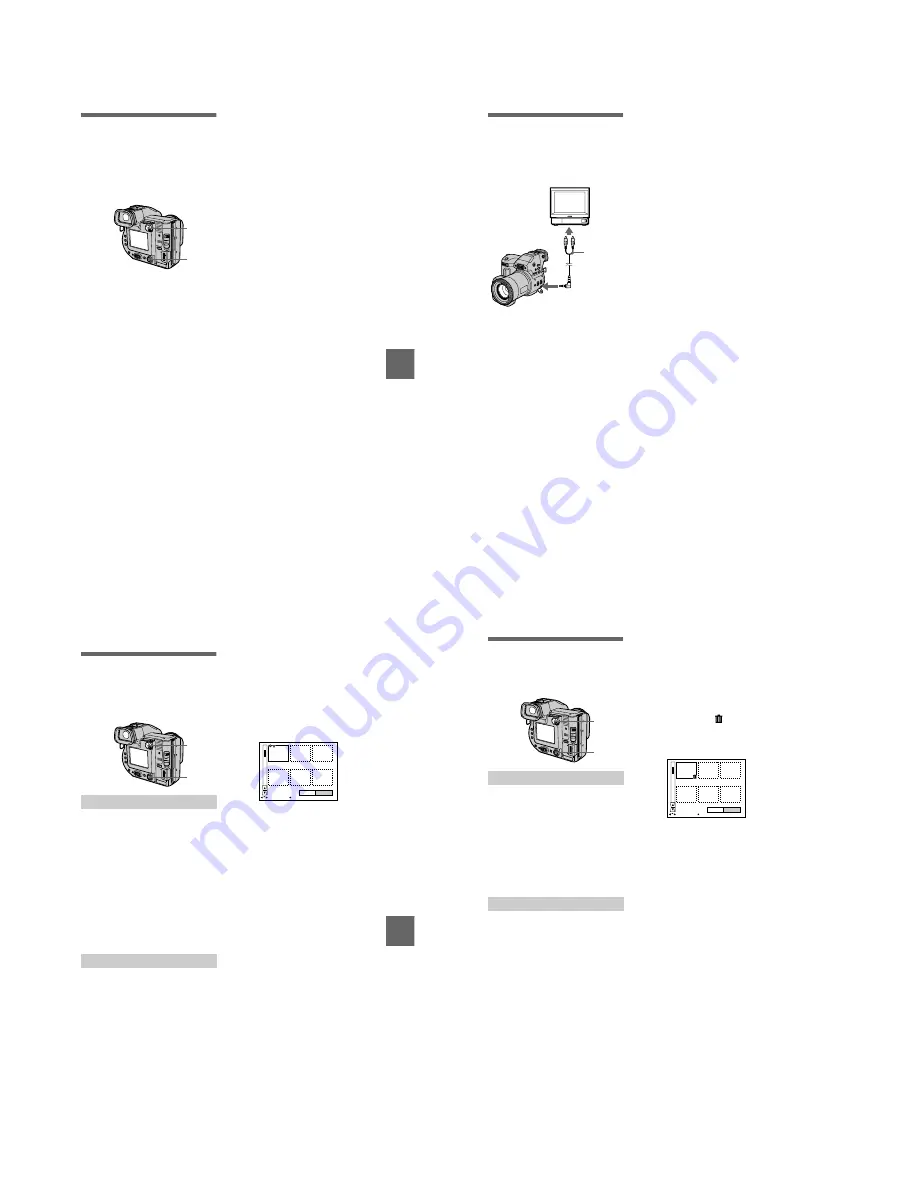
Viewing images on a
TV screen
Before connecting your camera, be
sure to turn off the TV.
Note
You cannot use a TV that has an antenna
(aerial) connector only.
1
Connect the A/V connecting
cable to the A/V OUT (MONO)
jack of your camera and to
the audio/video input jacks of
the TV.
If your TV has stereo type input
jacks, connect the audio plug of the
A/V connecting cable to the Lch
jack.
2
Turn on the TV and start
playback on your camera.
The playback image appears on the
TV screen.
Set the TV/VIDEO
switch to
“VIDEO”.
A/V
connecting
cable
to A/V OUT (MONO)
jack
BBBB
Ed
iting
65
B
Editing
Preventing accidental
erasure (PROTECT)
The
-
(protect) indicator appears on
protected images.
To release protection
Select [OFF] in step
2
.
To release protection
If you selected [ALL] in step
2
, select
[OFF]. If you selected [SELECT] in
step
2
, select the images to be
unprotected with the control button,
then select [ENTER].
In single mode
1
Set the PLAY/STILL/MOVIE
selector to PLAY, then
display the image to be
protected.
2
Select [FILE], [PROTECT],
and then [ON] from the menu.
The displayed image is protected
and the
-
indicator appears.
In INDEX mode
1
Set the PLAY/STILL/MOVIE
selector to PLAY, then
display the INDEX screen.
2
Select [FILE], [PROTECT],
and then [ALL] or [SELECT]
from the menu.
2, 3
1
3
When you select [ALL]
Select [ON].
All the images in the floppy disk or
“Memory Stick” are protected.
When you select [SELECT]
Select all the images to be
protected with the control button,
then select [ENTER]. The selected
images are protected.
ENTER
PROTECT
CANCEL
0 0 0 1 - 0 0 0 6 / 0 0 4 0
SELECT
OK
66
Deleting images
(DELETE)
Protected images cannot be deleted.
To cancel deleting
Select [CANCEL] in step
2
or
3
.
Note
If there are files on the “Memory Stick”
with names having the same last 4 digits as
the file name of the image to be deleted,
these files are also deleted at the same time.
In single mode
1
Set the PLAY/STILL/MOVIE
selector to PLAY, then
display the image to be
deleted.
2
Select [DELETE] and then
[OK] from the menu.
The image is deleted.
In INDEX mode
1
Set the PLAY/STILL/MOVIE
selector to PLAY, then
display the INDEX screen.
2
Select [DELETE] and then
[ALL] or [SELECT] from the
menu.
2, 3
1
3
When you select [ALL]
Select [ENTER].
All the unprotected images are
deleted.
When you select [SELECT]
Select all the images to be deleted
with the control button, then select
[ENTER]. The
(delete)
indicator appears on the selected
images and these images are
deleted.
0 0 0 1 - 0 0 0 6 / 0 0 4 0
ENTER
DELETE
CANCEL
SELECT
OK
Содержание FD Mavica MVC-FD97
Страница 97: ...5 29 R Y B Y 4 mm 4 mm Fig 5 1 19 A Fig 5 1 19 B R Y B Y 1 mm 1 mm 6 mm 6 mm ...
Страница 103: ...5 35 H t1 µsec Falling edge of waveform when data is 08 Falling edge of waveform when data is 09 Fig 5 1 21 ...
Страница 143: ... 170 MVC FD97 9 929 887 32 2001F0500 1 2001 6 Published by PV Customer Center Sony EMCS Co Kohda TEC ...


