4-73
3
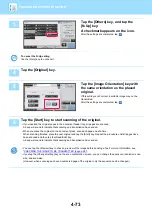
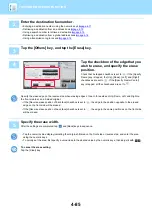
Tap the [Others] key, and tap the
[N-Up] key.
A checkmark appears on the icon.
After the settings are completed, tap
.
To cancel the N-Up setting
Tap the [N-Up] key to uncheck it.
4
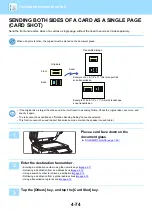
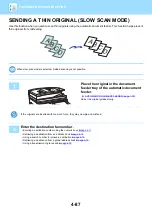
Tap the [Original] key.
5
Tap the [Image Orientation] key with
the same orientation as the placed
original.
If this setting is not correct, a suitable image may not be
transmitted.
After the settings are completed, tap
.
6
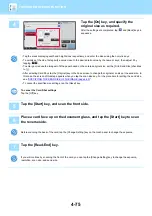
Tap the [Start] key to start scanning of the original.
• If you inserted the original pages in the document feeder tray, all pages are scanned.
A beep will sound to indicate that scanning and transmission have ended.
• When you place the original on the document glass, scan each page one at a time.
When scanning finishes, place the next original and tap the [Start] key. Repeat the procedure until all pages have
been scanned and then tap the [Read-End] key.
A beep will sound to indicate that scanning and transmission have ended.
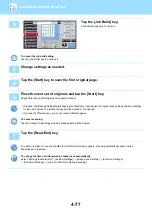
• You can tap the [Preview] key to check a preview of the image before sending a fax. For more information, see
CHECKING THE IMAGE TO BE TRANSMITTED (page 4-28)
".
• If you tap the [Change Setting] key on the scan confirmation screen, you can change the exposure, resolution, scan
size, and send size.
(However, when scanning each even-numbered page of the original, only the exposure can be changed.)
Back
Erase
Dual Page Scan
Book Divide
Card Shot
Timer
Verif.
Stamp
Own Name
Select
Transaction
Report
Memory Box
File
Quick File
N-Up
Polling
Sending History
Others
Call Search Number
Call Program
Call Registered settings
Direct TX
Verification Stamp
Send Same Image
as Fax Address
reception memory
8½x11
8½x11
100%
Speaker
Start
CA
Preview
Others
Address
Fax Number
reception memory
100%
Speaker
Start
Put Multiple Pages in A Page
Slow Scan Mode
Scan Thin Paper Original
Original
Auto
2-Sided
Tablet
2-Sided
Booklet
Auto
Scan Size
Send Size
Image Orientation
70%
CA
Address Book
Preview
8½x11
8½x11
N-Up

