


3.
Press
NEXT
.
4.
Use the
Place
knob to select USB or Internal.
5.
Press the
Place
knob to toggle the lock on or off.
Locked is shown with [] around the name.
6.
Use the
Media
knob to select the bank you want
to lock to.
7.
Press the
Media
knob to toggle the lock on or off.
Locked is shown with [] around the name.
Related tasks
To Load Stills Using Media Numbers
on page 48
MediaManager
The MediaManager provides a graphical interface to
the operation of the Media-Store from. The layout of
the MediaManager window is stored in Perspectives.
The last loaded Perspective is used when the browser
is refreshed or opened.
From the Menu Bar at the top of the window you can
manage Perspectives.
Tip:
You can either launch the MediaManager directly using
the switcher IP address, or you can access it using the
MediaManager node in DashBoard. If you are logging into
MediaManager from DashBoard, you must have Microsoft
®
Internet Explorer
®
10, or higher, installed.
Using MediaManager
To use the MediaManager, you must have a computer
connected to the same subnet as the switcher, the IP
address of your switcher, and the Google Chrome
™
browser installed on your computer. In the web
browser, navigate to the IP address of the switcher, the
MediaManager is displayed.
When you are communicating with the switcher,
a moving status indicator is shown in the lower
right corner of the browser window. If you lose
communications with the switcher, refresh the browser
window to reconnect. Refreshing the browser will reset
your Perspectives.
Keep the following in mind when logging in and
using the MediaManager:
• Ross Video recommends using Google Chrome
™
v14.0 running on Microsoft
®
Windows
®
7
or Macintosh
®
OS X
®
Lion to connect to the
MediaManager.
• Your browser must have Oracle
®
JavaScript
®
and
cookies enabled.
• Ross Video recommends that you do not connect
more than 5 MediaManager clients to a single
switcher at the same time.
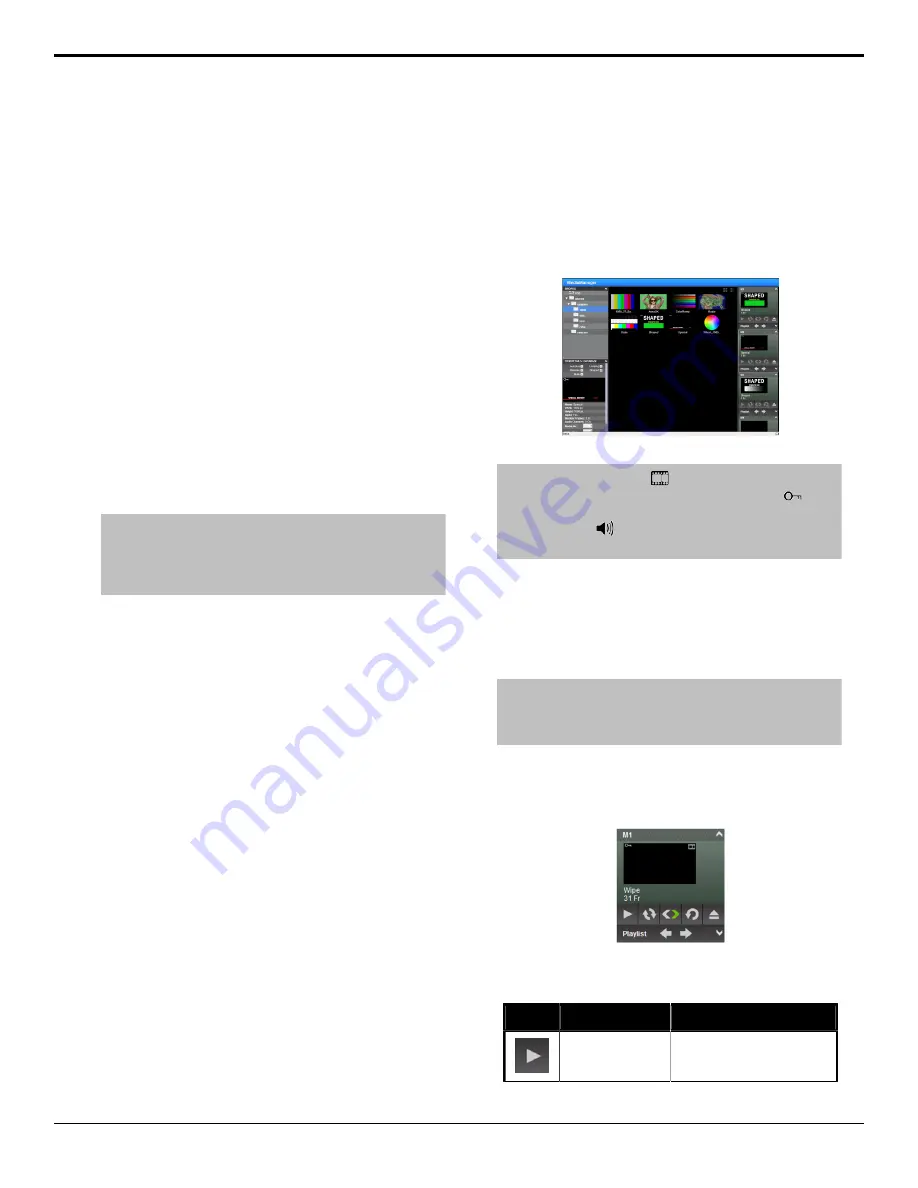
The MediaManager Window
The MediaManager window provides a graphical
interface to the Media-Store. From this window,
you can load stills or animations from the internal
cache or USB into a Media-Store channel or edit the
on-air properties. Media-Store channels have a red
background when on-air and green when going on-air
with the next transition.
Figure 19: MediaManager Window
Tip:
The film-strip symbol (
) on a thumbnail indicates
that the media item is an animation, the key symbol (
)
indicates that the still or animation has an alpha, and the
speaker symbol (
) indicates that the media item has audio
associated with it.
Stills and animations can be loaded into a channel
by either selecting the channel and double-clicking
on the file, or by dragging a file and dropping it onto
the channel. When a channel or file is selected, the
properties for the animation or still can be viewed in
the
ITEM DETAILS
area.
Note:
If the files on your USB are new, it takes about 2
seconds per file for the switcher to generate the thumbnail for
the MediaManager. Once all the thumbnails are generated,
they are displayed in the MediaManager window.
Animation Controls
The MediaManager interface allows you to manually
control the play-out of an animation.
Figure 20: Media-Store Channel — Animation Controls
Table 4: Animation Controls
Icon
Name
Description
Play
Play the animation loaded in
the Media-Store channel.
50
• Media-Store — Carbonite Black Operation Manual (v14.0)
Содержание Carbonite Black Series
Страница 1: ...Carbonite Black Operation Manual v14 0...