7.
Use the
Onset
, and
Offset
knobs to select the
percentage of the transition that each phase of the
WhiteFlash takes.
•
Onset
— duration of the dissolve to the
WhiteFlash color.
•
Offset
— duration of the dissolve to the preset
video source.
•
Hold
— duration of the dissolve that the
WhiteFlash color is held. This value is the
residual of entire duration minus the onset and
offset.
8.
Press
NEXT
.
9.
Select a default or custom color for the
WhiteFlash.
•
Default
— use the
Load
knob to select a
preset color for the WhiteFlash.
•
Custom
— press
NEXT
and use the
Hue
,
Sat
,
and
Lum
knobs to select your own color.
Wipe Transitions
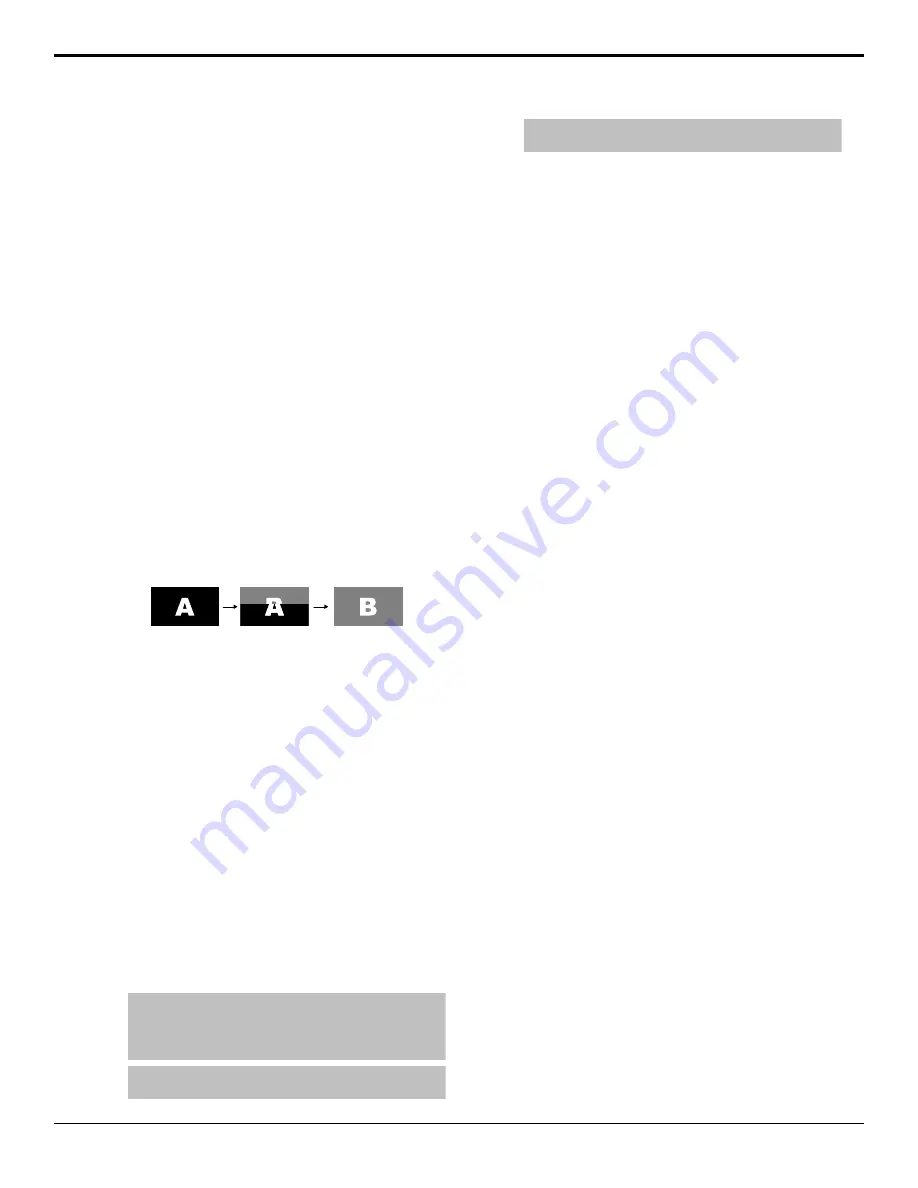
A Wipe is a gradual transition where one video signal
is replaced with another according to a wipe pattern. In
the example below, a line wipe is being used.
Figure 17: Wipe Transition
For Key transitions, the key is wiped on or off-air with
the transition and the background remains untouched.
The duration of a wipe transition depends on either the
transition rate for the ME, or the rate at which the fader
is moved.
To Set Up a Wipe
A wipe transition requires that you select a wipe
pattern, set the direction and number/size of wipe
pattern, as well as set a background and key transition
rate for the auto transition. A fader transition does not
use the transition rate.
1.
Press
WIPE
.
2.
Use the
Time
knob to set the length of the
background transition. Enter the length of the
background transition in the
ME Rate
field, or the
length of a key transition in the
Key
X
Rate
field.
Tip:
Press
ME RATE
in the Effects Memory area for the
ME you want to change the rate for, use the keypad to
enter the new rate, and press
Enter
. (Does not apply to
CB1 or CB2.)
Tip:
Press
KEY RATE
in the Effects Memory area
repeatedly to select the Keyer you want to set the rate
for, use the keypad to enter the new rate, and press
Enter
. (Does not apply to CB1 or CB2.)
3.
Use the
Dirctn
knob to select the direction that
the wipe travels.
4.
Press the
Dirctn
knob to select whether the wipe
runs forward during the first transition and then
reverse during the second (
FF
), or if it always
goes in the same direction.
5.
Press
NEXT
.
6.
Use the
Pattrn
knob to select the wipe pattern
you want to use. You can also select the pattern by
pressing the pattern button directly.
7.
Use the
X Pos
and
Y Pos
knobs to position the
wipe pattern. You can also use the positioner.
8.
Press
NEXT
.
9.
Use the
Aspect
knob to adjust the aspect ratio of
the wipe pattern.
Not all patterns can be adjusted.
10.
Use the
Border
and
Soft
knobs to apply a border
to the wipe pattern.
Refer to the section
on page 24 for information on
borders.
11.
Press
NEXT
. If a border is applied to the wipe,
you must press
NEXT
multiple times to get to the
next step.
12.
Use the
Rot
knob to rotate the pattern. Use the
Rotation
slider to rotate the pattern.
Not all patterns can be rotated.
13.
Use the
HMult
knob to multiply the pattern
horizontally. Use the
HMultiply
slider to multiply
the pattern horizontally.
14.
Use the
VMult
knob to multiply the pattern
vertically. Use the
VMultiply
slider to multiply
the pattern vertically.
To Apply a Border to a Pattern
1.
Press
WIPE
>
NEXT
>
NEXT
.
2.
Use the
Border
knob to adjust the size of the
border around the pattern.
3.
Use the
Soft
knob to adjust the softness of the
pattern border.
4.
Press
NEXT
.
24
• Transitions — Carbonite Black Operation Manual (v14.0)
Содержание Carbonite Black Series
Страница 1: ...Carbonite Black Operation Manual v14 0...


