12.
Press the [#Enter] key.
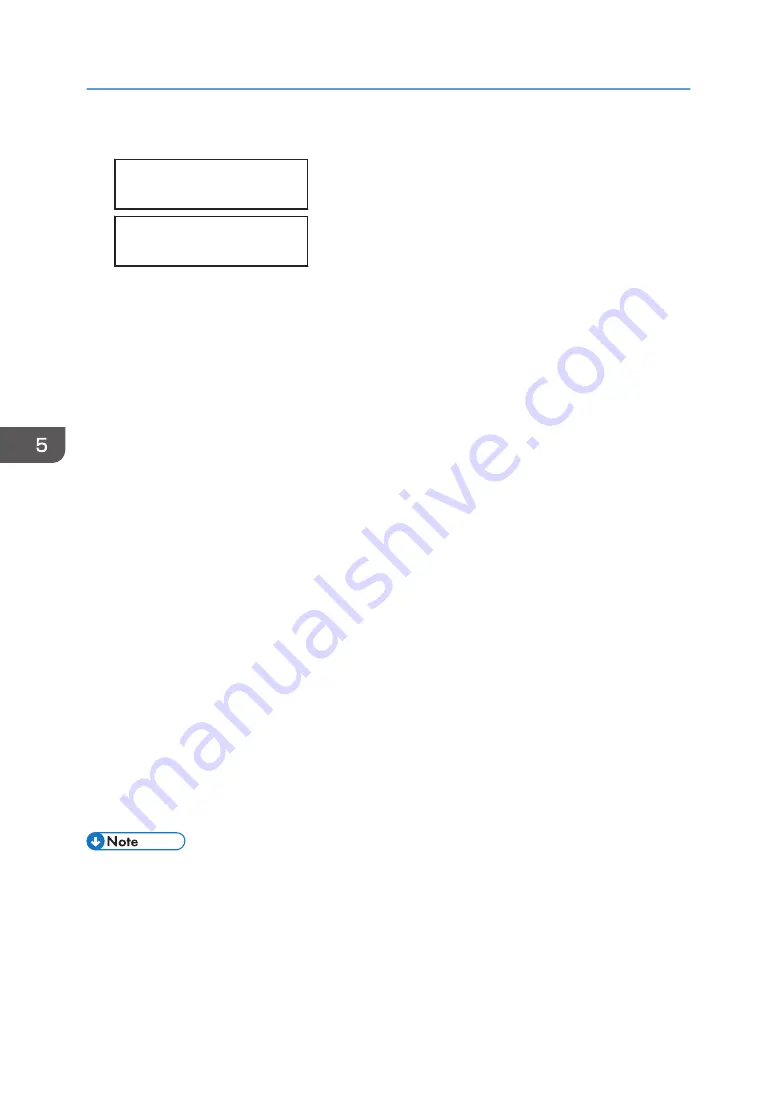
Press # to start
Clean Internals
Insert Cleaning
Cartridge
Cleaning of the interior will start. It takes 16 minutes to clean the interior.
13.
When "Cleaning finish Restart machine" is displayed, hold down the [Power] key to turn
off the power.
When cleaning of the interior fails
When cleaning of the interior fails, a message regarding the solution appears after the display of
"Maintenance failed".
Take appropriate actions according to the message that appears.
• When "Open Front Cover / Reset Cartridge" appears, reset the cleaning cartridge correctly, and
then clean the interior again.
• When "Open Front Cover / Replace Ink Crtg" appears, a cleaning cartridge which has been used
once is attached. Replace it with a new cleaning cartridge, and then clean the interior again.
• When "Prepare new Ink Collector Unit" appears, replace it with a new ink collector unit, and then
clean the interior again.
• Upon returning to the menu of "<Clean Internal>", raise the room temperature to 10°C (approx.
50°F) or higher, and then clean the interior again from the beginning.
• When "Right Front Cover is open / Close Right Front Cover" appears, close the right front cover,
and then clean the interior again.
• When "SC(28000) Power Off On / Call Service if error reoccurs" appears without "Maintenance
failed" being displayed, replace it with a new ink cartridge and clean the Maintenance Unit and
perform automatic print head maintenance. Once the Maintenance Unit is cleaned and automatic
print head maintenance is performed, clean the interior again from the beginning using a new
cleaning cartridge.
If the problem still persists even after the actions mentioned above are taken, clean the interior again
from the beginning using a new cleaning cartridge.
• If the ink collector unit is full during cleaning, a message may appear. If the message "Cleaning
finish Restart machine" appears after the cleaning operation, cleaning is successfully completed.
• After cleaning the interior, the machine can be stored for approximately one and half years within
the period of the product life cycle.
5. Machine Setup Menus
140
Содержание Ri 100
Страница 2: ......
Страница 16: ...14 ...
Страница 28: ...1 About This Product 26 ...
Страница 39: ...6 Close the right front cover DSA161 Installing the Ink Cartridges 37 ...
Страница 82: ...2 Preparing for Printing 80 ...
Страница 93: ...3 Click Print DSB022 Configuring the Layout Settings 91 ...
Страница 104: ...3 Printing on T shirts 102 ...
Страница 110: ...4 Printing via the Printer Driver 108 ...
Страница 145: ...6 Press the Enter key 7 Press the Escape key Using the System Menu 143 ...
Страница 170: ...6 Monitoring and Configuring the Machine 168 ...
Страница 182: ...7 Using the Machine with a Macintosh 180 ...
Страница 202: ...8 Maintenance 200 ...
Страница 240: ...9 Troubleshooting 238 ...
Страница 249: ...Where to Inquire For inquiries contact your sales or service representative Where to Inquire 247 ...
Страница 254: ...10 Appendix 252 ...
Страница 257: ...MEMO 255 ...
Страница 258: ...MEMO 256 EN GB EN US EN AU J088 6622B ...
Страница 259: ......
Страница 260: ...EN GB EN US EN AU J088 6622B 2017 Ricoh Co Ltd ...


