6100-Gfast Multifunction Copper Tester Operation Manual
© 2020 Radiodetection Ltd
13
Note: The LCD
Backlight
consumes battery power;
more brightness results in more power
consumption.
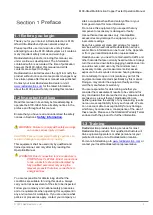
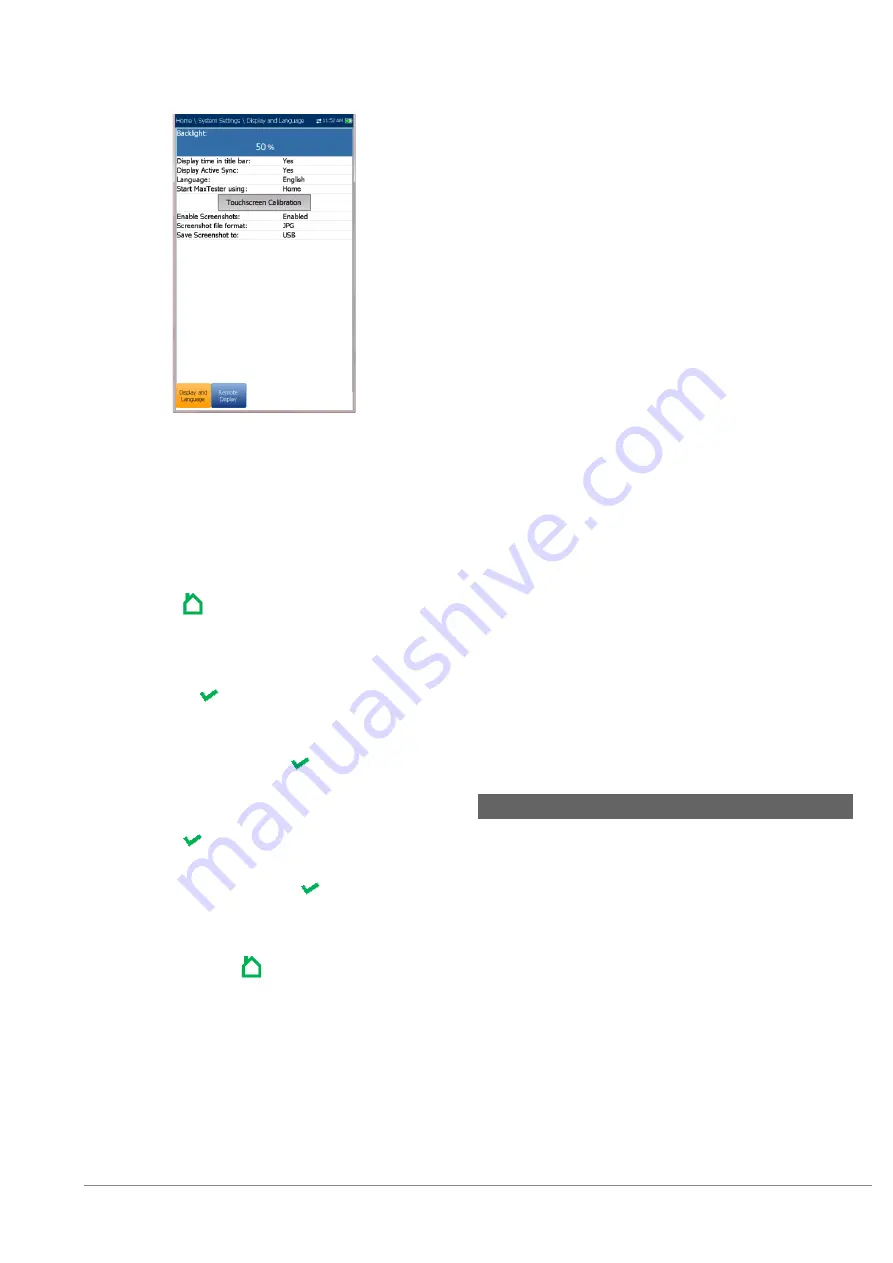
To adjust the display settings:
1. From
, select
System Settings
, and then
Display and Language
.
2. Use the up/down arrow keys to select the
setting to change.
3. Press to
select.
By using the up/down arrow keys, you can
switch between preset brightness levels in the
B
acklight
item. Press
to confirm.
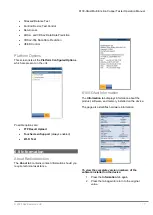
To display the time and ActiveSync in the title
bar, enable the item.
Press
after your selection to confirm.
Use the up/down arrow keys to navigate
between the available languages, then press
to select. You will be prompted to restart your
unit.
To set which Home page the unit defaults to
when pressing , highlight
Start 6100-Gfast
using
: and select from the list.
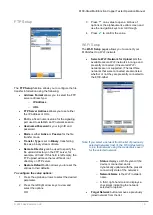
Touchscreen Calibration
. To calibrate the
touchscreen, press/tap/click the button to open
a popup window and select
Yes
or
No
. This
screen will automatically display during power
up, if calibration was never conducted and the
data file is not available in memory.
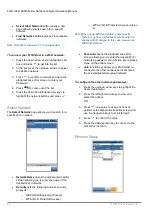
To
Enable Screenshots
, select
Enabled
(default), then the
Screenshot file format
in
either
JPG
(default) or
GIF
, and where you
would like to
Save Screenshot
to:
USB
(default) or
FTP
.
o
If
USB
, the image is saved to a
directory called \\6100\Screenshots on
the USB memory device. If the
directory does not exist, create it on the
root directory of the USB memory
device.
Note: If you selected USB as the screenshot file
location and no USB is connected to the 6100-
Gfast, the following popup message is displayed:
Screenshot not saved, Insert USB and press
"Yes" to save it or press "No" to continue to
Help
.
o
If
FTP
, the image is saved locally to
\\DATA\6100\FTPUpload.
From
Result Manager\Upload\Upload
Location
, select
FTP
to enable uploading
screenshot images to the FTP server. If
you select
USB
as the
Upload Location
,
the image is uploaded to Removable
Disk\6100\Screenshots.
From the DSL
Upload/Save Result
tab,
select
In-Band Upload & Save
button to
save screenshots.
Note:
FTP
is available only if you have the
FTP Result
Upload
option listed in
System
Settings\Software Options\Platform Options.
6.4 Remote Display
The
Remote Display
function allows you to connect
the 6100-Gfast to your computer remotely, using PC
TightVNC or RealVNC client application, and a
Bluetooth or USB connection.
Enable Remote Display
button starts the
Remote Display
connection. Once the
connection is setup successfully and the
remote display server starts, the button
changes to
Stop Remote Display
until the
connection is dropped.
Connect to Device
allows you to select a
Bluetooth device that has been paired
successfully or a
USB Connection
. A
connection icon is displayed in the menu bar if
the setup is successful. If you select
None
,
then the
Enable Remote Display
button is
disabled.


