
Q40 Tape Library
Installation and Operations Manual
511026 Rev. 07-01-19
34
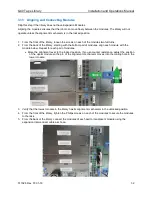
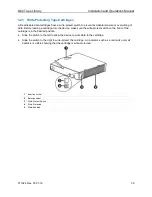
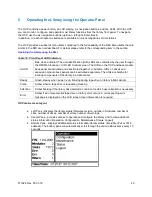
3.17 Powering On the Library
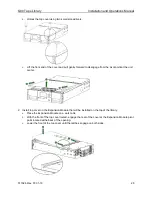
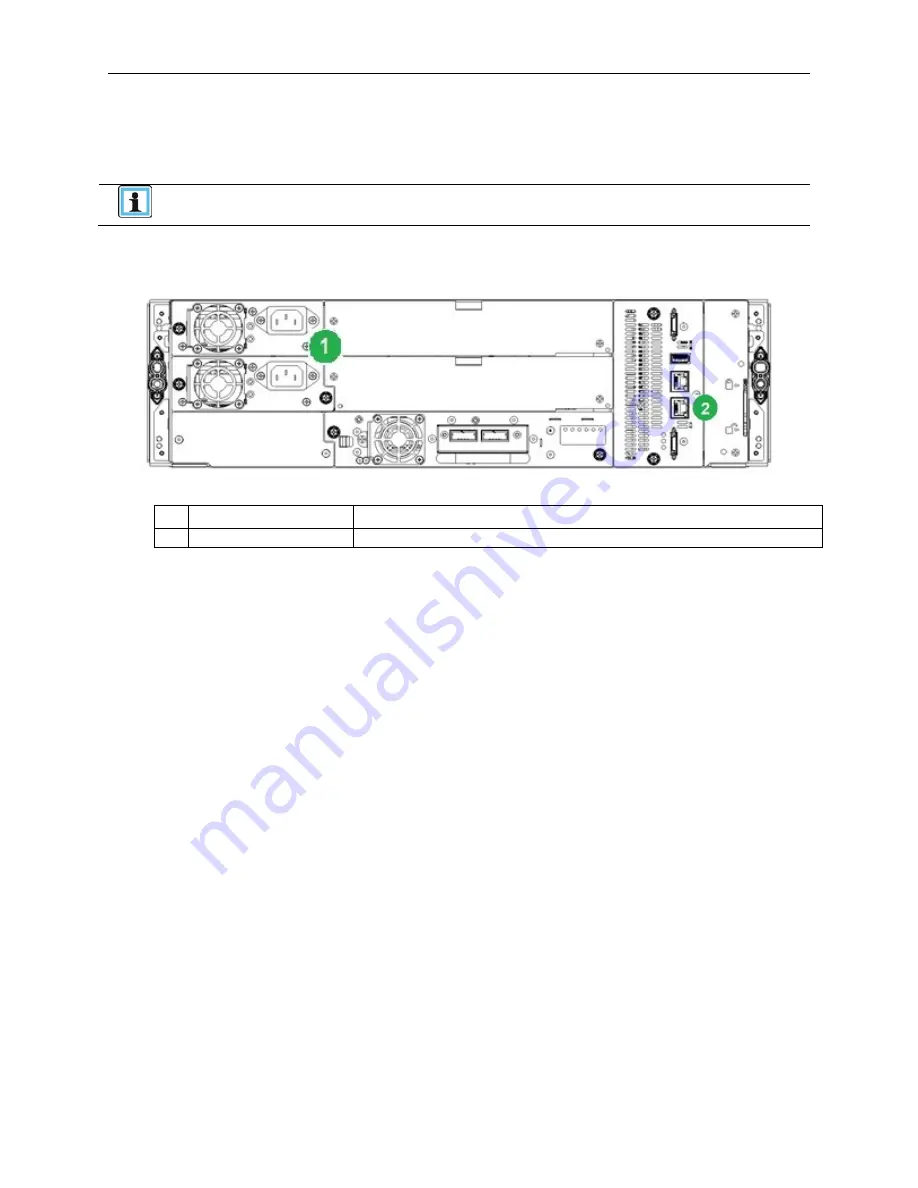
1.
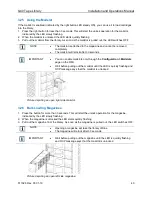
Plug the power cord into the power connector on each module and into power outlets.
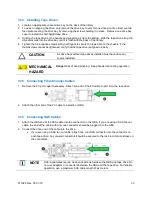
NOTE
If the library has dual redundant power supplies. Plug each power cord into a
different AC power circuit.
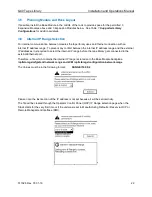
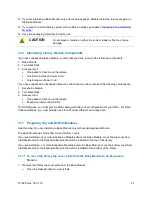
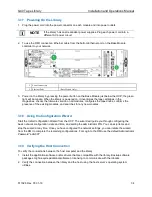
2.
To use the RMI, connect an Ethernet cable from the bottom Ethernet port on the Base Module
controller to your network.
1
Power Connectors
2
Ethernet Ports
(Base Module Only)
3.
Power on the library by pressing the power button on the Base Module just below the OCP; the green
light will illuminate. When the library is powered on, it inventories the tape cartridges in the
magazines, checks the firmware version on all modules, configures the tape drives, confirms the
presence of the existing modules, and searches for any new modules
.
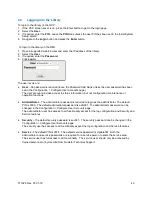
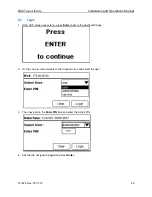
3.18 Using the Configuration Wizard
Start the Initial Configuration Wizard from the OCP. The wizard will guide you through configuring the
basic network configuration, date and time, and setting the administrator PIN. You can skip items and
stop the wizard at any time. Once you have configured the network settings, you can initiate the wizard
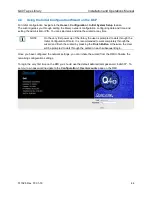
from the RMI to complete the remaining configurations. For Login to the RMI use the default Administrator
Password “adm001”
3.19 Verifying the Host Connection
To verify the connections between the host computer and the library:
1.
Install the application software and/or drivers that are compatible with the library. Backup software
packages might require additional software or licensing to communicate with the robotics.
2.
Verify the connection between the library and the host using the host server’s operating system
utilities.


