5. E-axis assembly
Original Prusa i3 MK3S+ kit assembly
73
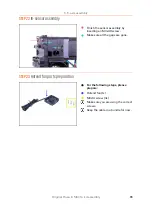
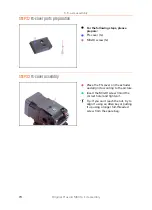
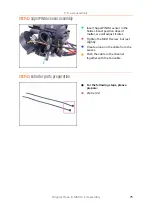
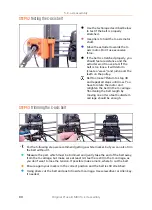
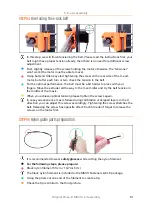
STEP 38
Fan-shroud assembly
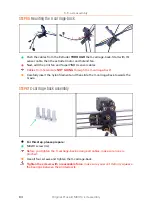
Insert M3nS nut in the Fan-shroud, all the way in.
Ensure correct alignment using the Allen key.
See the protrusion on the Fan-shroud and the groove in the extruder.
Slide the Fan-shroud into the extruder. Make sure that both protrusions on the Fan-
shroud fit in the grooves on the extruder (see the picture).
Secure it using the M3x20 screw. Don't overtighten the screw, you can break the
plastic casing. Also make sure the fan can rotate freely.
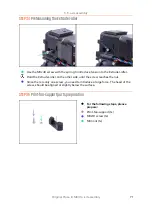
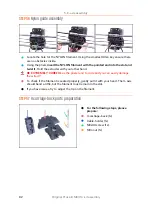
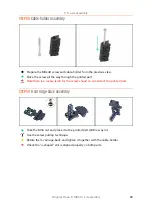
STEP 39
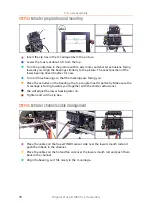
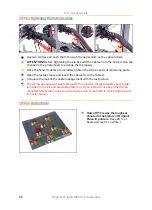
Print fan parts preparation
For the following steps, please
prepare:
Print fan (1x)
M3x20 screw (2x)
M3n nut (1x)
You need M3x20 screw due to its
length. If you have used them
accidentally somewhere else, head
for the spare bag ;)
Содержание i3 MK3S+
Страница 6: ...6 ...
Страница 7: ...Original Prusa i3 MK3S kit assembly 7 1 Introduction ...
Страница 15: ...Original Prusa i3 MK3S kit assembly 15 2 Y axis assembly ...
Страница 36: ...36 Original Prusa i3 MK3S kit assembly 3 X axis assembly ...
Страница 44: ...44 Original Prusa i3 MK3S kit assembly 4 Z axis assembly ...
Страница 51: ...Original Prusa i3 MK3S kit assembly 51 5 E axis assembly ...
Страница 88: ...88 Original Prusa i3 MK3S kit assembly 6 LCD assembly ...
Страница 94: ...94 Original Prusa i3 MK3S kit assembly 7 Heatbed PSU assembly ...
Страница 108: ...108 Original Prusa i3 MK3S kit assembly 8 Electronics assembly ...
Страница 132: ...132 Original Prusa i3 MK3S kit assembly 9 Preflight check ...
Страница 137: ...137 Notes ...
Страница 138: ...138 ...
Страница 139: ...139 Notes ...
Страница 140: ...140 ...
Страница 141: ...141 Notes ...
Страница 142: ...142 ...
Страница 143: ...143 Notes ...
Страница 144: ...144 ...


