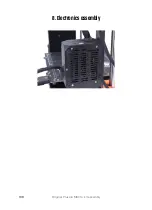
8. Electronics assembly
110
Original Prusa i3 MK3S+ kit assembly
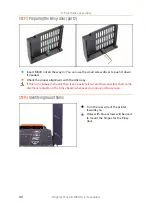
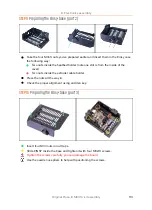
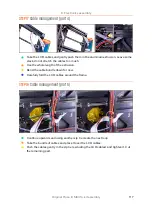
STEP 3
Preparing the Einsy-door (part 2)
Insert M3nS nut all the way in. You can use the small screw driver to push it down
if needed.
Check the proper alignment with the Allen key.
If this nut is
loose
in the slot then it can easily fall out and then possibly short some
electrical contacts on the Einsy board whenever you open your Einsy case.
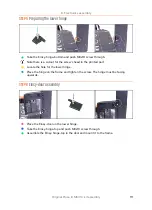
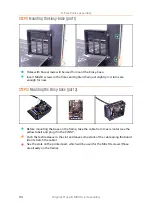
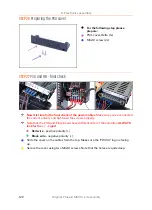
STEP 4
Identifying mount holes
Turn the rear side of the printer
towards you.
Holes with blue arrows will be used
to mount the hinges for the Einsy-
door.
Содержание i3 MK3S+
Страница 6: ...6 ...
Страница 7: ...Original Prusa i3 MK3S kit assembly 7 1 Introduction ...
Страница 15: ...Original Prusa i3 MK3S kit assembly 15 2 Y axis assembly ...
Страница 36: ...36 Original Prusa i3 MK3S kit assembly 3 X axis assembly ...
Страница 44: ...44 Original Prusa i3 MK3S kit assembly 4 Z axis assembly ...
Страница 51: ...Original Prusa i3 MK3S kit assembly 51 5 E axis assembly ...
Страница 88: ...88 Original Prusa i3 MK3S kit assembly 6 LCD assembly ...
Страница 94: ...94 Original Prusa i3 MK3S kit assembly 7 Heatbed PSU assembly ...
Страница 108: ...108 Original Prusa i3 MK3S kit assembly 8 Electronics assembly ...
Страница 132: ...132 Original Prusa i3 MK3S kit assembly 9 Preflight check ...
Страница 137: ...137 Notes ...
Страница 138: ...138 ...
Страница 139: ...139 Notes ...
Страница 140: ...140 ...
Страница 141: ...141 Notes ...
Страница 142: ...142 ...
Страница 143: ...143 Notes ...
Страница 144: ...144 ...


