5. E-axis assembly
Original Prusa i3 MK3S+ kit assembly
67
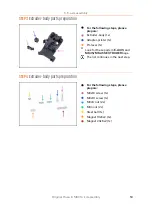
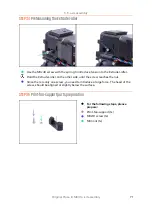
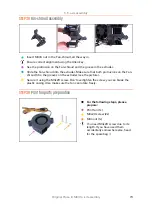
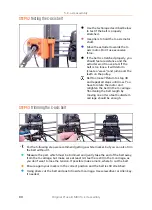
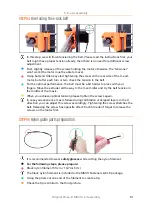
STEP 26
Hotend fan assembly
Use the three M3x14 screws to fix
the fan in place. Don't over tighten
them, you can break the fan's
plastic casing. Also make sure the
fan can rotate freely.
Note that the screws are "self-
tapping" in the printed parts. There
are no nuts.
Leave the last hole empty, for now.
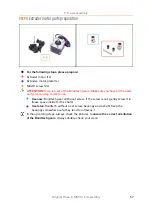
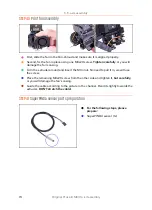
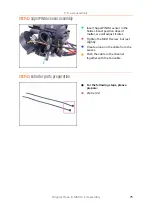
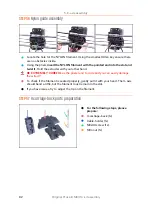
STEP 27
Extruder-idler parts preparation
For the following steps, please prepare:
Extruder-idler (1x)
Bondtech
WITHOUT
the hole for the set screw (1x)
Bearing (2x) might be stuck inside the gear
Shaft (1x)
M3n nut (1x)
M3x40 screw (2x)
Idler spring (1x) place the spring on the screw
Содержание i3 MK3S+
Страница 6: ...6 ...
Страница 7: ...Original Prusa i3 MK3S kit assembly 7 1 Introduction ...
Страница 15: ...Original Prusa i3 MK3S kit assembly 15 2 Y axis assembly ...
Страница 36: ...36 Original Prusa i3 MK3S kit assembly 3 X axis assembly ...
Страница 44: ...44 Original Prusa i3 MK3S kit assembly 4 Z axis assembly ...
Страница 51: ...Original Prusa i3 MK3S kit assembly 51 5 E axis assembly ...
Страница 88: ...88 Original Prusa i3 MK3S kit assembly 6 LCD assembly ...
Страница 94: ...94 Original Prusa i3 MK3S kit assembly 7 Heatbed PSU assembly ...
Страница 108: ...108 Original Prusa i3 MK3S kit assembly 8 Electronics assembly ...
Страница 132: ...132 Original Prusa i3 MK3S kit assembly 9 Preflight check ...
Страница 137: ...137 Notes ...
Страница 138: ...138 ...
Страница 139: ...139 Notes ...
Страница 140: ...140 ...
Страница 141: ...141 Notes ...
Страница 142: ...142 ...
Страница 143: ...143 Notes ...
Страница 144: ...144 ...

