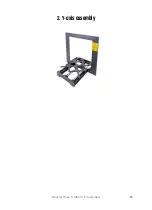
2. Y-axis assembly
26
Original Prusa i3 MK3S+ kit assembly
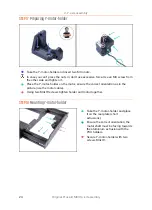
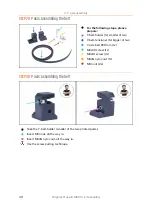
STEP 21
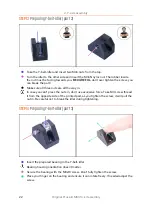
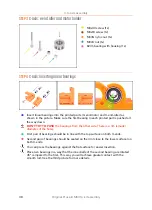
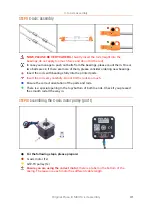
Installing bearings on the Y-carriage
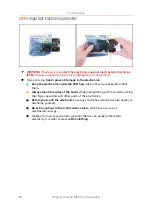
Insert linear bearing in the cutout.
Place the bearing clip over the bearing.
Insert two M3x12 screws into the holes in the bearing clip.
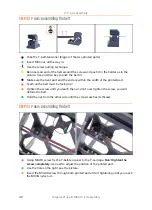
Hold by your fingers the heads of both screws and turn the Y-carriage. Place the
nyloc nuts on both screws.
Use the 2.5 mm Allen key and needle-nose pliers and tighten both nuts.
Repeat these steps for the remaining two linear bearings.
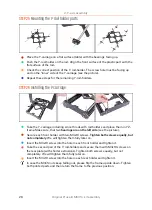
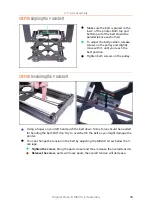
STEP 22
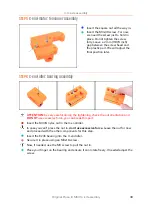
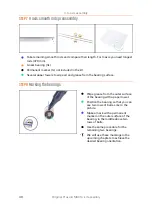
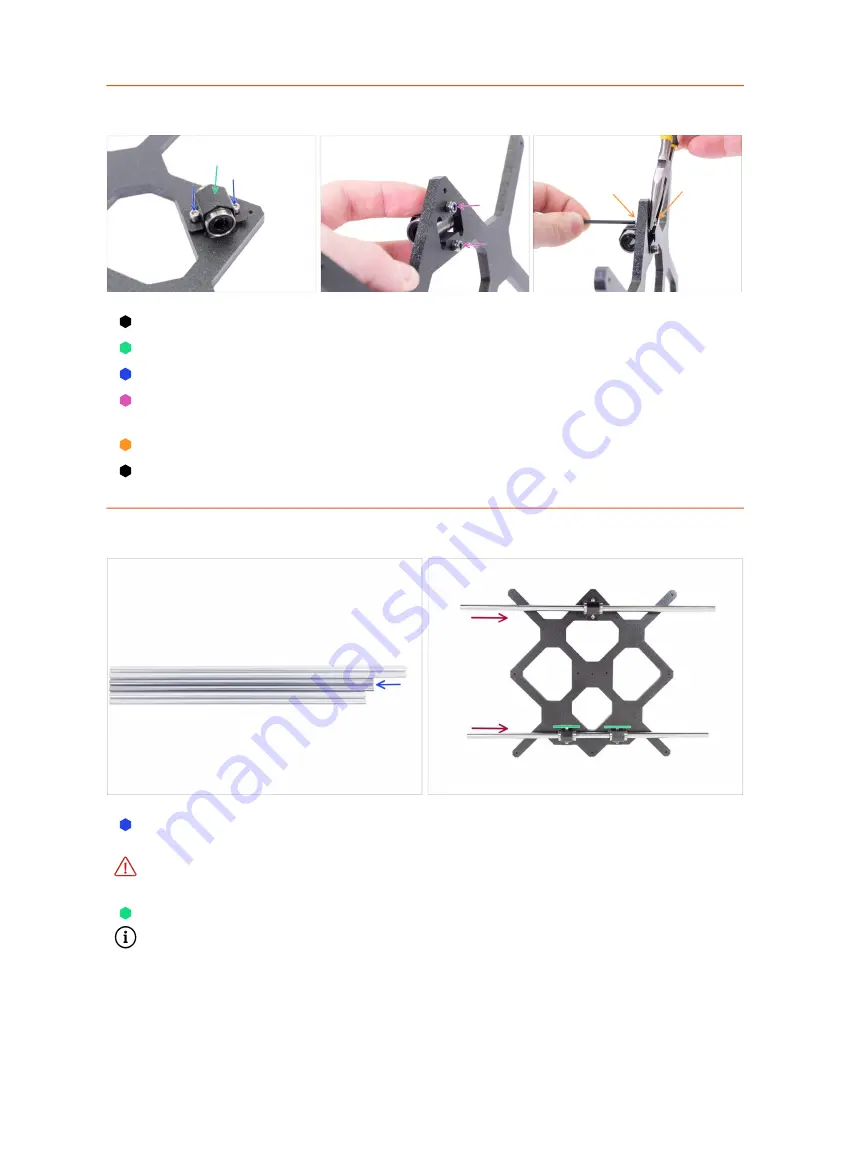
Inserting smooth rods into Y-carriage
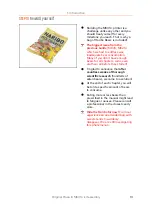
Take all the smooth rods and compare their lengths. For Y-carriage you need mid-
sized rods (330 mm).
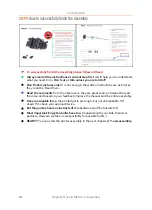
NOW, PLEASE BE VERY CAREFUL!
Gently insert the rod straight into the
bearings, do not apply too much force and do not tilt the rod!
If you can't slide the smooth rod easily, check the two bearings are aligned properly.
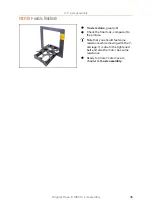
In case you manage to push out balls from the bearings, please count them. One or
two balls are ok, if there are more of them, please consider ordering new bearings.
Содержание i3 MK3S+
Страница 6: ...6 ...
Страница 7: ...Original Prusa i3 MK3S kit assembly 7 1 Introduction ...
Страница 15: ...Original Prusa i3 MK3S kit assembly 15 2 Y axis assembly ...
Страница 36: ...36 Original Prusa i3 MK3S kit assembly 3 X axis assembly ...
Страница 44: ...44 Original Prusa i3 MK3S kit assembly 4 Z axis assembly ...
Страница 51: ...Original Prusa i3 MK3S kit assembly 51 5 E axis assembly ...
Страница 88: ...88 Original Prusa i3 MK3S kit assembly 6 LCD assembly ...
Страница 94: ...94 Original Prusa i3 MK3S kit assembly 7 Heatbed PSU assembly ...
Страница 108: ...108 Original Prusa i3 MK3S kit assembly 8 Electronics assembly ...
Страница 132: ...132 Original Prusa i3 MK3S kit assembly 9 Preflight check ...
Страница 137: ...137 Notes ...
Страница 138: ...138 ...
Страница 139: ...139 Notes ...
Страница 140: ...140 ...
Страница 141: ...141 Notes ...
Страница 142: ...142 ...
Страница 143: ...143 Notes ...
Страница 144: ...144 ...

