8. Electronics assembly
128
Original Prusa i3 MK3S+ kit assembly
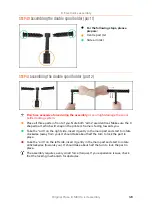
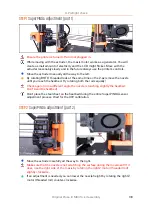
STEP 38
Finalizing the Einsy-case
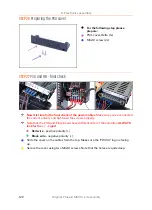
For this step, please prepare:
M3x40 screw (1x)
Close the Einsy-door.
Make sure that no wire is pinched!
Tighten the M3x40 screw.
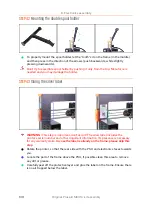
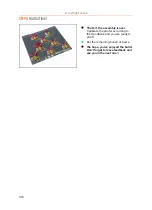
STEP 39
Mounting antivibration feet
If you've assembled the feet in the second chapter, you can skip this step.
Antivibration feet (4x)
Turn the frame on its side, insert feet and turn 90 degrees to lock them in place.
Repeat this process on all 4 feet. Place them 2-3 cm from the end of each extrusion.
Содержание i3 MK3S+
Страница 6: ...6 ...
Страница 7: ...Original Prusa i3 MK3S kit assembly 7 1 Introduction ...
Страница 15: ...Original Prusa i3 MK3S kit assembly 15 2 Y axis assembly ...
Страница 36: ...36 Original Prusa i3 MK3S kit assembly 3 X axis assembly ...
Страница 44: ...44 Original Prusa i3 MK3S kit assembly 4 Z axis assembly ...
Страница 51: ...Original Prusa i3 MK3S kit assembly 51 5 E axis assembly ...
Страница 88: ...88 Original Prusa i3 MK3S kit assembly 6 LCD assembly ...
Страница 94: ...94 Original Prusa i3 MK3S kit assembly 7 Heatbed PSU assembly ...
Страница 108: ...108 Original Prusa i3 MK3S kit assembly 8 Electronics assembly ...
Страница 132: ...132 Original Prusa i3 MK3S kit assembly 9 Preflight check ...
Страница 137: ...137 Notes ...
Страница 138: ...138 ...
Страница 139: ...139 Notes ...
Страница 140: ...140 ...
Страница 141: ...141 Notes ...
Страница 142: ...142 ...
Страница 143: ...143 Notes ...
Страница 144: ...144 ...

