
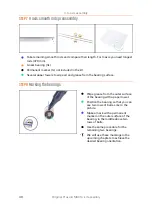
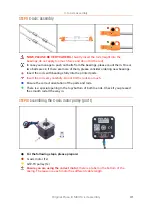
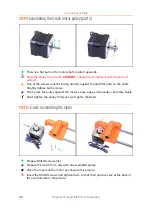


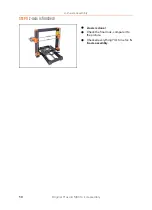


4. Z-axis assembly
Original Prusa i3 MK3S+ kit assembly
45
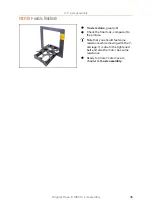
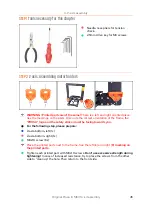
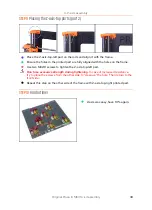
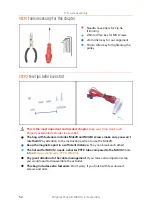
STEP 1
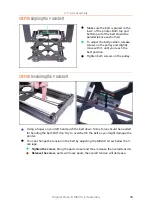
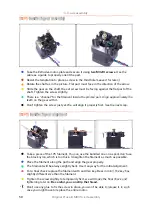
Tools necessary for this chapter
Needle-nose pliers for tension
check.
2.5mm Allen key for M3 screws
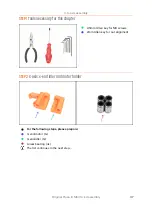
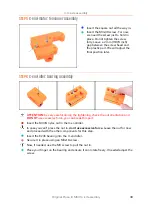
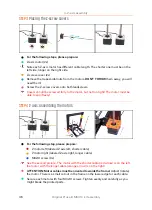
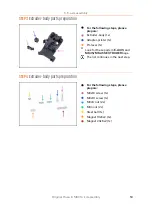
STEP 2
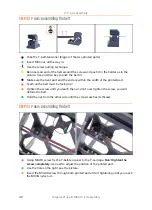
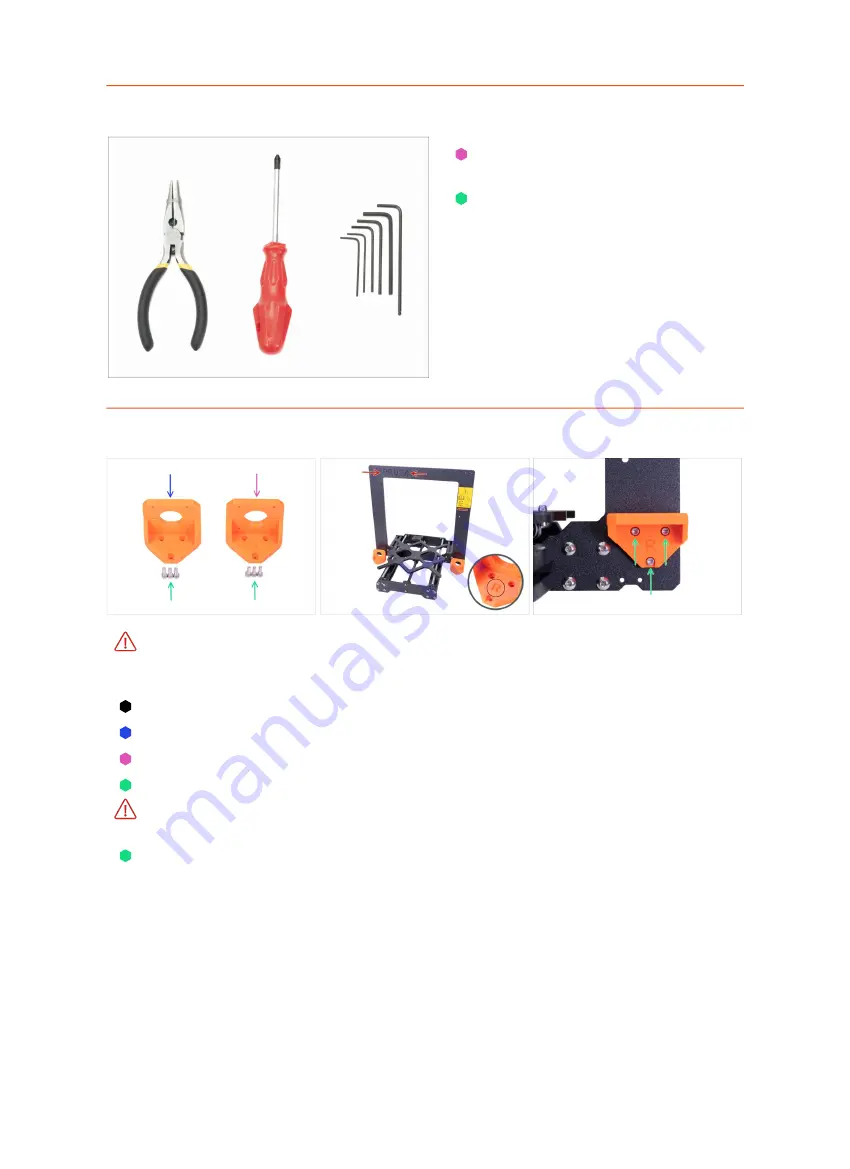
Z-axis: assembling motor holders
WARNING: Printed parts aren't the same!
There is a left and right oriented piece.
See the markings on the parts. Also note the correct orientation of the frame, the
"PRUSA" logo and the safety sticker must be facing towards you.
For the following step, please prepare:
Z-axis-bottom-left (1x)
Z-axis-bottom-right (1x)
M3x10 screw (6x)
Place the printed parts next to the frame. See the left (
L
) and right (
R
)
marking on
the printed parts
.
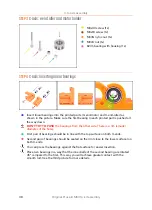
Tighten each printed part with M3x10 screws.
Don't use excessive strength during
tightening!
In case of increased resistance, try to place the screws from the other
side to "clean up" the hole. Then return to the front side.
Содержание i3 MK3S+
Страница 6: ...6 ...
Страница 7: ...Original Prusa i3 MK3S kit assembly 7 1 Introduction ...
Страница 15: ...Original Prusa i3 MK3S kit assembly 15 2 Y axis assembly ...
Страница 36: ...36 Original Prusa i3 MK3S kit assembly 3 X axis assembly ...
Страница 44: ...44 Original Prusa i3 MK3S kit assembly 4 Z axis assembly ...
Страница 51: ...Original Prusa i3 MK3S kit assembly 51 5 E axis assembly ...
Страница 88: ...88 Original Prusa i3 MK3S kit assembly 6 LCD assembly ...
Страница 94: ...94 Original Prusa i3 MK3S kit assembly 7 Heatbed PSU assembly ...
Страница 108: ...108 Original Prusa i3 MK3S kit assembly 8 Electronics assembly ...
Страница 132: ...132 Original Prusa i3 MK3S kit assembly 9 Preflight check ...
Страница 137: ...137 Notes ...
Страница 138: ...138 ...
Страница 139: ...139 Notes ...
Страница 140: ...140 ...
Страница 141: ...141 Notes ...
Страница 142: ...142 ...
Страница 143: ...143 Notes ...
Страница 144: ...144 ...