2. Y-axis assembly
34
Original Prusa i3 MK3S+ kit assembly
STEP 37
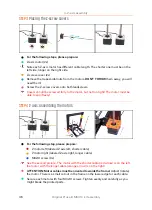
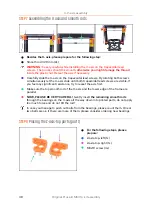
Testing the Y-axis belt
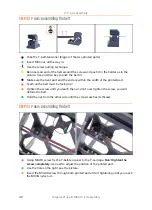
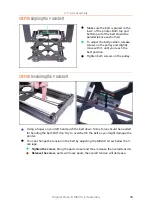
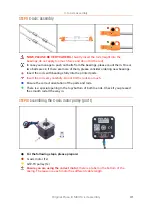
Use the technique described below to test if the belt is properly stretched.
Use pliers to hold the Y-axis motor shaft.
Move the Y-carriage with your hand towards the Y-axis motor. Don't use excessive
force.
If the belt is stretched properly, you should feel a resistance and the Y-carriage
won't move at all. If the belt is too loose, it will deform (create a "wave") and jump
over the teeth on the pulley.
After the proper tension is set, tighten the M3x10 screw.
STEP 38
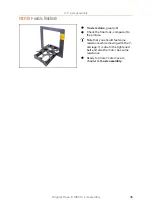
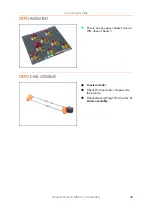
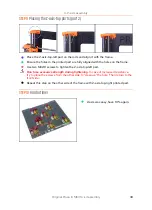
Haribo time!
Carefully and quietly
open the bag
with the Haribo sweets. High level
of
noise might attract nearby
predators!
You need to split the bears into
8
groups
according to the upcoming
chapters.
Each chapter requires specific
amount of bears, see the picture.
For Y-axis you must eat 15 % of all
the bears.
Содержание i3 MK3S+
Страница 6: ...6 ...
Страница 7: ...Original Prusa i3 MK3S kit assembly 7 1 Introduction ...
Страница 15: ...Original Prusa i3 MK3S kit assembly 15 2 Y axis assembly ...
Страница 36: ...36 Original Prusa i3 MK3S kit assembly 3 X axis assembly ...
Страница 44: ...44 Original Prusa i3 MK3S kit assembly 4 Z axis assembly ...
Страница 51: ...Original Prusa i3 MK3S kit assembly 51 5 E axis assembly ...
Страница 88: ...88 Original Prusa i3 MK3S kit assembly 6 LCD assembly ...
Страница 94: ...94 Original Prusa i3 MK3S kit assembly 7 Heatbed PSU assembly ...
Страница 108: ...108 Original Prusa i3 MK3S kit assembly 8 Electronics assembly ...
Страница 132: ...132 Original Prusa i3 MK3S kit assembly 9 Preflight check ...
Страница 137: ...137 Notes ...
Страница 138: ...138 ...
Страница 139: ...139 Notes ...
Страница 140: ...140 ...
Страница 141: ...141 Notes ...
Страница 142: ...142 ...
Страница 143: ...143 Notes ...
Страница 144: ...144 ...


