3. X-axis assembly
42
Original Prusa i3 MK3S+ kit assembly
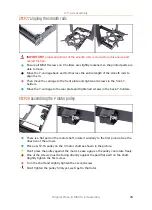
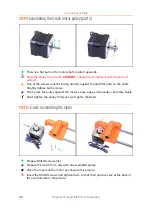
STEP 11
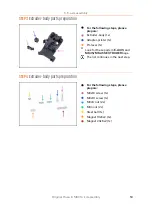
Assembling the X-axis motor pulley (part 2)
There is a flat part on the motor shaft, rotate it upwards.
Slide the Pulley on, note the
CORRECT
orientation. Compare it with the second
picture!
One of the screws must be facing directly against the pad (flat part) on the shaft.
Slightly tighten both screws.
Don't press the pulley against the motor. Leave a gap so the pulley can rotate freely.
Don't tighten the pulley firmly yet, we'll get to that later.
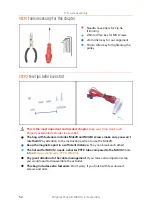
STEP 12
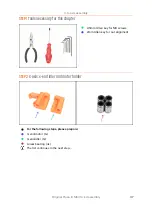
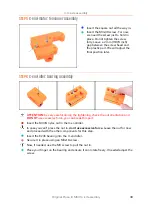
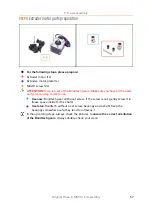
X-axis: assembling the motor
Prepare M3x18 screws (3x)
Prepare the motor for X-axis with an assembled pulley.
Place the X-axis on the motor as shown in the picture.
Insert the M3x18 screws and tighten them so that their positions are at the back of
the oval hole like in the picture.
Содержание i3 MK3S+
Страница 6: ...6 ...
Страница 7: ...Original Prusa i3 MK3S kit assembly 7 1 Introduction ...
Страница 15: ...Original Prusa i3 MK3S kit assembly 15 2 Y axis assembly ...
Страница 36: ...36 Original Prusa i3 MK3S kit assembly 3 X axis assembly ...
Страница 44: ...44 Original Prusa i3 MK3S kit assembly 4 Z axis assembly ...
Страница 51: ...Original Prusa i3 MK3S kit assembly 51 5 E axis assembly ...
Страница 88: ...88 Original Prusa i3 MK3S kit assembly 6 LCD assembly ...
Страница 94: ...94 Original Prusa i3 MK3S kit assembly 7 Heatbed PSU assembly ...
Страница 108: ...108 Original Prusa i3 MK3S kit assembly 8 Electronics assembly ...
Страница 132: ...132 Original Prusa i3 MK3S kit assembly 9 Preflight check ...
Страница 137: ...137 Notes ...
Страница 138: ...138 ...
Страница 139: ...139 Notes ...
Страница 140: ...140 ...
Страница 141: ...141 Notes ...
Страница 142: ...142 ...
Страница 143: ...143 Notes ...
Страница 144: ...144 ...

