Enable the Receiving System to Receive Exported Data for Data Analysis
E-14
Data Export - Installation on the Database Server
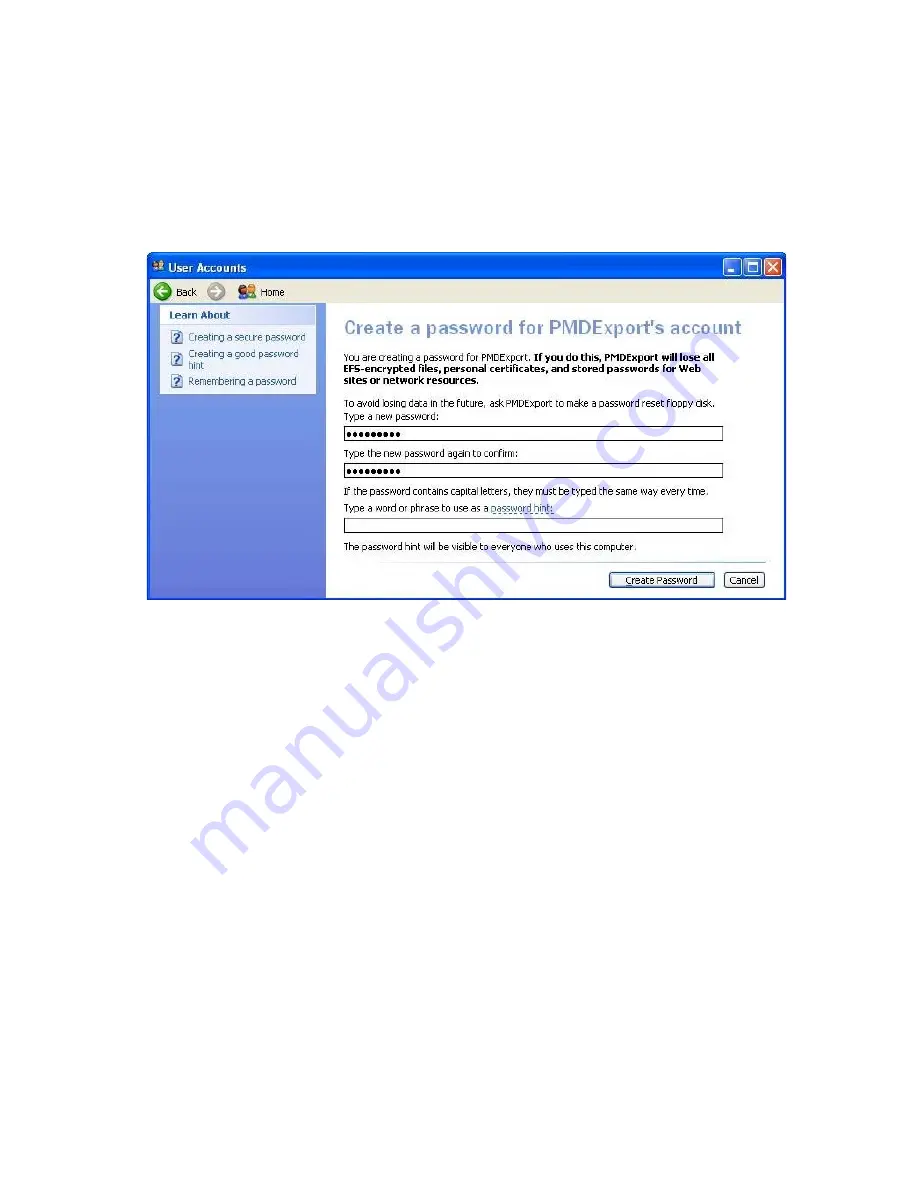
e. Click
“Change an account”
f. Click on
“PMDExport”
g. Select
“Create a password”
h. Under
“Password”
, enter
“PMDExport”
. Enter the same information under re-
enter.
Step 3.
Create an
PMDExport
folder, and make it sharable.
a. Click on the
[My Computer]
icon on your desktop.
b. Double -click on the
<C:>
drive.
c. Under the
<File>
menu, choose
“New ”
>
“Folder”.
d. Name your folder
“PMDExport”
.
e. Right mouse click on the
“PMDExport”
folder, and select
“Properties”.
f. Select the
“Sharing”
Tab.
g. Select the
<Share as>
control.
h. Type
PMDExport
in the
“Share Name”
.
i. Under
“Access Type”
Select
“Full”
.
j. Press
<OK>
.
Содержание IntelliVue Series
Страница 152: ...IntelliVue Information Center Application Software 3 22 Software Description ...
Страница 442: ...Troubleshooting 7 156 Maintenance Troubleshooting and Repair ...
Страница 488: ...Procedure B 12 Web Installation on the Database Server ...
Страница 492: ...Procedure C 4 External Modem Installation ...
Страница 500: ...Using RAS D 8 Dial In Procedure for Remote Access to Information Center Systems ...


