Troubleshooting
7-86
Maintenance, Troubleshooting, and Repair
Step 4.
Browse to the
Stardate\PicoNetDa\NLS
folder on the hard drive and paste (Ctrl +
v or Edit -> Paste) the folder.
Step 5.
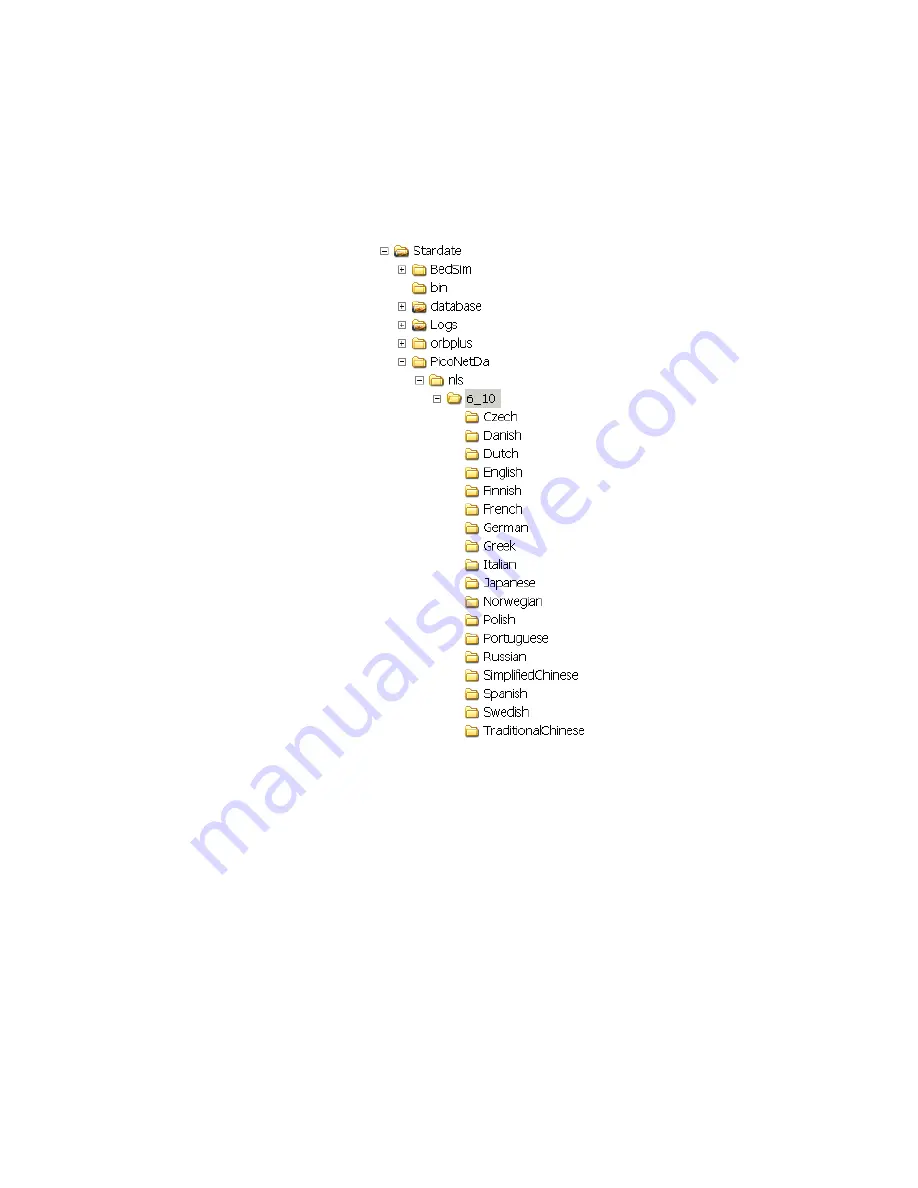
Click on the new NLS directory (e.g. 6_10) and verify all language folders are
present. Open each folder and verify a file exists in each.
Figure 7-60 NLS Directory
Step 6.
Two NLS folders with the same major revision number
cannot
co-exist in the NLS
folder. If an earlier sub-version exists (i.e. 6_8 was present in the directory that the
6_10 files were copied to), the 6_8 directory must be deleted. Folders with different
major numbers (i.e.
5
_10,
6
_10)
can
co-exist in the NLS folder.
Step 7.
Reboot the devices. They return automatically to monitoring.
Step 8.
Repeat steps 1 - 7 for each Information Center, Client, and Database Server in the
system.
Содержание IntelliVue Series
Страница 152: ...IntelliVue Information Center Application Software 3 22 Software Description ...
Страница 442: ...Troubleshooting 7 156 Maintenance Troubleshooting and Repair ...
Страница 488: ...Procedure B 12 Web Installation on the Database Server ...
Страница 492: ...Procedure C 4 External Modem Installation ...
Страница 500: ...Using RAS D 8 Dial In Procedure for Remote Access to Information Center Systems ...


