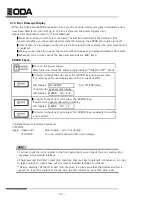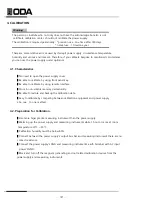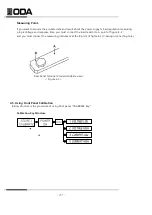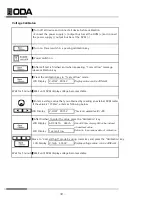
▌
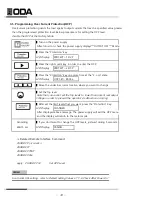
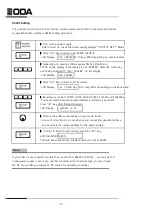
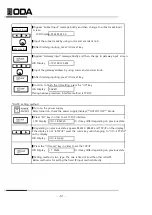
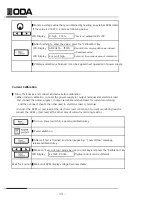
By using cursor key, set the "2.DHCP" and then press the "IO/Local" key
TCP/IP Port setting must be equal with PC
LCD Display >port 5000
▌
You can change the device number by using encoder knob.
▌
After changing the TCP/IP port by using cursor key and encoder switch, and
then press the "IO/Local" key.
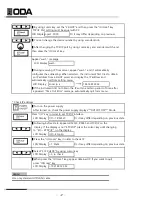
Appear "wait..." message
LCD Display wait...
▌
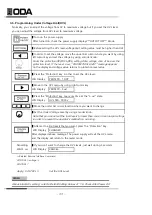
During receiving IP from server, appear "wait…" and it automatically
configures the addressing. When selected, the instrument first tries to obtain
an IP address from a DHCP server and display the IP address and
automatically quit from setting menu
LCD Display
Local ip is
192.168.123.32
▌
If the instrument did not obtain the IP within a certain period of time, after
appeared "Time Out Error" message, automatically quit form menu.
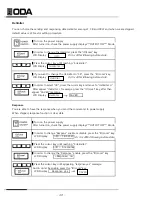
* Check IP address
▌
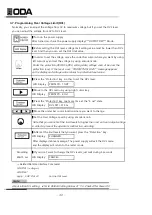
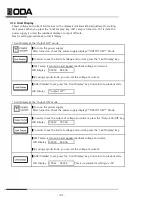
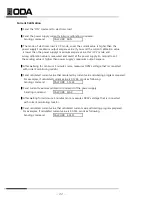
Turn on the power supply
After turned on, check the power supply displays"**OUTPUT OFF**" Mode.
Press "I/O" key in order to set TCP/IP interface.
LCD Display I/O> 1.RS232C
Or it may differ depending on previous state.
▌
Following before state, appears RS232C, RS485 and TCP/IP on the
display. If the display is not "4.TCP/IP" press the cursor key until changing
to "I/O> 4.TCP/IP" on the display.
LCD Display I/O> 4.tcp/ip
▌
Press the "I/O Local" key in order to check IP
LCD Display >1. Static
Or it may differ depending on previous state.
▌
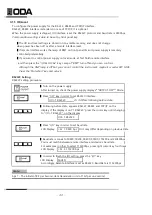
Select "3.IP CHECK" by using cursor key
LCD Display >3. ip check
▌
When press the "IO/Local" key, appear obtained IP. If you want to quit,
press "IO/Local" key
LCD Display >192.168.123.32
Use only standard UTP(LAN) cable
Or it may differ depending on previous stat
- 47 -
Note
Содержание EX 100-12
Страница 1: ...Programmable DC Power Supply User Manual www odacore com EX Series Manual Part NO 019EX 03...
Страница 4: ...Safety Symbol...
Страница 91: ...92...
Страница 92: ...93...

