
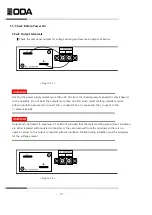


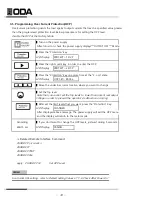


2-3. Output Check
The following procedures check to ensure that the power supply develops its rated outputs
and properly responds to operation from the front panel. For complete performance and
Voltage Output Check
▌
The following steps verify basic output voltage functions with no load.
1. Turn on the power supply.
2. The output is disabled (the OUTPUT OFF is displayed on the LCD)
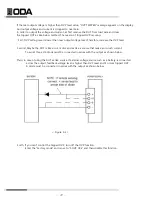
3. In order to measure the voltage, connect the DVM to output terminals properly
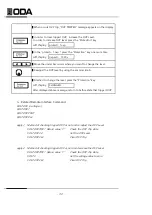
4. Press the "OUTP ON/OFF" key in order to output the voltage
5. Press "Limit Display Key" to display the setting voltage
6. Press the left cursor move key and select the voltage resolution what you want.
7. In orderr to increase or decrease, turn the encoder switch CW or CCW
8. Compare between LCD display real voltage value and DVM annunciator
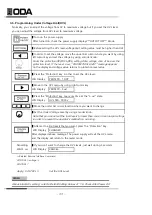
Current Output Check
▌
The following steps check basic current functions with a short across the power supply’s output
1. Turn on the power supply.
2. The output is disabled (the OUTPUT OFF is displayed on the LCD)
3. Press the "OUTP ON/OFF" key in order to output the voltage
4. Press 'Limit Display Key' to display setting voltage
6. Press the left cursor move key and select the voltage resolution what you want
7. In order to increase the voltage to 5V, turn the encoder switch CW or CCW
8. Press the right cursor move key and select the current resolution what you want
9. In order to increase or decrease, turn the encoder switch CW or CCW
10. In order to change to "OUTPUT OFF" mode, press the "Output On/Off" Key
11. In other to measure the current, connect the DAM to output terminals properly.
12. Press "Output On/Off Key" to ouput current
13. Compare between LCD display real current value and DAM annunciator
- 24 -
Содержание EX 100-12
Страница 1: ...Programmable DC Power Supply User Manual www odacore com EX Series Manual Part NO 019EX 03...
Страница 4: ...Safety Symbol...
Страница 91: ...92...
Страница 92: ...93...