4-6
Image Composition (Inserting a color Image into a Black-and-White Original)
6.
Set the copy ratio of the image.
Auto Zoom is normally selected. The numeric keys can be used to enter
any desired copy ratio.
7.
Press the OK key.
The Image Composition setting process is complete.
IMAGE COMPOSITION
is displayed.
P
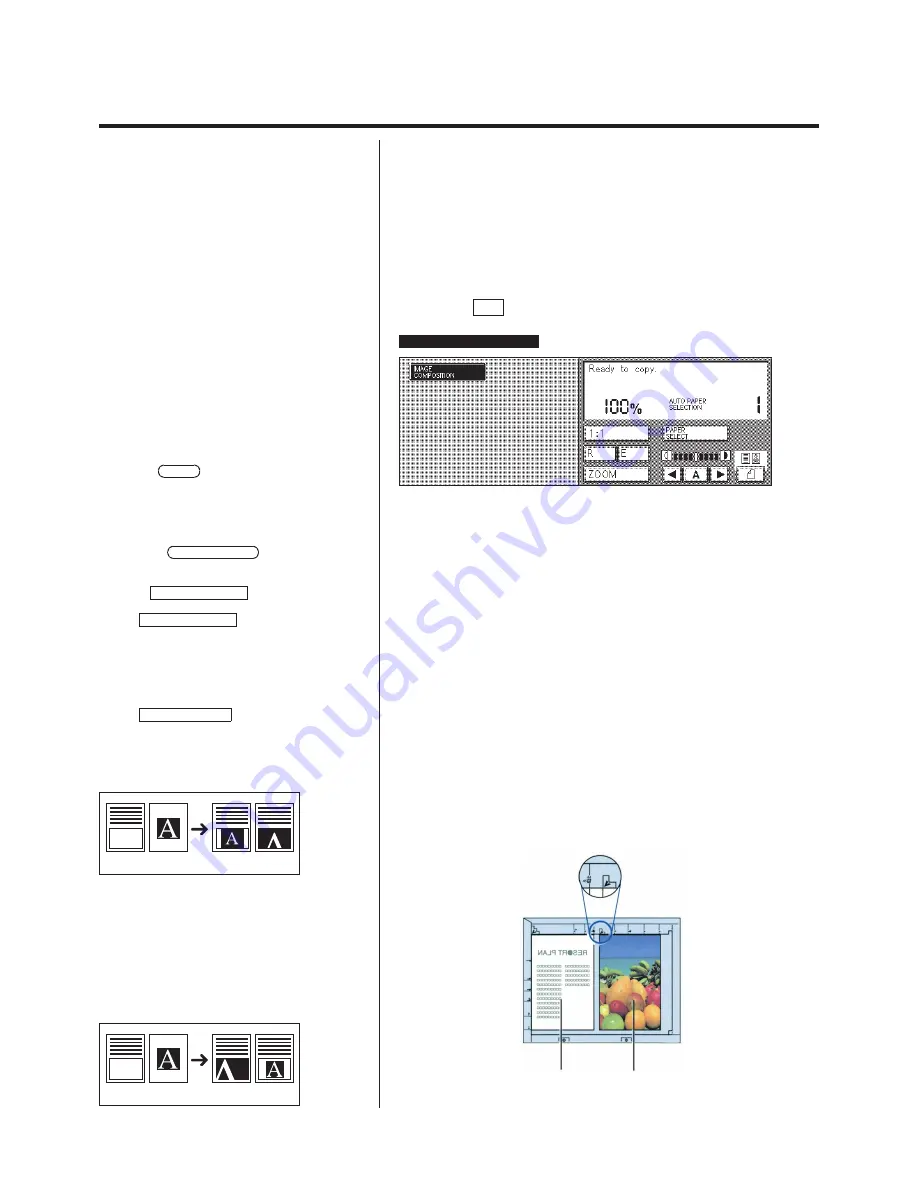
How to insert an image when the sizes of the
source area and the destination area differ.
N
When the X and Y copy ratios are set
independently:
When the X and Y copy ratios are set
independently and the Auto Zoom (auto
zoom with the same copy ratios for the
horizontal and vertical directions) is set, the
extracted image will be lost, and there will
be no blank area in the area where the
image is inserted.
To set the X or Y copy ratio into Auto, press
the AUTO key.
Both the X and Y copy ratios can be
automatically set.
N
When Auto Zoom (auto zoom with the same
copy ratios for the horizontal and vertical
directions) is set:
If the MODE SELECT key is pressed, one
of the following two methods of image
insertion can be selected. The initial setting
is IMAGE PRIORITY .
P
The copy ratio display always stays at 100%.
1.
IMAGE PRIORITY
The image is inserted into the destination
area with none of the extracted image being
lost. With this method, there may be some
white space on the left and right or at the
top and bottom of the area where the image
is inserted.
2.
AREA PRIORITY
The image is inserted into the destination
area so that there is no white space
showing. With this method, at the bottom or
on the left of the area where the image is
extracted will be lost.
IMAGE
PRIORITY
AREA
PRIORITY
N
When Direct (100%) or another copy ratio
has been set:
If the area of the extracted image after
being reduced/enlarged with the set copy
ratio is bigger than the destination area, at
the bottom and on the left of the area where
the image is extracted will be lost. If the
reduced/enlarged image is smaller than the
destination area, some blank space may be
left over.
ENLAR-
GEMENT
REDUCE
8.
Place the originals on the platen glass.
Without changing the top-bottom orientation, turn the originals face down
and place them on the platen glass. Place the original that will be the
background on the platen glass and align it with the V mark on the left, and
then align the insertion original with the V mark in the center.
Background original
Insertion original
The copier is now ready to make copies.
Содержание Color System 200
Страница 2: ...ic...
Страница 67: ...1 55 Color Creation 4 Press the YES key 5 Press the OK key The display returns to the Color Creation display...
Страница 84: ...1 72...
Страница 190: ...4 48...
Страница 191: ...I 1 Offset Plate Original Creating Color Separations of a Color Original Index Index I 2...


