Performing a Final Scan
Once you are satisfied with the scanning settings, a final scan can be invoked by
clicking on the
S
CAN
button. Upon completion of the scan, an image will appear in a
window titled “
U
NTITLED
–1
.”
Saving the Scan
Macintosh: You can then save the resulting scan to disk by pulling down the
F
ILE
menu to activate the
S
AVE
A
S
...
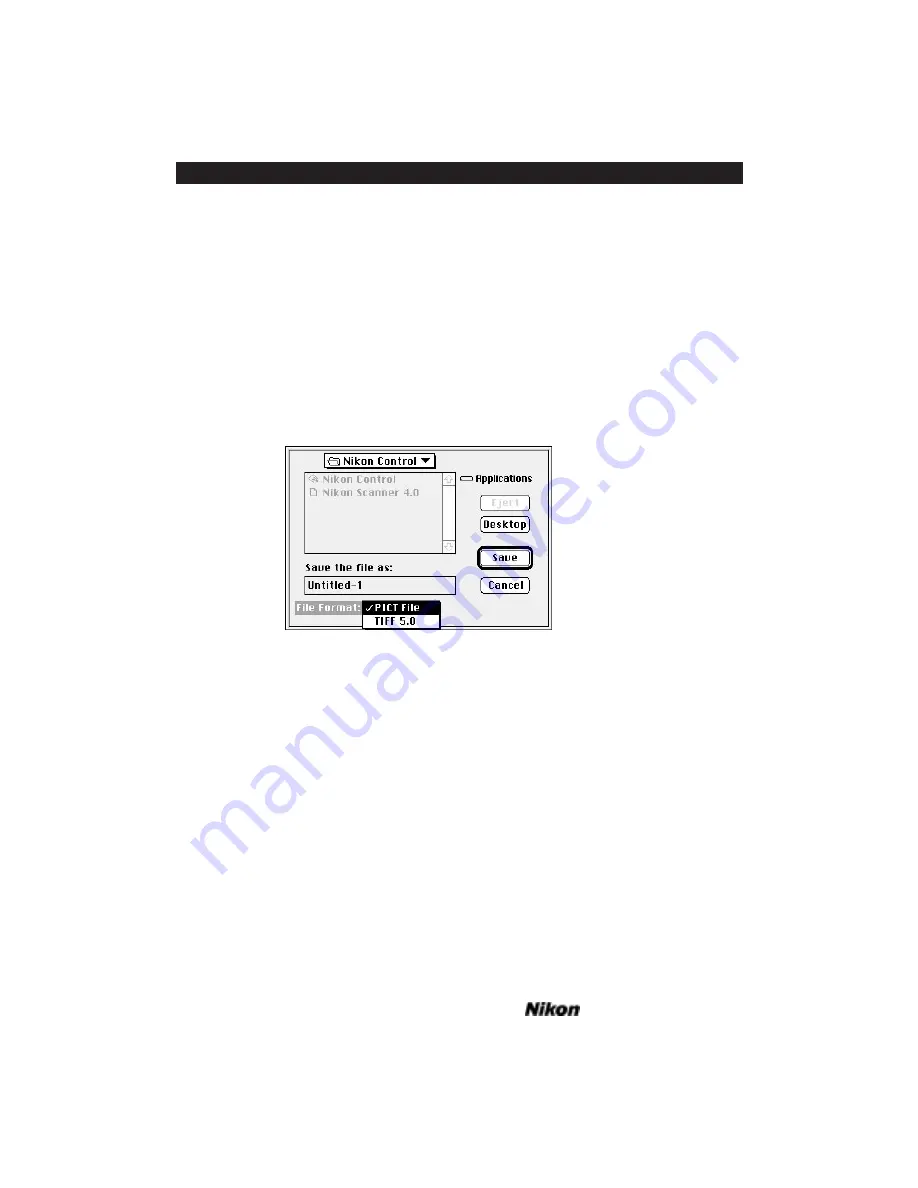
dialog, as seen in Figure 10.12. A dialog box will
appear prompting you to enter the new file name to be used for the scan. This scan file
can be saved in two 24-bit true color file formats, either PICT or TIFF 5.0 file.
Figure 10.12 The scanned image is saved to a disk file
through the
S
AVE
A
S
...
file dialog box – Macintosh.
Windows: You can then save the resulting scan to disk by pulling down the
F
ILE
menu to activate the
S
AVE
A
S
...
dialog, as seen in Figure 10.13. A dialog box will
appear prompting you to enter the new file name to be used for the scan. This scan file
can be stored in two 24-bit true color file formats, either TGA (Targa) or BMP
(Windows Bitmap Files).
Page 90
Software Reference for Scanners
Performing a Preview or Final Scan
Chapter 10
Содержание Scanners
Страница 1: ...Software Reference for Scanners ...
Страница 14: ...Page XIV Software Reference for Scanners Table of Contents ...
Страница 36: ...Page 22 Software Reference for Scanners Software Installation IBM PC or Compatible Chapter 3 ...
Страница 92: ...Page 78 Software Reference for Scanners Setting and Restoring the Nikon Plug in State Macintosh Chapter 8 ...
Страница 126: ...Page 112 Software Reference for Scanners Cropping and Sizing Images Chapter 11 ...
Страница 132: ...Page 118 Software Reference for Scanners Film Type and Orientation Chapter 12 ...
Страница 146: ...Page 132 Software Reference for Scanners Focusing with Coolscan Chapter 14 ...
Страница 170: ...Page 156 Software Reference for Scanners The Gamma Curve Editor Dialog Chapter 16 ...
Страница 194: ...Page 180 Software Reference for Scanners Troubleshooting Windows ...


