


PANS
u
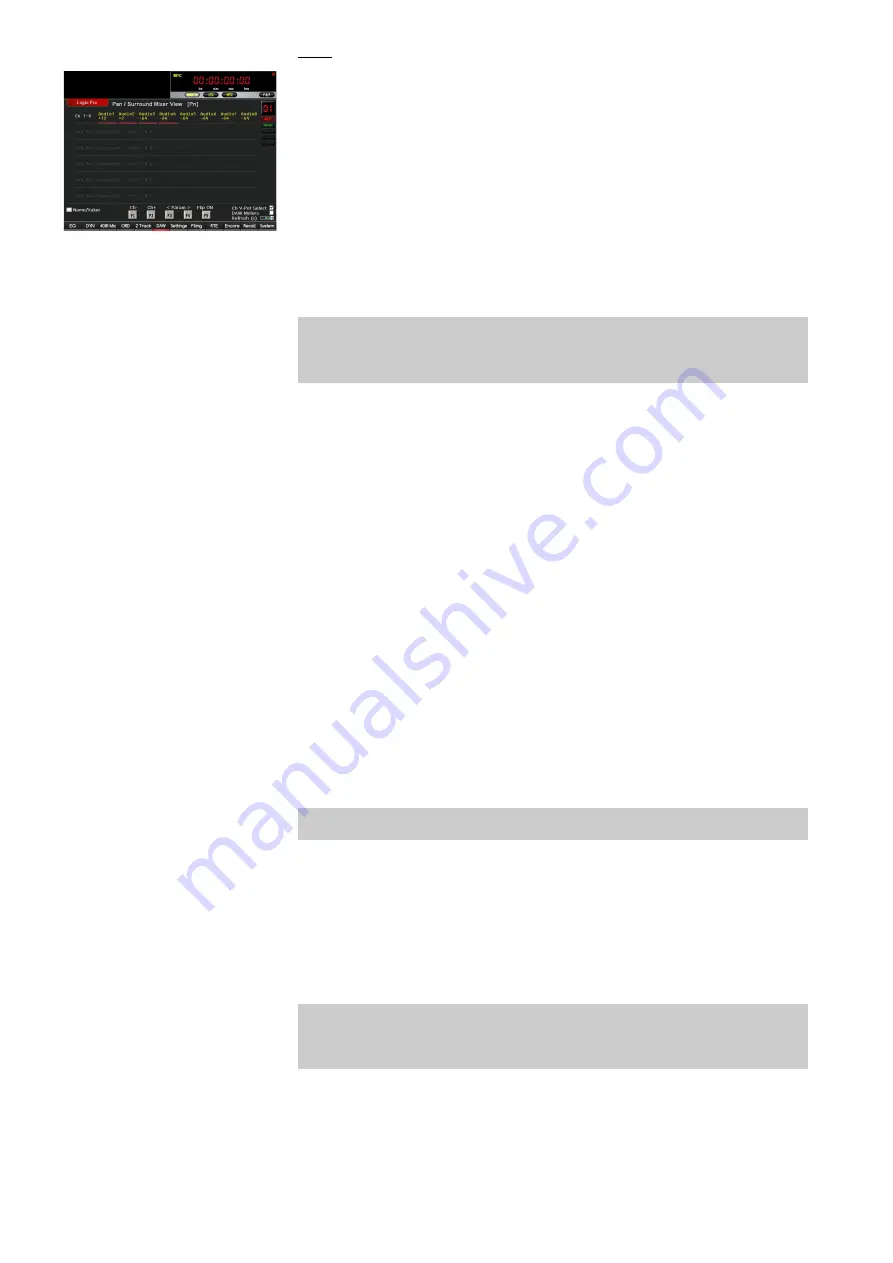
Press the
PANS
button, and the screen will display the Pan information
on the Genesys software screen.
u
PANS works in two modes. Mixer View and Channel View. PANS is used
to control Logic Pro tracks
Pans
and
Surround
. It is functionally the
same as AUX (see above) and allows single or multiple parameters to be
edited and controlled from the console surface.
u
Make sure the
F5
button is not on i.e.
FLIP
is off. If FLIP is on press
F5
to turn it off.
u
PANS mode first starts up in Mixer View mode. Confirm this by looking
at the top-most line on the Genesys software:
Pans / Surround Mixer View
...
Mixer View
allows you to edit a single Pan or Surround parameter on
multiple channel strips laid out across the Genesys console surface: On
non-surround DAW tracks;
Pan and Angle
, On Surround DAW tracks;
Surround Angle, Diversity, LFE and Spread.
u
Press the
fader
SEL
button for Logic track 1 (or the first assigned DAW
track). You have now selected DAW track 1. You will see in the top right
corner the display indicator has changed to
01
(if not already) to indicate
you have selected track 1. The fader SEL button will also flash.
u
F1
and
F2
buttons are also used to select the DAW track.
u
F3
and
F4
buttons are used to select the Pan/Surround parameters.
u
On the channel strip using the Ch V-Pot for the selected track, turn the
encoder and the Pan/Surround (selected parameter) position will change.
This will be shown on the Genesys software as you change the parameter.
u
Pressing the Ch V-Pot will set the Pan/Surround position to centre.
u
Press
F5
and
FLIP
should now be on. With FLIP on the Genesys faders
will now have the same functionality as the Ch V-Pots. Now with FLIP on
move the Genesys fader for DAW track 1. The Pan/Surround position will
change, confirm this by looking at Logic Pro and Genesys software.
When the aders display the Pan position, they will have a range of
-64
(pan hard left = bottom of fader) to
+64
(Pan hard right = top of fader),
with
0
being Pan Centre (middle of fader).
We will now change the Genesys console surface layout to control
the Pans/Surround in Channel View mode.
u
Make sure the
F5
button is not on i.e.
FLIP
is off. If FLIP is on press
F5
to turn it off.
u
PANS mode first starts up in Mixer View. We need to change the PANS
mode to Channel View. Press PANS button until you see the following text
on the top-most line on the Genesys software:
Pans / Surround Channel View
...
Channel View
allows you to edit all the Pans/Surround parameters for a
single DAW track laid out across the Genesys console surface: On non-
surround DAW tracks;
Pan and Angle
, On Surround DAW tracks;
Surround
Angle, Diversity, LFE and Spread.
u
Press the
fader
SEL
button for Logic track 1 (or the first assigned DAW
track). You are now controlling Pans/Surround parameters for track 1.
You will see the top right corner display indicator change to
01
(if not
already) to indicate you have selected track 1. The fader SEL button will
also flash.
- 180 -


