1. Bundled Software for the Server
Express5800/R320c-E4, R320c-M4, R320d-E4, R320d-M4 Installation Guide (Windows Server 2008)
148
Chapter 2 Installing Bundled Software
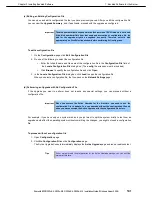
(a) To select a service for the Active Upgrade Console to control
1. On the
Application Services
page, find a service you want to stop and start.
2. Click the check box to the left of the service name.
3. Repeat these steps for each service you want to stop and restart.
To deselect a service, clear the check box to the left of the service name.
(By default, the services on the
Application Services
page are listed alphabetically. If you prefer to sort them
by other criteria, click on one of the column headings. For example, if you want to group services by those you
have selected and not selected, click the heading above the check boxes.)
When you have finished selecting services to control, or if you have no services to control, you can click
Next
to
proceed with the next configuration step.
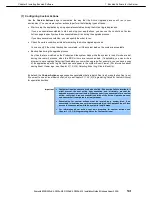
(6) Selecting Event Log Files to Back Up
Use the
Log File Backup
page to optionally preserve Windows Event log files from the Production Side of your
system before committing an upgrade.
When you commit an upgrade, the system reestablishes the RDR mirrors of any system disks by overwriting the
Production Side disks (which contain the old version of your software) with the newer Upgrade Side disks
(which contain your newly-upgraded software). Because the event log files on the Production Side are lost
during this process, you might want to preserve them for future reference. These log files will contain the only
record of log messages your live applications generated while the system was split.
The
Log File Backup
page allows you to select from all event logs available in the Windows Event Viewer.
Tips
For information about creating a Custom Action that preserves other files from the
Production Side system disk, see
Chapter 2 (1.5.3 (7) Configuring Custom Actions)
.
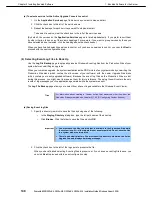
(a) Saving Event log files
1. Specify a directory in which to save the files by doing one of the following:
–
In the
Staging Directory
dialog box, type the full path name of the directory.
–
Click
Browse
. Click the folder to save the file and click
OK
.
Important
•
You must save the files to a disk that is available to the Production Side while
the system is split — either a data disk or an external disk. Do not save the files
to a system disk or network disk.
•
There is no default directory. You must specify a directory, otherwise, the Active
Upgrade Console displays a warning message.
2. Click the check box to the left of the log name to preserve the file.
When you have finished selecting Event log files to preserve, or if you have no event log file to save, you
can click
Next
to proceed with the next configuration step.


