7 - 7
7. MR Configurator
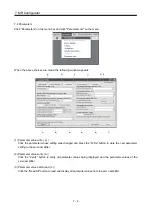
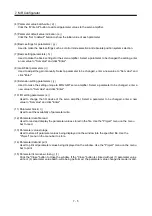
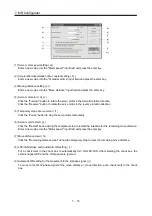
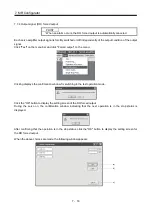
(5) Point table data insertion ( e) )
Click the "Insert" button to insert one block of data into the position before the point table No. chosen. The
blocks after the chosen point table No. are shifted down one by one.
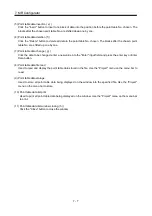
(6) Point table data deletion ( f) )
Click the "Delete" button to delete all data in the point table No. chosen. The blocks after the chosen point
table No. are shifted up one by one.
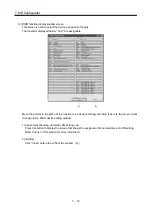
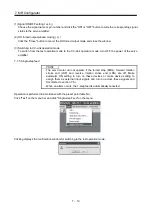
(7) Point table data change ( g) )
Click the data to be changed, enter a new value into the "Enter" input field, and press the enter key or Enter
Data button.
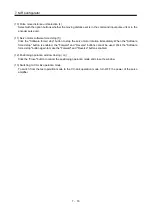
(8) Point table data file read
Used to read and display the point table data stored in the file. Use the "Project" menu on the menu bar to
read.
(9) Point table data storage
Used to store all point table data being displayed on the window into the specified file. Use the "Project"
menu on the menu bar to store.
(10) Point table data list print
Used to print all point table data being displayed on the window. Use the "Project" menu on the menu bar
to print.
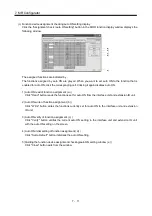
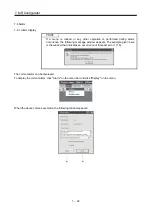
(11) Point table data list window closing ( h) )
Click the "Close" button to close the window.
Содержание MELSERVO MR-J3-xT
Страница 22: ...8 MEMO ...
Страница 156: ...4 46 4 SIGNALS AND WIRING MEMO ...
Страница 276: ...7 26 7 MR Configurator MEMO ...
Страница 324: ...10 16 10 SPECIAL ADJUSTMENT FUNCTIONS MEMO ...
Страница 418: ...14 66 14 OPTIONS AND AUXILIARY EQUIPMENT MEMO ...

