Printing with your Lomond printer
Page 59 of 106
2.
You may combine that with either or both of the
Rotate 180º
or
Mirrored
check boxes to
obtain the orientation you require for your printout.
3.
As you select the various combinations of options, the graphic on the right pane of the
Properties dialog box will display the orientation you have chosen.
4.
Once you have finished, click
OK
to save your selection and exit the Properties dialog
box.
Some applications may override page orientation set up in this manner.
•
Custom paper sizes
If you are printing from Tray 1, you can select only from US Letter, ISO A4 and US Legal
sizes.
Paper sizes other than those listed above can be printed only from Tray 2 and can only be fed
manually, one sheet at a time.
The largest paper size you can print on is US Legal.
See
Using Tray 2
on page 65 for instructions on setting up and feeding paper into the Tray 2.
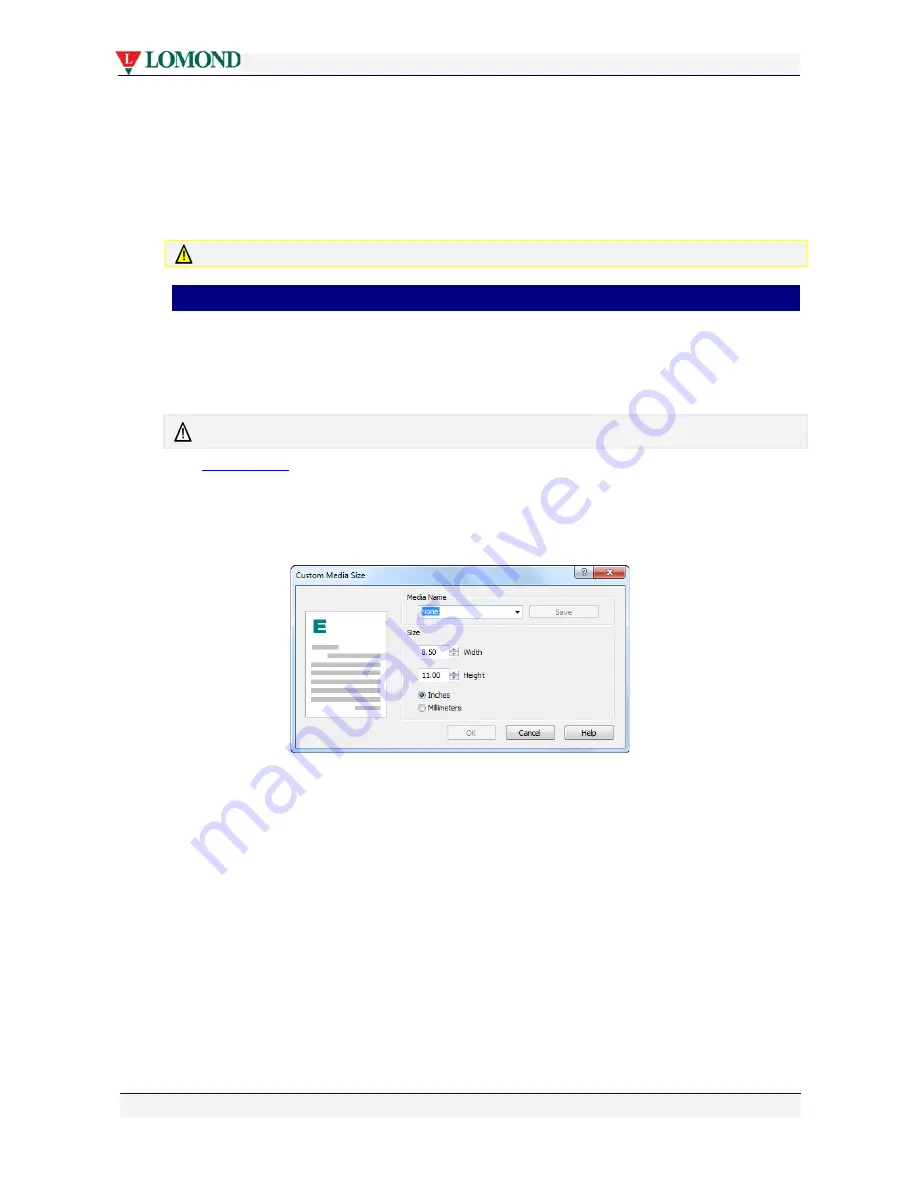
To print on custom sized paper:
1.
Click the
Custom Sizes...
button in the General tab of the Properties dialog box (see
Figure 5 on page 57). The Custom Media Size dialog box will appear.
2.
Fill in the
Media Name
with a new media size name that identifies the size uniquely.
3.
Set the values of the
Width
and
Height
fields to match the dimensions of the paper size
you wish to use, remembering to select the appropriate measurement type (Inches or
Millimeters). The graphic in the left pane will change as you vary the size.
4.
Click
Save
. This will ensure that this new size will be available in the scaling option in
your application’s Print dialog box.
5.
Click
OK
to save this size and exit the Custom Media Size dialog box.


