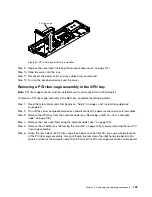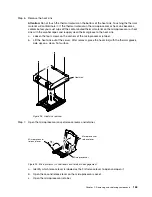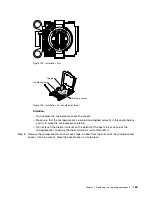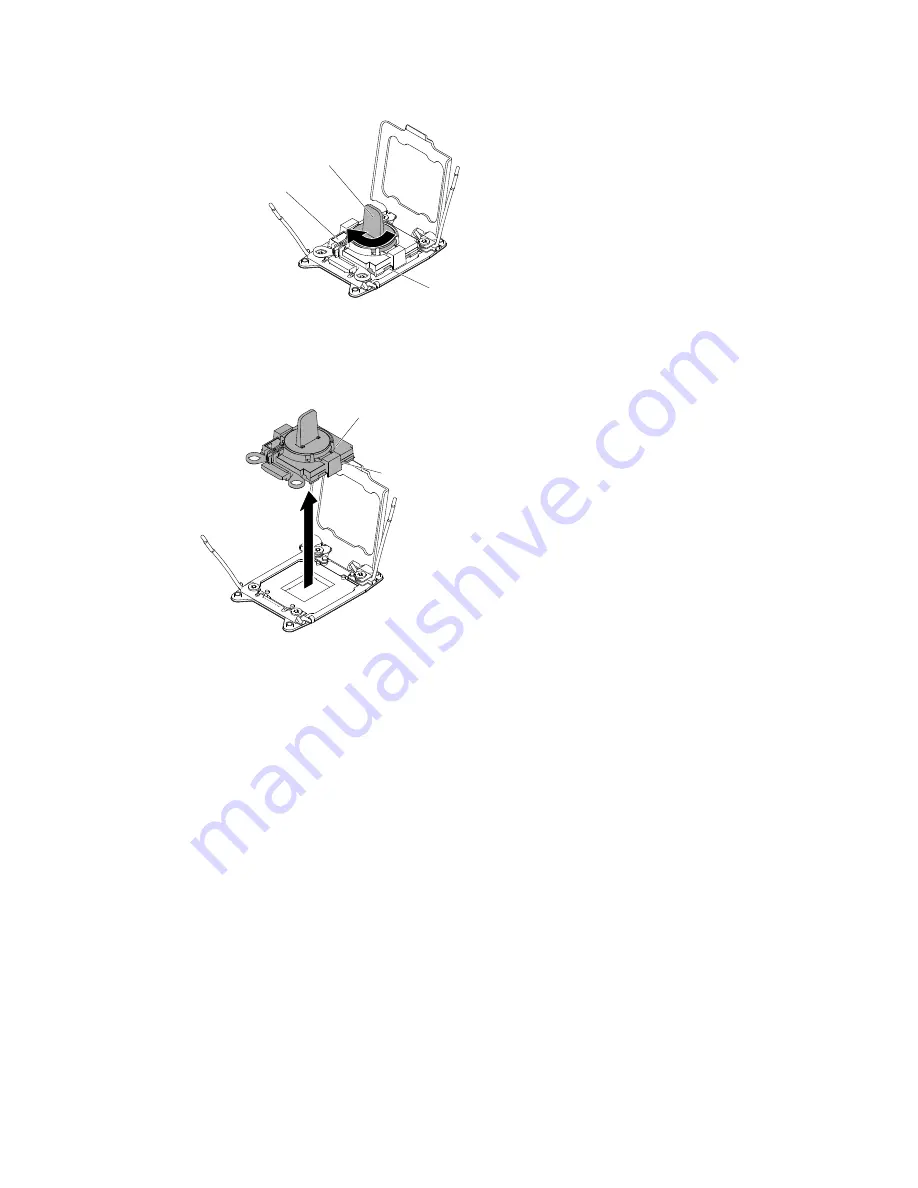
Installation tool
Microprocessor
Handle
Figure 97. Installation tool handle adjustment
d.
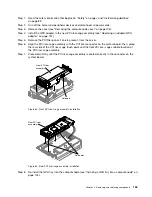
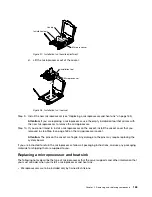
Lift the microprocessor out of the socket.
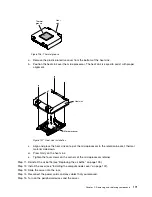
Installation tool
Microprocessor
Figure 98. Installation tool removal
Step 9.
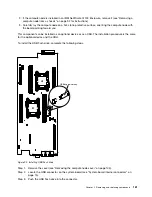
Install the new microprocessor (see “Replacing a microprocessor and heat sink” on page 165).
Attention:
If you are replacing a microprocessor, use the empty installation tool that comes with
the new microprocessor to remove the microprocessor.
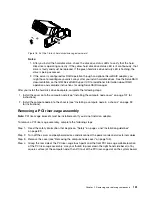
Step 10. If you do not intend to install a microprocessor on the socket, install the socket cover that you
removed in step Step 8 on page 169 on the microprocessor socket.
Attention:
The pins on the socket are fragile. Any damage to the pins may require replacing the
system board.
If you are instructed to return the microprocessor, follow all packaging instructions, and use any packaging
materials for shipping that are supplied to you.
Replacing a microprocessor and heat sink
The following notes describe the type of microprocessor that the server supports and other information that
you must consider when you install a microprocessor and heat sink.
• Microprocessors are to be installed only by trained technicians.
Removing and replacing components
165
Содержание NeXtScale nx360 M4
Страница 1: ...IBM NeXtScale nx360 M4 Installation and Service Guide Machine Type 5455 ...
Страница 6: ...iv IBM NeXtScale nx360 M4 Installation and Service Guide ...
Страница 34: ...20 IBM NeXtScale nx360 M4 Installation and Service Guide ...
Страница 58: ...44 IBM NeXtScale nx360 M4 Installation and Service Guide ...
Страница 94: ...80 IBM NeXtScale nx360 M4 Installation and Service Guide ...
Страница 192: ...178 IBM NeXtScale nx360 M4 Installation and Service Guide ...
Страница 538: ...524 IBM NeXtScale nx360 M4 Installation and Service Guide ...
Страница 562: ...548 IBM NeXtScale nx360 M4 Installation and Service Guide ...
Страница 722: ......
Страница 730: ......
Страница 737: ......
Страница 738: ...Part Number 00KC216 Printed in China 1P P N 00KC216 1P00KC216 ...

