381298/C
191
a
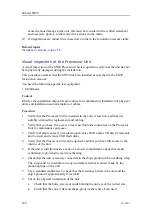
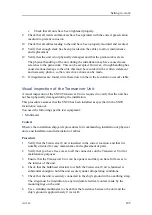
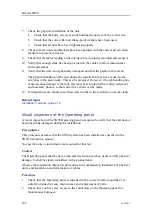
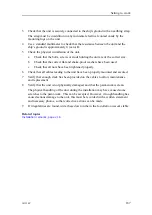
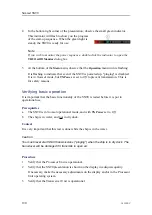
On the top bar, click the
Message
icon to open the
Message
dialog box.
b
In the
Message
dialog box, check to see if any messages related to
transceiver communication have been issued.
c
In the bottom right corner of the SN90
presentation, verify that the small circle is
steady green.
d
In the
Horizontal
and
Vertical
views in the SN90 presentation, observe the
noise picked up by the transducer.
In order to see the noise patterns, you may need to increase the
Gain
setting on
the
Main
menu, and/or adjust the
Pulse Bandwidth
setting on the
Active
menu.
If you are unable to communicate with the Transceiver Unit, observe the dedicated
procedure.
4
Set
TX Power
to
Maximum
(or any other power rating) to start "pinging".
5
Verify that the relevant echoes are shown on the SN90 presentation.
Further requirements
Proceed with SN90 configuration.
Related topics
Troubleshooting the Transceiver Unit if it fails to start, page 191
Troubleshooting the Transceiver Unit if it fails to start
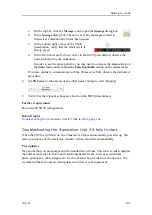
When the SN90 is switched on, the Transceiver Unit is automatically powered up. The
start-up sequence of the electronic circuitry is then also done automatically.
Prerequisites
We assume that you are equipped with a standard set of tools. This tool set must comprise
the normal tools for electronic and electromechanical tasks, such as screwdrivers,
pliers, spanners, a cable stripper etc. Each tool must be provided in various sizes. We
recommend that all tools are demagnetized to protect your equipment.
Содержание Simrad SN90
Страница 2: ......
Страница 117: ...381298 C 115 Related topics Installation summary page 65 Installing the transducer ...
Страница 226: ...224 381298 C 427 385 All measurements in mm The drawing is not in scale 385609 Rev B CD12_385609_001_002 Simrad SN90 ...
Страница 236: ...234 381298 C 372915 Clamping frame Simrad SN90 ...
Страница 295: ......
Страница 296: ... 2016Kongsberg Maritime ISBN 978 82 8066 179 1 ...
Страница 297: ......

