


XY View Screen - Aligning the Sample
KLA-Tencor P-16+ / P-6 User’s Guide
4-30
KLA-Tencor Confidential
0142530-000 AB
3/13/09
4.
Click
View
in the tool bar to display its menu. In the menu, click
Align Sample
.
This sets up the
Alignment Sample
procedure which aligns the XY axis of the
screen with the chosen feature.
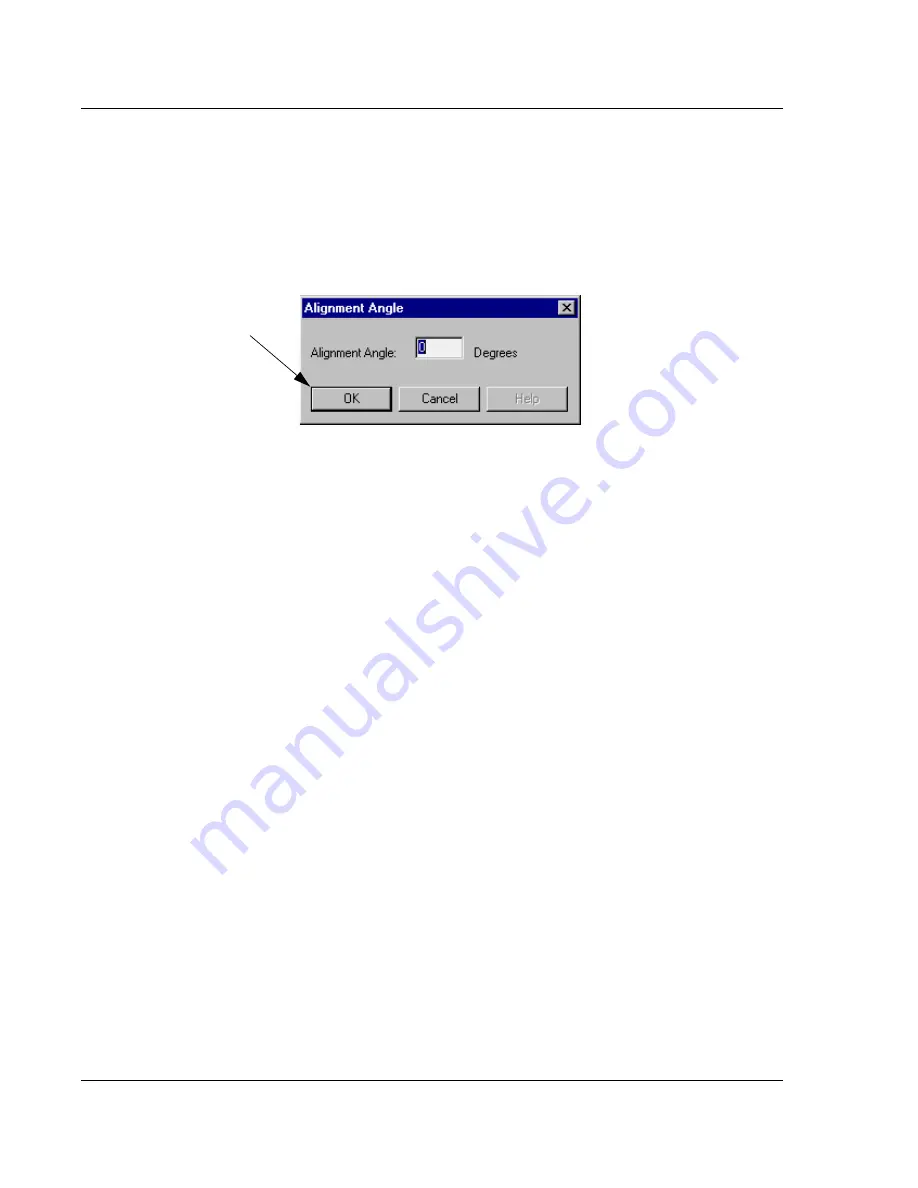
5.
A dialog box appears requesting input of the intended alignment angle. The
default is
0
which aligns the feature with the X-axis after the procedure is
complete. Click
OK
in the dialog box to accept the
0
6.
Using the
right
arrow button (
→)
, scroll across the feature to the left portion of
the feature. Stay close to the feature, and stop when a reasonable distance has
been covered (or at the end of the feature if it is small).
7.
Place the crosshair cursor on a portion of the feature that is easily duplicated at
its other end and click with the left mouse button. The system performs
adjustments which align the screen crosshair to the feature at the point of
contact.
8.
The message prompt displays at the bottom left of the screen, “
Press OK to
accept the first alignment position
.” Click
OK
,
at the bottom right of the screen,
to accept the first alignment position.
9.
Using the
left
arrow button (
←)
, scroll across the center of the feature (starting
point). Stay close to the feature, and stop when the sample has move a
significant enough distance to give the software a long interval over which to
align the sample with the X-axis. Place the crosshair cursor
over the same
portion of the feature that was used to set the first position
and click with the
left mouse button. The system performs final adjustments, aligning the feature
with the XY axis.
10.
The message prompt displays “
Press OK to accept the second alignment
position.
” Click
OK
,
at the bottom right of the screen, to accept the second
alignment position.
11.
After the adjustments have been completed by the system, the message prompt
at the bottom of the screen indicates that the
OK
button must be clicked to accept
the new alignment adjustment. Click
OK
(bottom right of screen) to accept or
click
Cancel
to run a new alignment angle calculation.
This completes the Align Sample procedure.
Manual Alignment of the Sample (P-16+ only)
4
The sample can be aligned manually using the XY view screen in conjunction with
the theta (rotational) movement arrow buttons on the tool bar.
1.
Follow
through
in
Aligning the Sample with the Instrument
Figure 4.24
Setting Alignment Angle
OK
to accept the
“
0
” angle alignment.
Содержание P-16+
Страница 4: ...KLA Tencor P 16 P 6 User s Guide KLA Tencor Confidential 0142530 000 AB 3 13 09...
Страница 24: ...KLA Tencor P 16 P 6 User s Guide LOT 4 KLA Tencor Confidential 0142530 000 AB Friday March 13 2009 Preliminary...
Страница 30: ...Introduction Safety Safety KLA Tencor P 16 P 6 User s Guide 1 6 KLA Tencor Confidential 0142530 000 AB 3 13 09...
Страница 180: ...XY View Screen Aligning the Sample KLA Tencor P 16 P 6 User s Guide 4 32 KLA Tencor Confidential 0142530 000 AB 3 13 09...
Страница 196: ...View Scan Window Aborting A Scan KLA Tencor P 16 P 6 User s Guide 5 16 KLA Tencor Confidential 0142530 000 AB 3 13 09...
Страница 434: ...Backup and Restore KLA Tencor P 16 P 6 User s Guide 16 8 KLA Tencor Confidential 0241110 000 AB 3 13 09...
Страница 444: ...KLA TENCOR P 16 P 6 USER S GUIDE REVISION HISTORY 2 KLA TENCOR CONFIDENTIAL 0142530 000 AB 3 13 09...


