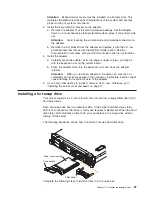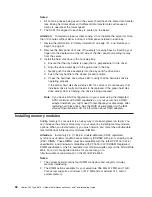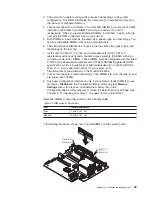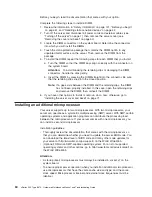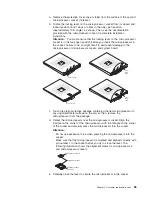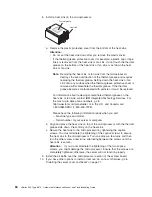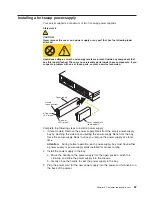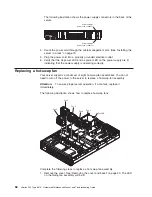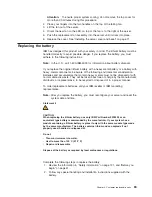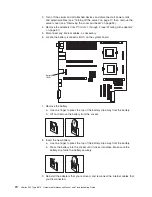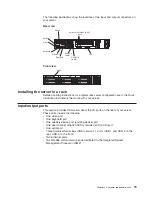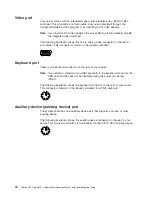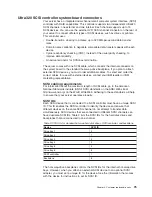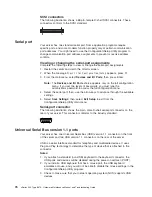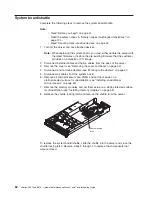
10. Connect all external cables and all power cords.
11. Reinstall the server cover (see “Installing the server cover and bezel”).
12. Start the Configuration/Setup Utility program and set configuration parameters
as needed. See Chapter 2, “Configuring your server”, on page 9 for additional
information about using the Configuration/Setup Utility program.
Completing the installation
To complete your installation, reinstall the bezel, reinstall the server cover,
reconnect all cables that you disconnected earlier, and for certain options, run the
Configuration/Setup Utility program. Follow the instructions in this section.
Attention:
v
For proper cooling and airflow, replace the server cover before or shortly after
turning on the server. Operating the server for extended periods of time (over 30
minutes) with the server cover removed might damage server components.
v
To ensure proper server operation, do not remove the air-baffle assembly from
the server except when installing or removing the components that are located
under the air baffle.
Installing the server cover and bezel
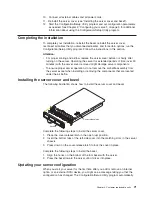
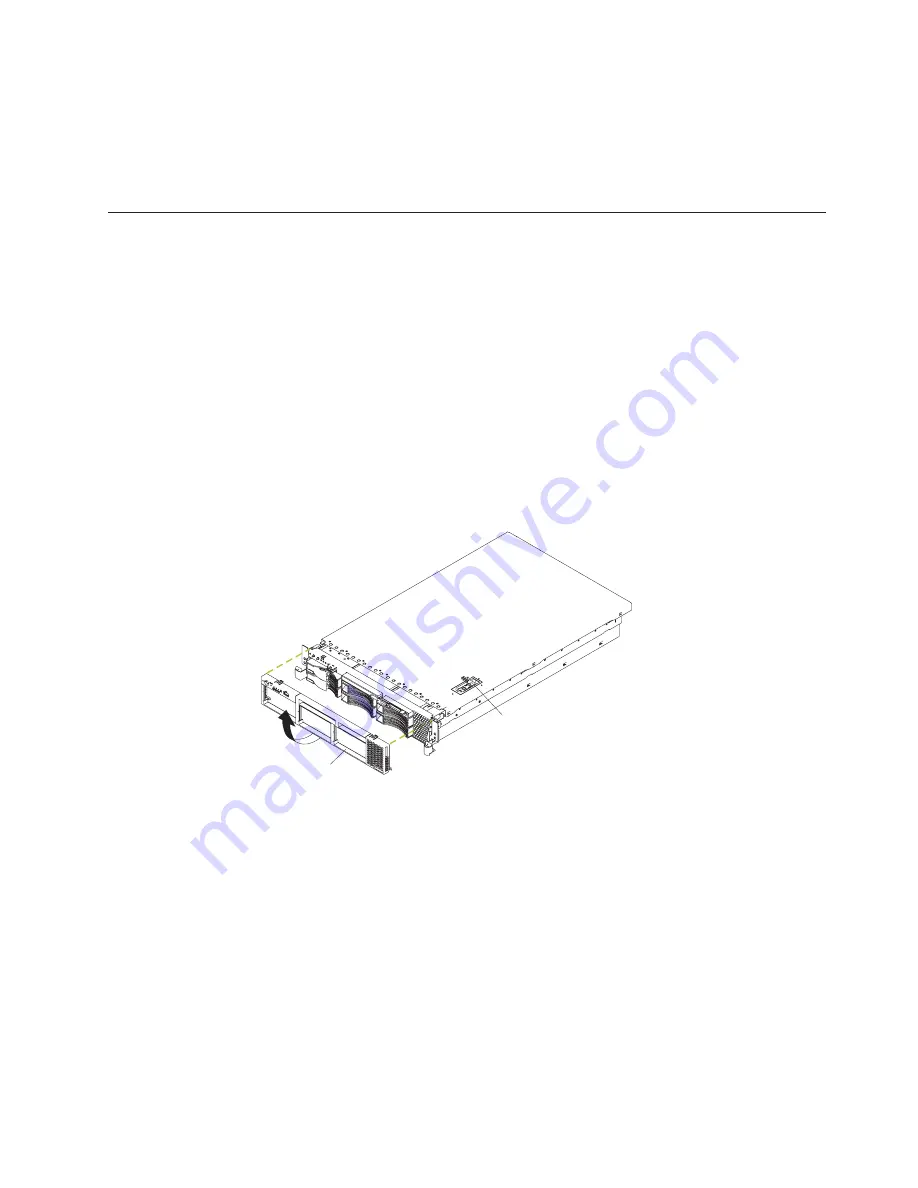
The following illustration shows how to install the server cover and bezel.
Cover-release latch
Bezel
Complete the following steps to install the server cover:
1. Place the cover-release latch in the open (up) position.
2. Insert the bottom tabs of the left-side cover into the matching slots in the server
chassis.
3. Press down on the cover-release latch to lock the cover in place.
Complete the following steps to install the bezel:
1. Align the hooks on the bottom of the trim bezel with the server.
2. Press the bezel toward the server until it clicks into place.
Updating your server configuration
When you start your server for the first time after you add or remove an internal
option or an external SCSI device, you might see a message telling you that the
configuration has changed. The Configuration/Setup Utility program automatically
Chapter 4. Customer replaceable units
71
Содержание eServer xSeries 345 Type 8670
Страница 1: ...xSeries 345 Type 8670 Hardware Maintenance Manual and Troubleshooting Guide ERserver...
Страница 2: ......
Страница 3: ...xSeries 345 Type 8670 Hardware Maintenance Manual and Troubleshooting Guide ERserver...
Страница 6: ...iv xSeries 345 Type 8670 Hardware Maintenance Manual and Troubleshooting Guide...
Страница 10: ...viii xSeries 345 Type 8670 Hardware Maintenance Manual and Troubleshooting Guide...
Страница 18: ...8 xSeries 345 Type 8670 Hardware Maintenance Manual and Troubleshooting Guide...
Страница 88: ...78 xSeries 345 Type 8670 Hardware Maintenance Manual and Troubleshooting Guide...
Страница 124: ...114 xSeries 345 Type 8670 Hardware Maintenance Manual and Troubleshooting Guide...
Страница 130: ...120 xSeries 345 Type 8670 Hardware Maintenance Manual and Troubleshooting Guide...
Страница 141: ...Chapter 8 Related service information 131...
Страница 142: ...132 xSeries 345 Type 8670 Hardware Maintenance Manual and Troubleshooting Guide...
Страница 143: ...Chapter 8 Related service information 133...
Страница 144: ...134 xSeries 345 Type 8670 Hardware Maintenance Manual and Troubleshooting Guide...
Страница 145: ...Chapter 8 Related service information 135...
Страница 146: ...136 xSeries 345 Type 8670 Hardware Maintenance Manual and Troubleshooting Guide...
Страница 147: ...Chapter 8 Related service information 137...
Страница 157: ...Chapter 8 Related service information 147...
Страница 158: ...148 xSeries 345 Type 8670 Hardware Maintenance Manual and Troubleshooting Guide...
Страница 159: ...Chapter 8 Related service information 149...
Страница 160: ...150 xSeries 345 Type 8670 Hardware Maintenance Manual and Troubleshooting Guide...
Страница 161: ...Chapter 8 Related service information 151...
Страница 162: ...152 xSeries 345 Type 8670 Hardware Maintenance Manual and Troubleshooting Guide...
Страница 166: ...156 xSeries 345 Type 8670 Hardware Maintenance Manual and Troubleshooting Guide...
Страница 174: ...164 xSeries 345 Type 8670 Hardware Maintenance Manual and Troubleshooting Guide...
Страница 175: ......
Страница 176: ...Part Number 48P9718 1P P N 48P9718...

