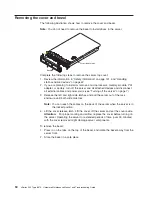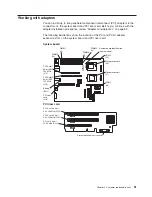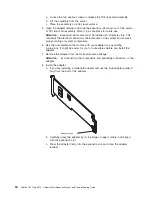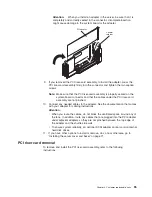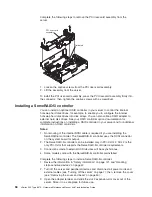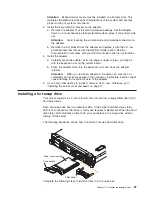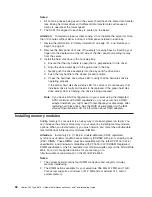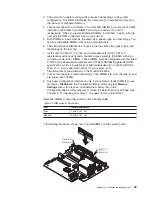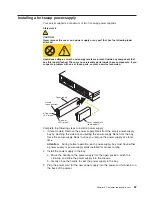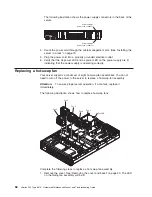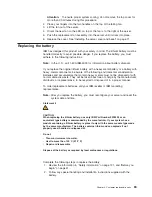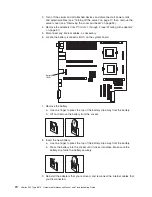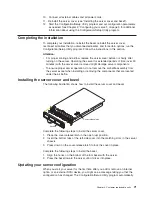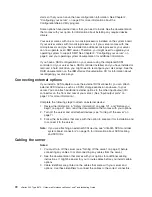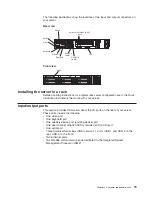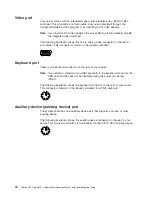
Before you begin, read the documentation that comes with your option.
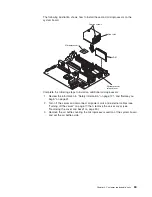
Complete the following steps to install a DIMM.
1. Review the information in “Safety information” on page 121, “Before you begin”
on page 41, and “Handling static-sensitive devices” on page 42.
2. Turn off the server and disconnect all power cords and external cables (see
“Turning off the server” on page 7); then, remove the server cover (see
“Removing the cover and bezel” on page 50).
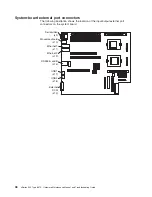
3. Locate the DIMM connectors on the system board. Determine the connectors
into which you will install the DIMMs.
4. Touch the static-protective package that contains the DIMM option to any
unpainted metal surface on the server. Then, remove the DIMM from the
package.
5. To install the DIMM, repeat the following steps for each DIMM that you install:
a. Turn the DIMM so that the DIMM keys align correctly with the connector on
the system board.
Attention:
To avoid breaking the retaining clips or damaging the DIMM
connectors, handle the clips gently.
b. Insert the DIMM by pressing the DIMM straight into the connector. Be sure
that the retaining clips snap into the closed position.
Note:
If a gap exists between the DIMM and the retaining clips, the DIMM
has not been properly installed. In this case, open the retaining clips
and remove the DIMM; then, reinsert the DIMM.
6. If you have other options to install or remove, do so now; otherwise, go to
“Installing the server cover and bezel” on page 71.
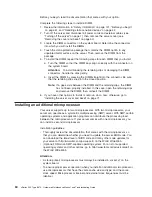
Installing an additional microprocessor
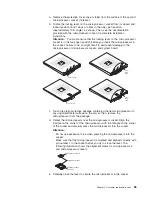
Your server supports up to two microprocessors. With two microprocessors, your
server can operate as a symmetric multiprocessing (SMP) server. With SMP, certain
operating systems and application programs can distribute the processing load
between the microprocessors. If your server comes with one microprocessor, you
can install a second microprocessor.
Installation guidelines:
v
Thoroughly review the documentation that comes with the microprocessor, so
that you can determine whether you need to update the server BIOS code. You
can download the latest level of BIOS code and many other code updates for
your server at http://www.ibm.com/pc/support/ on the World Wide Web.
v
(Optional) Obtain an SMP-capable operating system. For a list of supported
operating systems and other options, go to http://www.ibm.com/pc/us/compat/ on
the World Wide Web.
Attention:
v
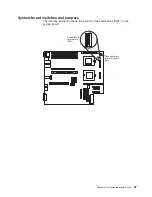
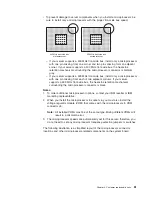
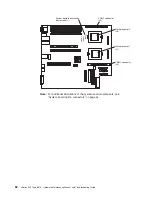
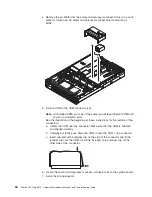
A startup (boot) microprocessor must always be installed in socket J7 on the
system board.
v
To ensure proper server operation when you install an additional microprocessor,
use microprocessors that have the same cache size and type, and the same
clock speed. Microprocessor internal and external clock frequencies must be
identical.
60
xSeries 345 Type 8670: Hardware Maintenance Manual and Troubleshooting Guide
Содержание eServer xSeries 345 Type 8670
Страница 1: ...xSeries 345 Type 8670 Hardware Maintenance Manual and Troubleshooting Guide ERserver...
Страница 2: ......
Страница 3: ...xSeries 345 Type 8670 Hardware Maintenance Manual and Troubleshooting Guide ERserver...
Страница 6: ...iv xSeries 345 Type 8670 Hardware Maintenance Manual and Troubleshooting Guide...
Страница 10: ...viii xSeries 345 Type 8670 Hardware Maintenance Manual and Troubleshooting Guide...
Страница 18: ...8 xSeries 345 Type 8670 Hardware Maintenance Manual and Troubleshooting Guide...
Страница 88: ...78 xSeries 345 Type 8670 Hardware Maintenance Manual and Troubleshooting Guide...
Страница 124: ...114 xSeries 345 Type 8670 Hardware Maintenance Manual and Troubleshooting Guide...
Страница 130: ...120 xSeries 345 Type 8670 Hardware Maintenance Manual and Troubleshooting Guide...
Страница 141: ...Chapter 8 Related service information 131...
Страница 142: ...132 xSeries 345 Type 8670 Hardware Maintenance Manual and Troubleshooting Guide...
Страница 143: ...Chapter 8 Related service information 133...
Страница 144: ...134 xSeries 345 Type 8670 Hardware Maintenance Manual and Troubleshooting Guide...
Страница 145: ...Chapter 8 Related service information 135...
Страница 146: ...136 xSeries 345 Type 8670 Hardware Maintenance Manual and Troubleshooting Guide...
Страница 147: ...Chapter 8 Related service information 137...
Страница 157: ...Chapter 8 Related service information 147...
Страница 158: ...148 xSeries 345 Type 8670 Hardware Maintenance Manual and Troubleshooting Guide...
Страница 159: ...Chapter 8 Related service information 149...
Страница 160: ...150 xSeries 345 Type 8670 Hardware Maintenance Manual and Troubleshooting Guide...
Страница 161: ...Chapter 8 Related service information 151...
Страница 162: ...152 xSeries 345 Type 8670 Hardware Maintenance Manual and Troubleshooting Guide...
Страница 166: ...156 xSeries 345 Type 8670 Hardware Maintenance Manual and Troubleshooting Guide...
Страница 174: ...164 xSeries 345 Type 8670 Hardware Maintenance Manual and Troubleshooting Guide...
Страница 175: ......
Страница 176: ...Part Number 48P9718 1P P N 48P9718...

