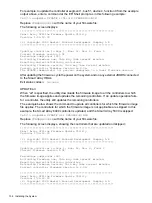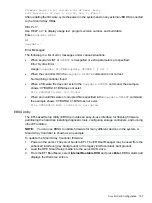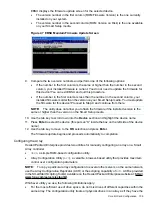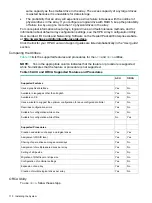
Manage Array Screen
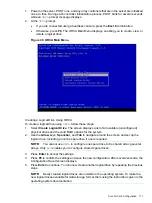
The Manage Array screen enables you to manage the current array. To access the Manage
Array screen, select the appropriate field and press
Enter
on the Manage Array field from the
View Array screen.
The Manage Array screen enables you to perform the following actions:
Manage Hot Spare
To display a Hot Spare Management screen that has the same layout as the Create New Array
screen, press
Enter
on Manage Hot Spare. This field is grayed out under the following conditions:
•
The array is inactive.
•
The array is at its maximum number of devices.
•
Non-IR firmware is used.
•
IR is disabled. The array is inactive.
Synchronize Array
To perform a synchronization of the IM array, press
Enter
on Synchronize Array. The screen
prompts you to ask if you want to perform this action. Press
Y
for yes or
N
for no. This field is
grayed out under the following conditions:
•
The array is inactive.
•
The array does not need to be resynchronized.
•
The adapter's MPT firmware does not support the feature
•
Non-IR firmware is used.
•
IR is disabled. The array is inactive.
Activate Array
To perform an activation of an IM array, press
Enter
on Activate Array. The screen prompts you
to ask if you want to perform this action. Press
Y
for yes or
N
for no.
Delete Array
To perform the deletion of the currently displayed IM array, press
Enter
on Delete Array. The
screen prompts you to ask if you want to perform this action. Press
Y
for yes and
N
for no.
Identifier
Displays the identifier of this array.
Type
Displays the RAID type.
Scan Order
Displays the scan order of the array.
Size (MB)
Displays the size of this array.
Status
Displays the status of this array.
Exit the SAS Configuration Utility Screen
As some changes only take effect when you exit the utility, it is important to always exit the utility
properly. To exit the utility, follow these steps:
1.
To return to the Adapter List from Adapter Properties, press
ESC
.
2.
To exit the utility from the Adapter List, press
ESC
.
NOTE:
A similar exit screen is used when exiting most other screens, and can be used to save
settings.
100
Installing the System

