4 Planning and installation – Installing the heating system
73
3.
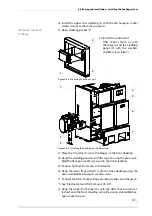
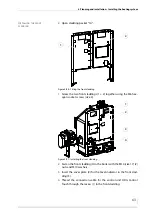
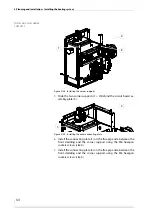
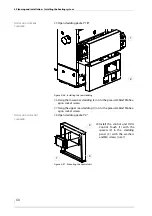
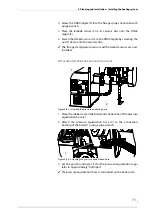
Push the ash container (2) on to the ash removal pipe.
4.
Press the clamp handle (1) downwards.
✓
Hold the clamp handle and press the ash container against the
seal of the ash removal door.
5.
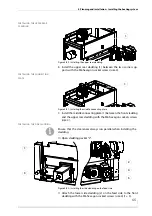
If the handles do not clamp, adjust them as follows.
9.
Screw on the M10 nuts (size 17) and check that the clamp handles
clamp firmly.
✓
Grasp the clamp handles and seal the ash containers solidly on the
ash removal door.
10.
Lock the M10 nuts (size 17) with the M10 cap nuts (size 17).
11.
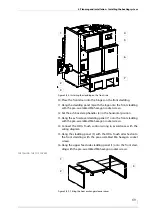
Close the ash containers in the reverse sequence.
12.
If required, adjust the height of the wheels (2) so that they are
flush with the floor.
✓
The ash containers are mounted and adjusted.
C
ONNECTING
THE
CHIMNEY
✎
See section “4.3 Connections” in this chapter.
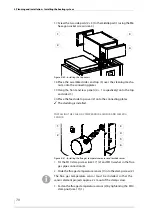
1.
Connect the flue gas pipe to the chimney connection.
2.
Make sure that the connecting piece does not protrude into the
chimney.
3.
Seal the connection to the chimney with highly fireproof silicone
or with a suitable mortar.
✓
The boiler is now connected to the chimney.
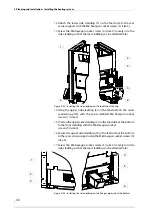
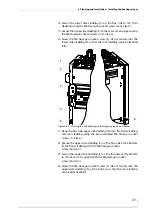
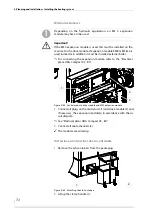
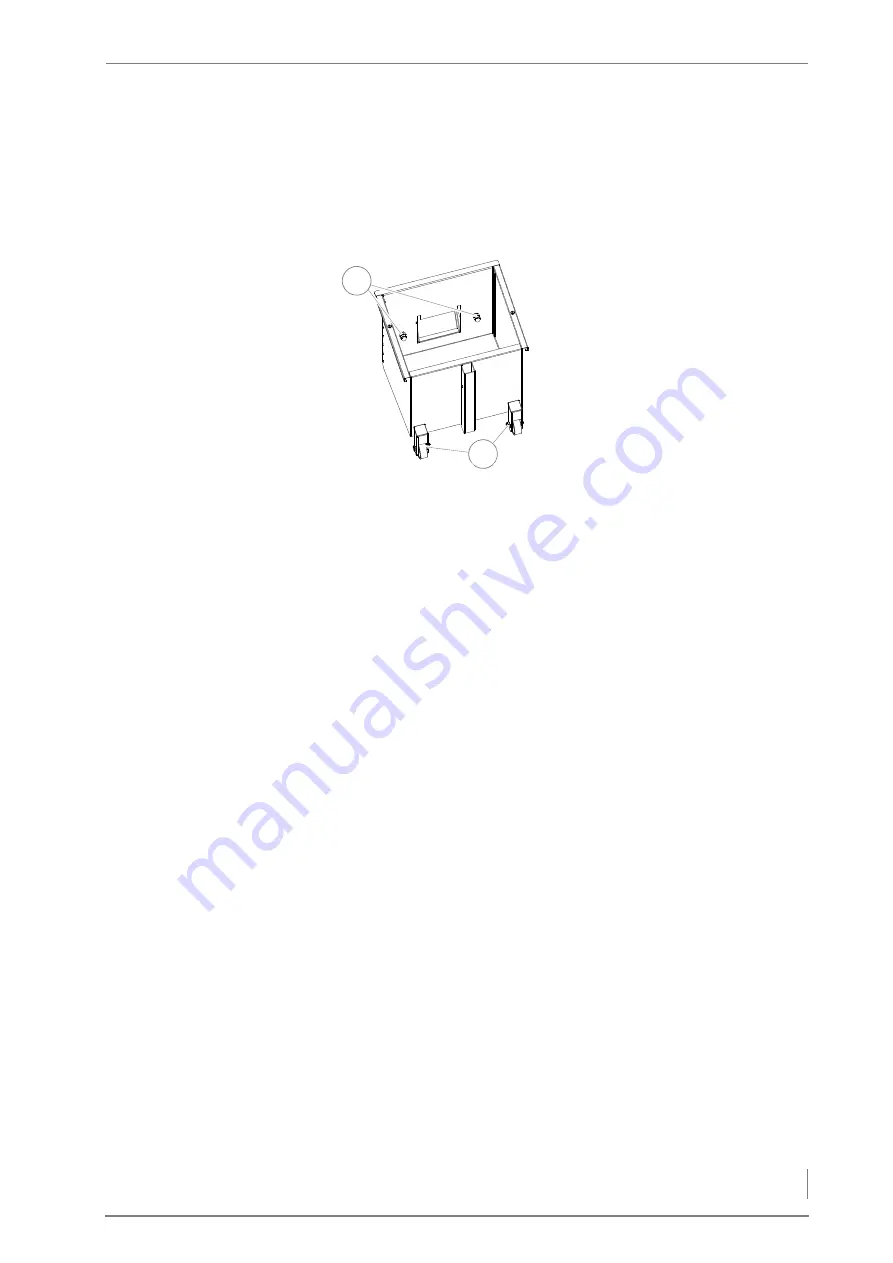
6.
Remove the cover from the
ash container.
7.
Release the M10 cap nuts (size
17) (1) in the ash container.
8.
Adjust ash containers with
the M10 nuts (size 17) under
the cap nuts (1) until the
clamp handles latch firmly.
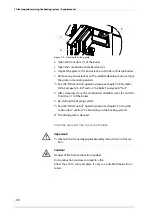
Figure 4/66 - Adjusting the ash containers
1
2
Содержание Compact 25
Страница 1: ...hdg bavaria com HDG Compact 25 35 HDG Compact 45 50 65 HDG Compact 80 Operating manual ...
Страница 2: ......
Страница 6: ...Operation Manual HDG Compact 25 80 Content 6 ...
Страница 107: ......

