7 Cleaning and servicing the heating system – Requirements
92
8.
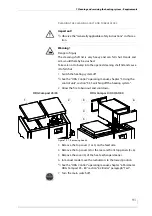
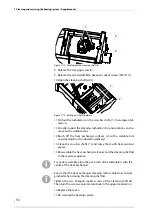
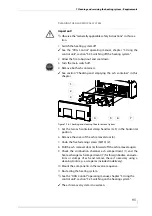
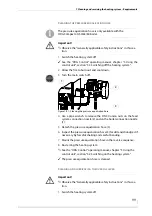
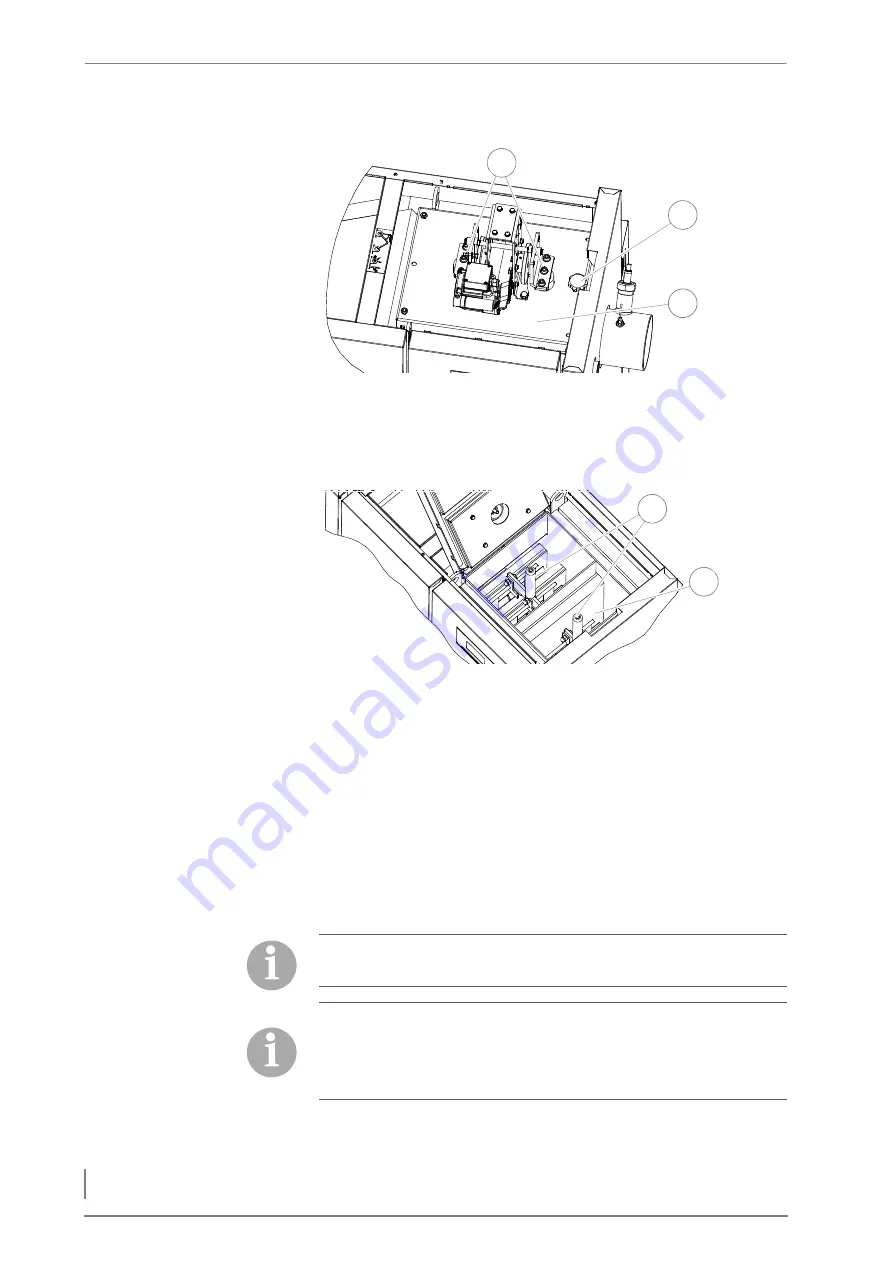
Release the star-grip screw (2).
9.
Release the two middle M12 hexagon socket screws (SW10) (1).
10.
Open the cleaning shaft lid (3).
11.
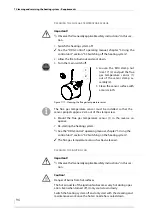
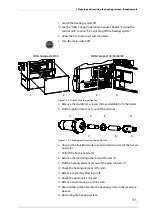
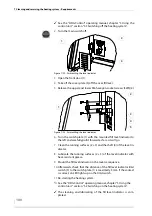
Pull out the turbulators on the crossbar shafts (1) in an upward di-
rection.
12.
Visually inspect the cleaning turbulators for encrustations and re-
move with a suitable tool.
13.
Brush off the heat exchanger surfaces (2) with a suitable tool
(e.g.cleaning brush, included in delivery).
14.
Clean the crossbar shafts (1) and spray them with heat-resistant
grease.
15.
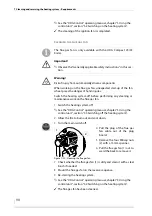
Reassemble the heat exchanger cleaner and the cleaning shaft lid
in the reverse sequence.
16.
Replace the covers.
17.
Re-starting the heating system.
Figure 7/12 - Folding out the cleaning shaft lid
1
3
2
Figure 7/13 - Pulling out the turbulators
1
2
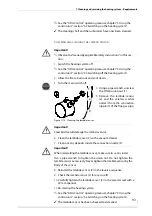
For easier assembly, align the push rods of the turbulators with the
centre of the heat exchanger.
Ensure that the heat exchanger cleaning motor cable does not get
pinched when closing the cleaning shaft lid.
Tighten the two hexagon socket screws of the cleaning shaft lid.
Then turn the screws a quarter-turn back in the opposite direction.
Содержание Compact 25
Страница 1: ...hdg bavaria com HDG Compact 25 35 HDG Compact 45 50 65 HDG Compact 80 Operating manual ...
Страница 2: ......
Страница 6: ...Operation Manual HDG Compact 25 80 Content 6 ...
Страница 107: ......

